
I’ve been asked quite a few times to write a post on How To Create a Smooth Finish Using Annie Sloan Chalk Paint. Here goes!
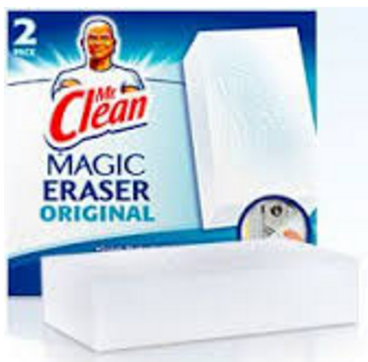
- Wipe piece clean. I typically take a paper towel and go over a piece to get rid of cobwebs, etc. I use a Mr. Clean sponge to get off any stuck on grime, glue or residue. I’m telling you, these sponges are miracle workers!
- If a piece is missing any veneer or is deeply scratched, apply wood filler and let dry. Sand off wood filler and repeat the process until surface is smooth. Related Posts: Refinishing – Not Restoring – A Vintage Wood Top; Fixing a Wood Top with Elmer’s Wood Filler; Wood Filler is a Friend – How To Change Drawer Pulls; Safety First and an Empire Chest in the Works

- Mix your paint. If the Annie Sloan chalk paint has been sitting around awhile in your workroom, add a splash of water (about 2 tablespoons) into the paint and mix.
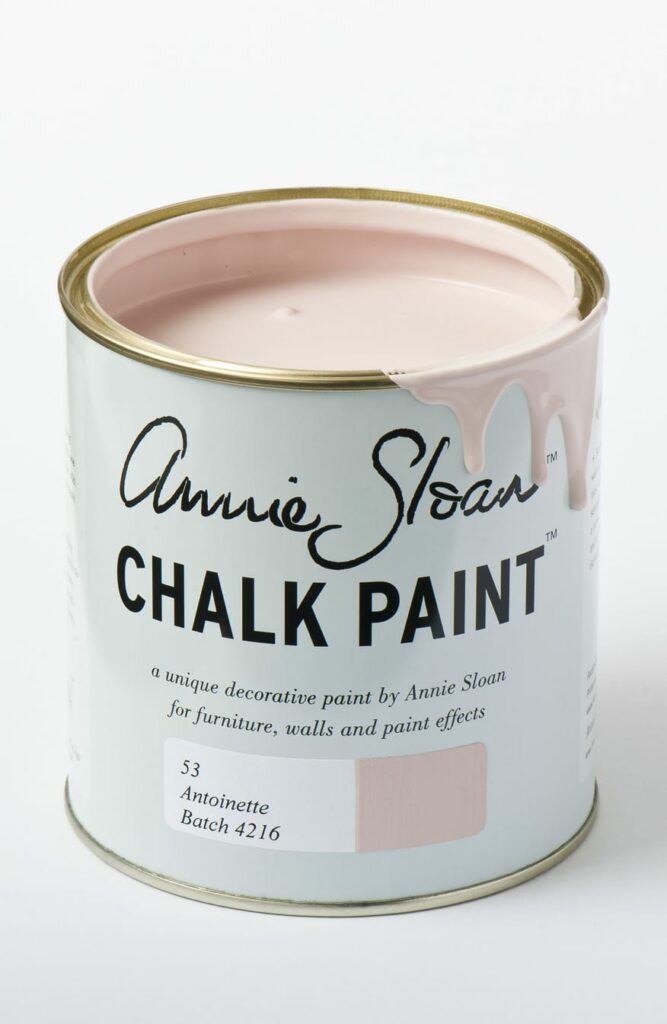
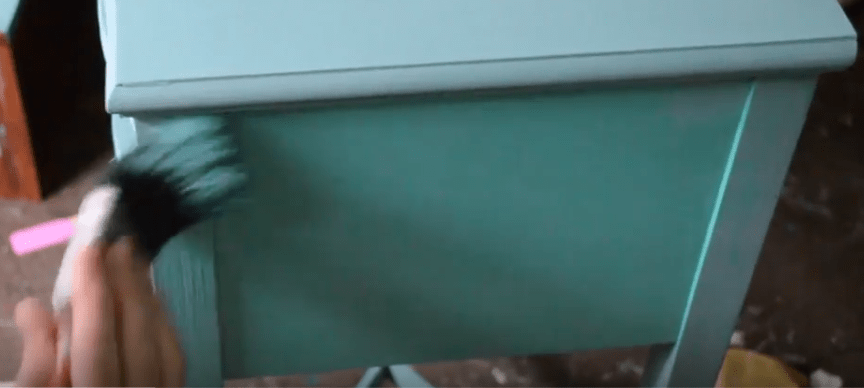
- Apply the paint. Annie Sloan uses her round brush to apply the paint in a more haphazard way to create texture. For a smooth finish, I apply my paint using a Wooster short handled brush with slanted bristles. Apply the paint evenly in one direction for the first coat. Related Video: Part I: How to Apply First Coat

- Apply the second coat in the opposite direction from the first. It is very important to make sure your paint is not too thick when you apply your second coat. You may need to add a splash more water into the paint to keep it thin. Related Video: Florence Tables Part II
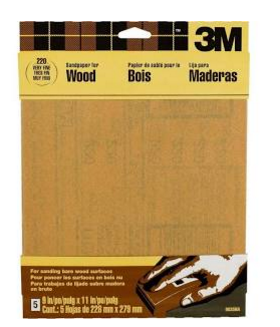
- Let dry. Go over entire piece with 400 grit sandpaper before applying wax. I wrap my sandpaper around a sanding sponge and work it over the piece in a circular motion. It will create scratch marks but don’t worry. Keep at it until the marks disappear. Note: You will find yourself and your work area covered in chalk paint dust after sanding. I recommend doing the sanding outside and wear a mask. I actually have a leaf blower that I use to blow off the dust. You can also wipe it off with a lightly dampened paper towel.
- While sanding, (if desired) distress your piece. You may need to use 150 grit to distress back in places. Related Posts: To Distress or Not to Distress How-To: How to Distress Annie Sloan Chalk Paint Tutorial; How to Wet Distress Chalk Paint. Related Video: How To Sand Back and Distress Annie Sloan Chalk Paint
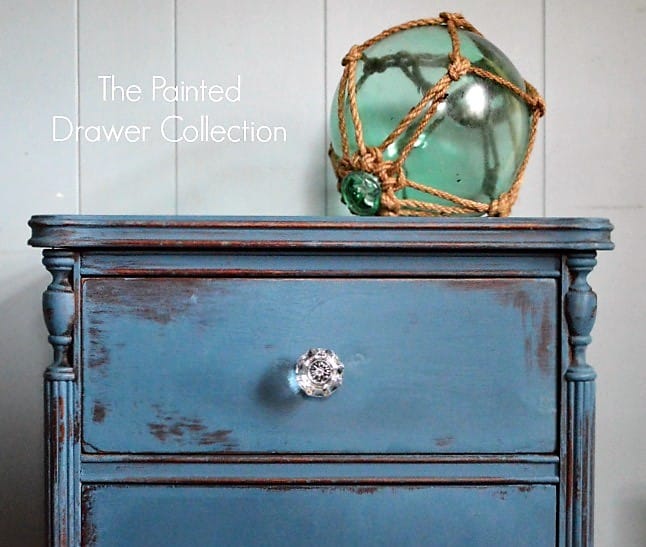
- Using Annie Sloan clear wax, take either your wax brush (I highly recommend the Annie Sloan wax brush) or a clean old t-shirt or cloth and apply the wax. I apply it in a circular motion. Don’t goop it on – take your time and add section at a time. Dab your brush into the wax, apply and repeat. Related Posts: All About Waxes: My Tips and Tricks; How to Apply Annie Sloan Wax (Clear and Dark) Over Chalk Paint
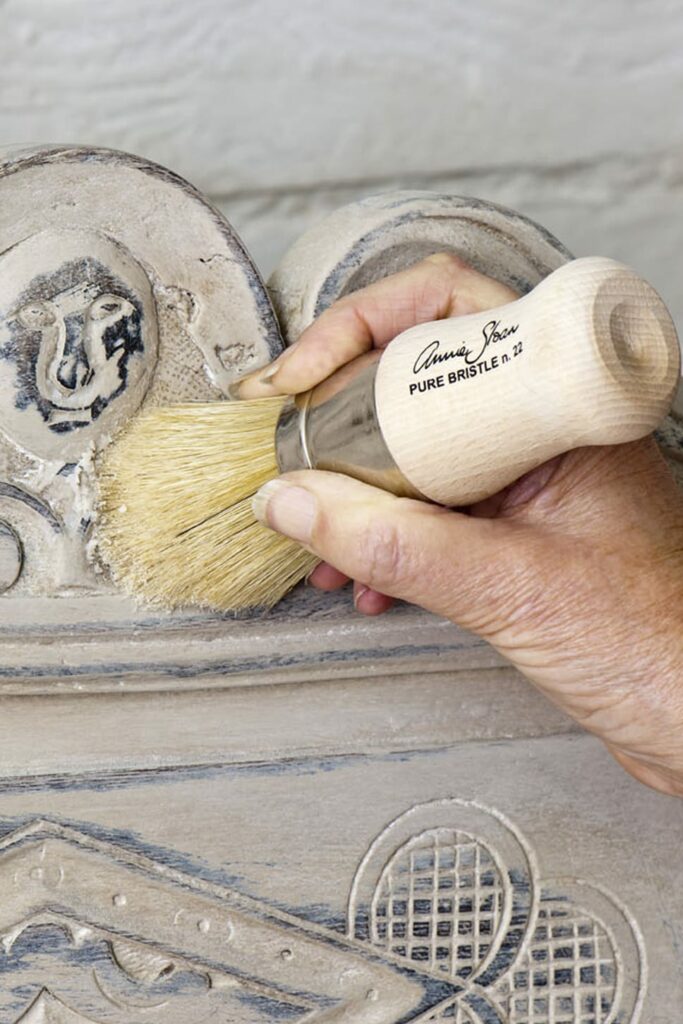
image via Annie Sloan
- Take a cloth (I use Target washcloths that are a few dollars a pack) and rub lightly in a circular motion to take off the excess wax.
- If applying dark wax, apply it now and wipe off excess using clear wax. Keep at it until desired effect. Related Video: Annie Sloan Wax Tutorial: How to Apply Wax Over Chalk Paint
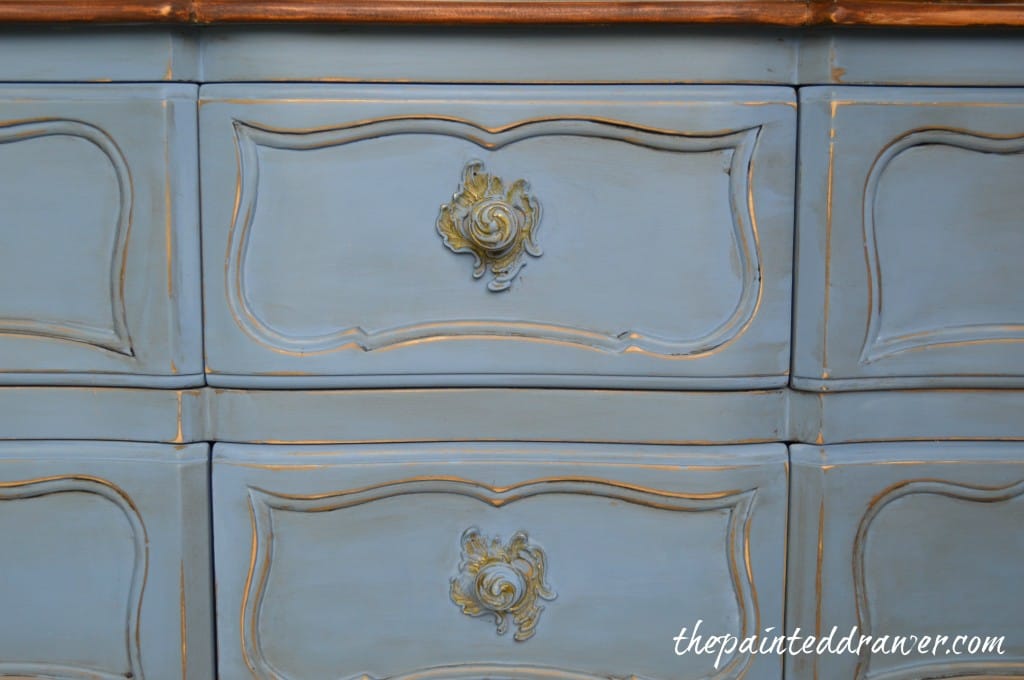
- After the wax has cured overnight, repeat the process of Step 9. You can rub it harder as it will buff your piece and give it a nice sheen.
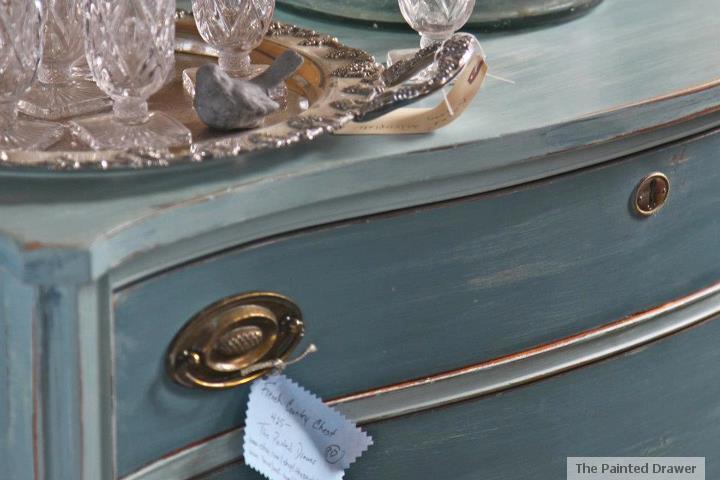
- If you desire an even smoother finish, there is one more step. After the wax has cured, take 400 or higher grit sandpaper or greater, wrap it around a sanding sponge and go over piece in a circular motion. Wipe off the excess debris as you go. Yes, you can sand it after the wax has been applied! It really makes the piece super smooth. I typically leave it as-is after doing this, but you can add another coat of clear wax if desired.
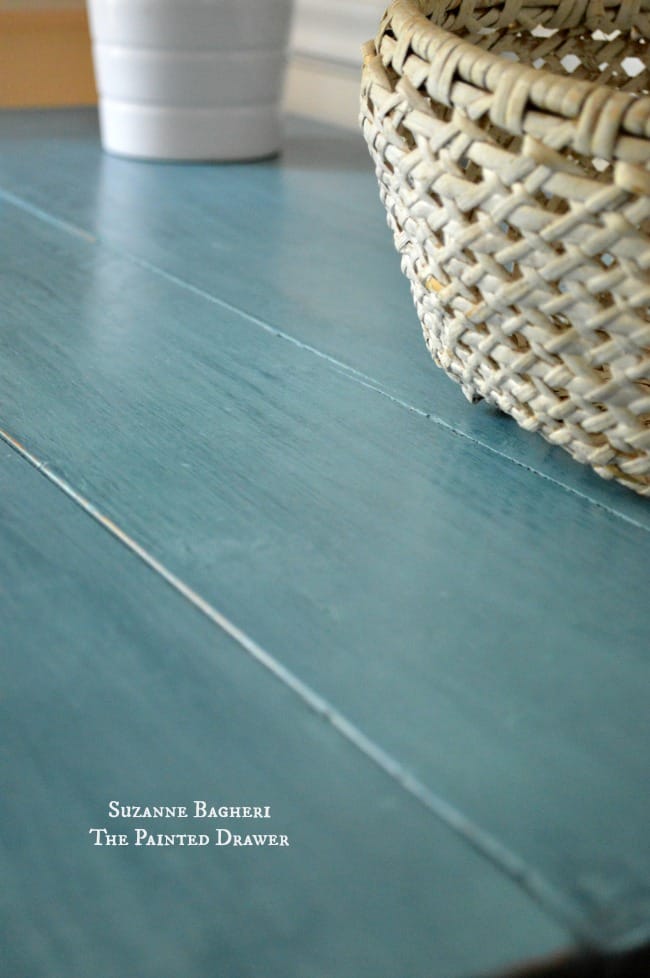 And, there you have it! My step by step instructions on how to create a smooth finish using Annie Sloan Chalk Paint!



Great tips! Thanks for sharing your knowledge and experience. I will definitely give this a try. I typically have all those brush marks and there are pieces that I would prefer the smooth finish.
Hi Ange, Yes, definitely give it a try and I hope it works for you
Wow, great info! I am ready to try AS again with your technique! Thanks for sharing!
Great! So glad to have helped and have fun with it!
Great tips Suzanne! I pretty much use the same technique and always have a smooth finish.
Yes, many people say that you can’t get a smooth finish with ASCP but you totally can!
Love your work and ideas!