Please note that some of the links above are affiliate links, and at no additional cost to you. All opinions are my own.
Today I’m share a fun makeover. This cabinet was found in a thrift store and was in pretty desperate condition. It had water damage on the bottom and a ton of its veneer was peeling off the sides (see below).
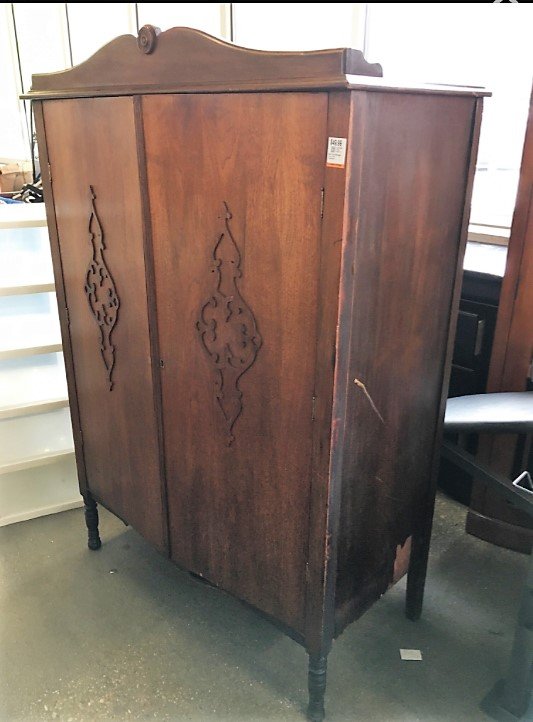
Taking a razor blade, I first scoured a straight line along the very top of the damage. I then scraped off the peeling veneer up to that line (it makes it look tidier than just yanking it off in places and leaving jagged edges to fill around). There was so much to fill in that I actually used spackle with a small trowel. Once dry, I sanded it back and repeated until it was pretty smooth. This was repeated on the inside of the cabinet as well where again, there was water damage. I’m thinking that it was in a wet basement or a flood but hey, who knows?
For this project I used a line of decorative paint that is totally new to me. It is Modern Masters and they have amazing products such as Venetian plaster and really neat metallic paints. I decided to go with their furniture glazing cream with their red colorant. I also used their Glass Bead gel.
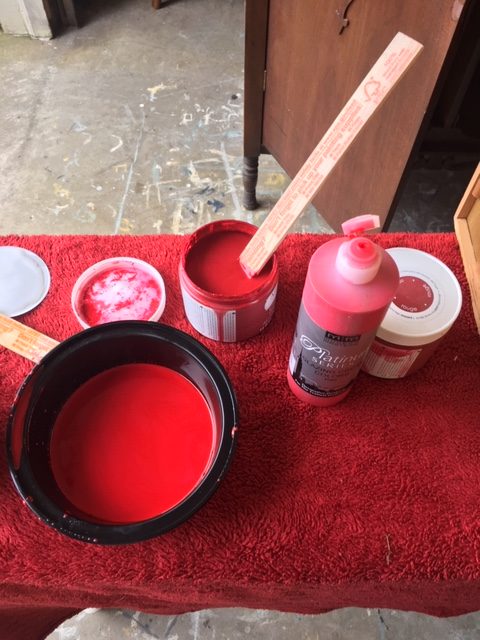
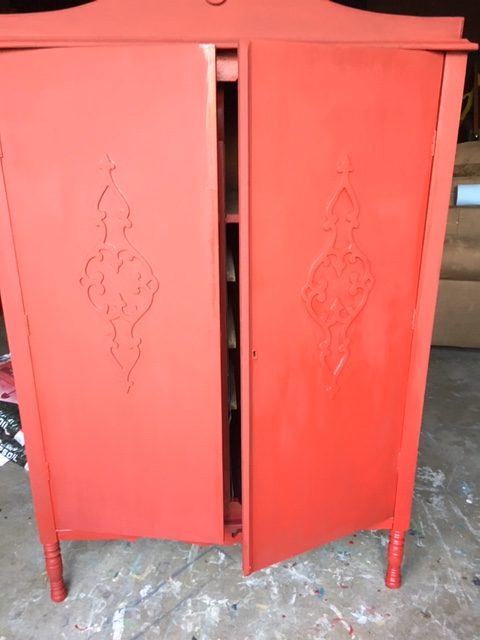
First, a base coat of flat brick red was applied to the cabinet. This was actually an old jar of paint that I had mixed ages ago and found in my stash to use on the project. I added two coats on the outside and one coat onto the drawer fronts and interior edges. I used Sherwin Williams Poised Taupe latex paint on the inside. This paint was leftover from when I had painted my foyer in that color. After this paint was applied inside and out, the piece was clean and ready to have fun with!
I then took Modern Masters Furniture and Cabinet glaze and mixed in their red colorant. I would say it was about 3 tablespoons of colorant to one cup of glaze and this was because I wanted a really bright red over the darker and more “brick” red of the base coat. You can add as much of the colorant as you desire to make your glaze as bright as you desire.
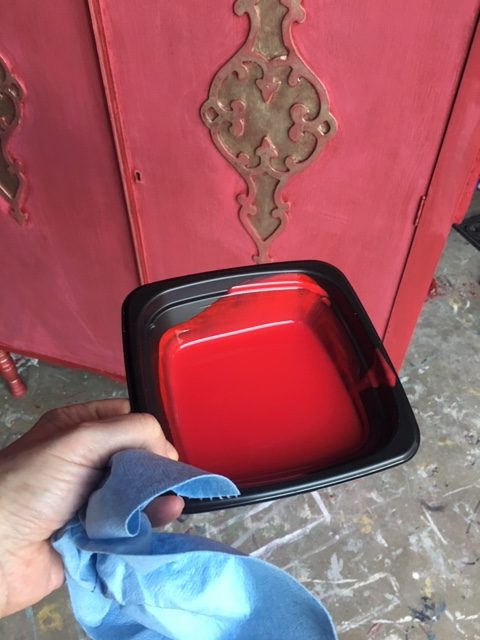
Using a brush, I applied it all over my cabinet in long strokes. Here you can see the difference between the flat paint and where I applied the glaze (top piece).
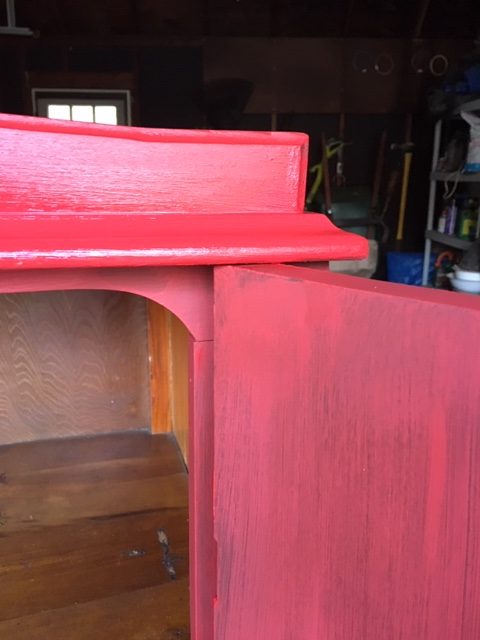
After it was applied, I took a rag and wiped it back.
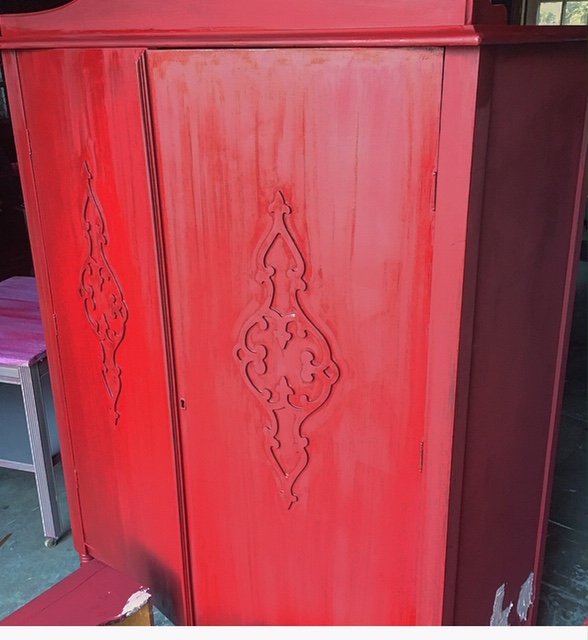
I also applied a gold paint that I had onto the details on the front. I added the glaze onto this as well. I just kept layering the gold and then red paint and then glaze until I was happy with the result.

For the drawer fronts, I used the Modern Masters Glass Bead Gel. I first tried applying it directly onto the drawer fronts.
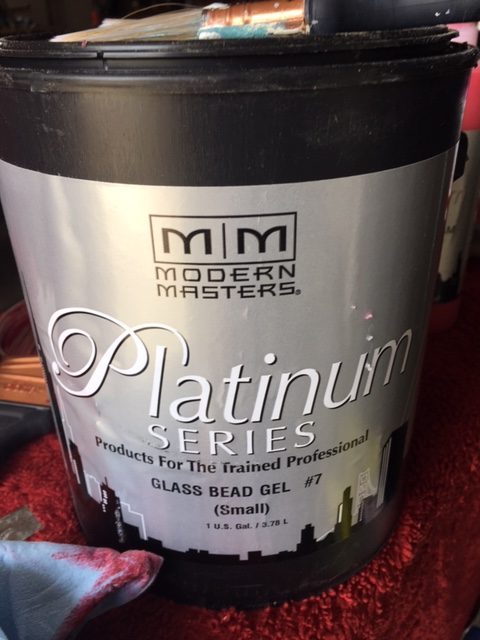
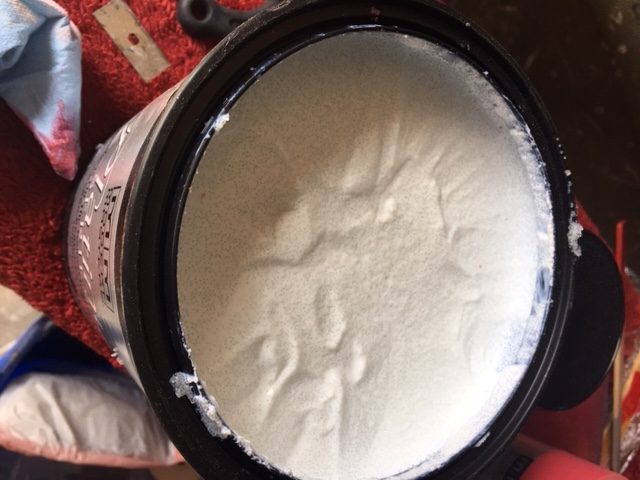
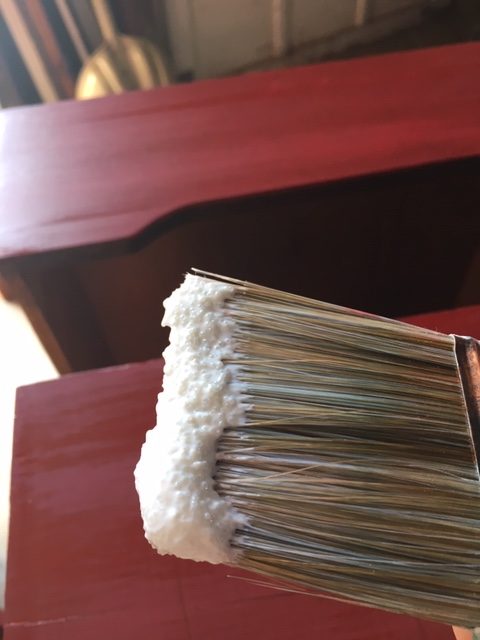
I then decided to mix a few tablespoons of Annie Sloan Giverny chalk paint into about 4 cups of the Glass Bead Gel. I actually used my hands to scoop it out and press it onto the red drawer fronts. This is a pretty interesting product and creates a shimmer finish when looked at – especially when you look at it from the side.
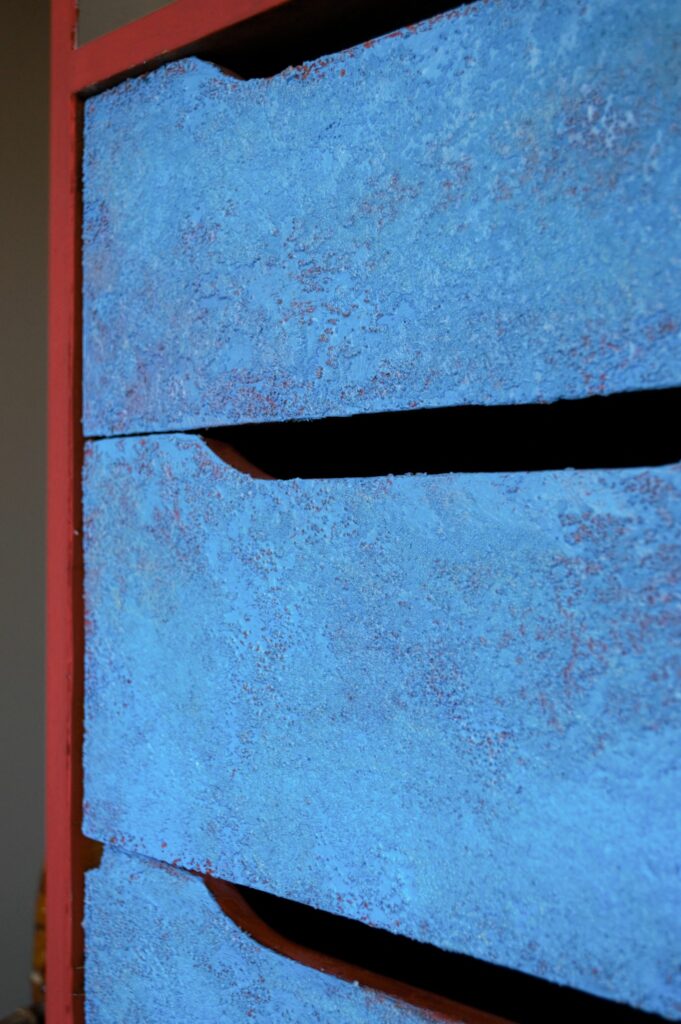
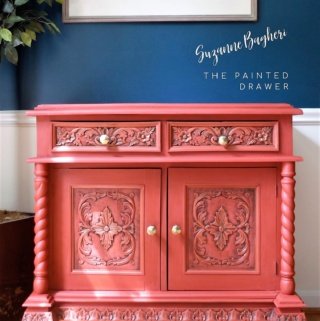
Here it is now! The glaze definitely added more depth to the red and created a great sealer/finish over the piece.
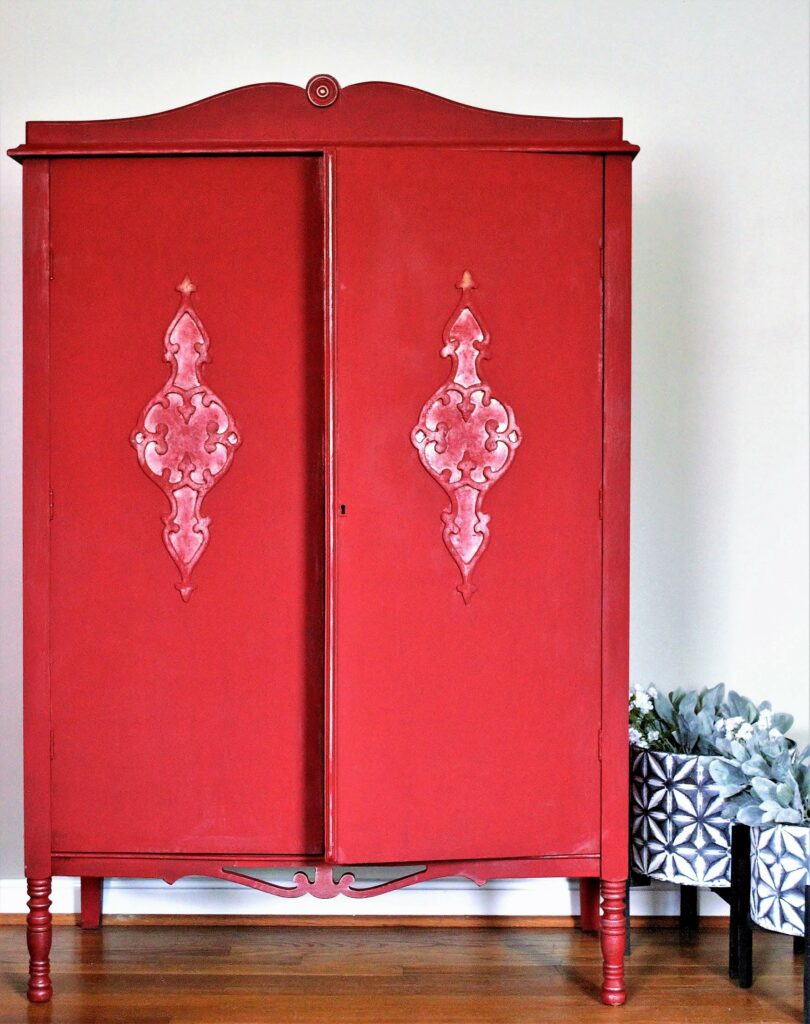
A fun project! The cabinet is in my “newly” decorated living room 🙂 I have since moved our rug outside onto our patio and will keep an eye out for another one for this room 🙂

Good looking! (lotsa work prepping but GOOD LOOKING!)
Stunning! I love a pop of red furniture.
You’re so creative! I get a lot of “makeover” posts that do white, white and off-white. I love your use of color. Do you happen to know how to get a lacquer finish? I mean really glossy and smooth. I want to redo a mid-century piece whose maple is orangey, and another midcentury one with a mustardy finish. They’re both very smooth, no 3D grain. Thanks in advance for any advice!