Please note that some of the links below are affiliate links, and at no additional cost to you, I will earn a commission if you decide to make a purchase after clicking through the link. All opinions are my own.
How-To Tuesday: Refinishing a Damaged Wood Top
A new 2018 series, How-To Tuesday incorporates both brand new and updated posts from the archives. Let’s begin with an updated and newly edited post that seems to be a topic of interest to many fellow vintage furniture lovers!
Original posts: Refinishing – Not Restoring – A Vintage Wood Top
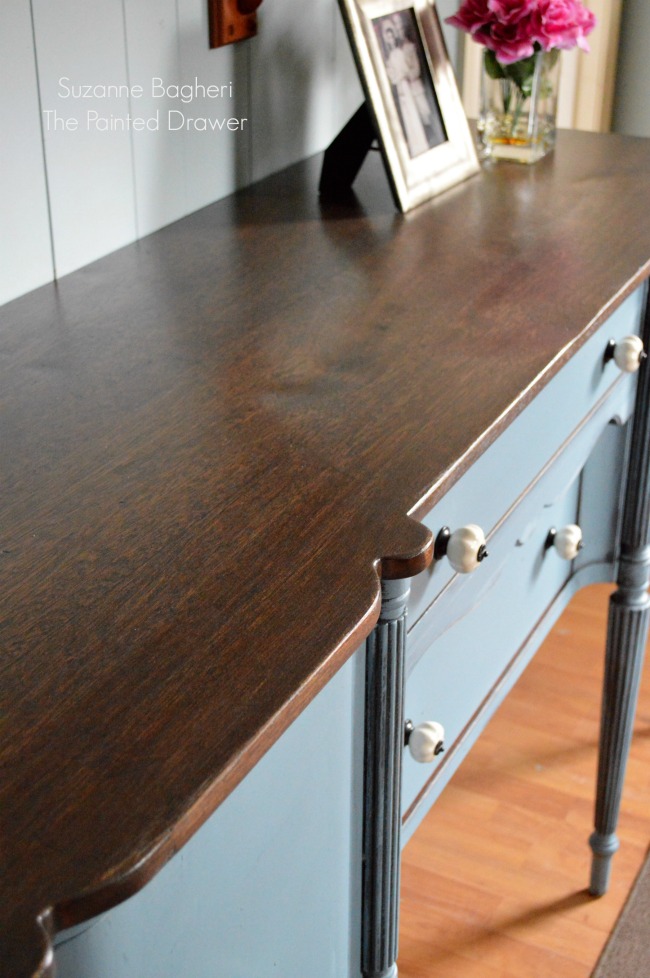
Sideboard Wood Top Refinish: Before and After
![]()
This post refers to repairing damaged wood tops. This is not how to restore a wooden top back to its original perfection. This is all about finding a piece that is damaged beyond true restoration and salvaging it to create a new “perfectly imperfect” piece.
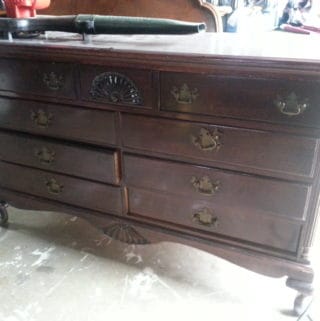
Most of my thrift store finds are pretty beat up. The Stillwater Sideboard and the Diamond in the Rough Table were the worst I have encountered. The Stillwater Sideboard had a top that was beyond anything I had ever seen before. It seriously looked like someone had taken an ax and hacked at it. The Diamond Table had been drilled through for some strange reason and had large holes in it. My initial thought for both were to add wood filler and paint. However when I began sanding them back, a wonderful grain appeared and I took it on as a huge challenge!
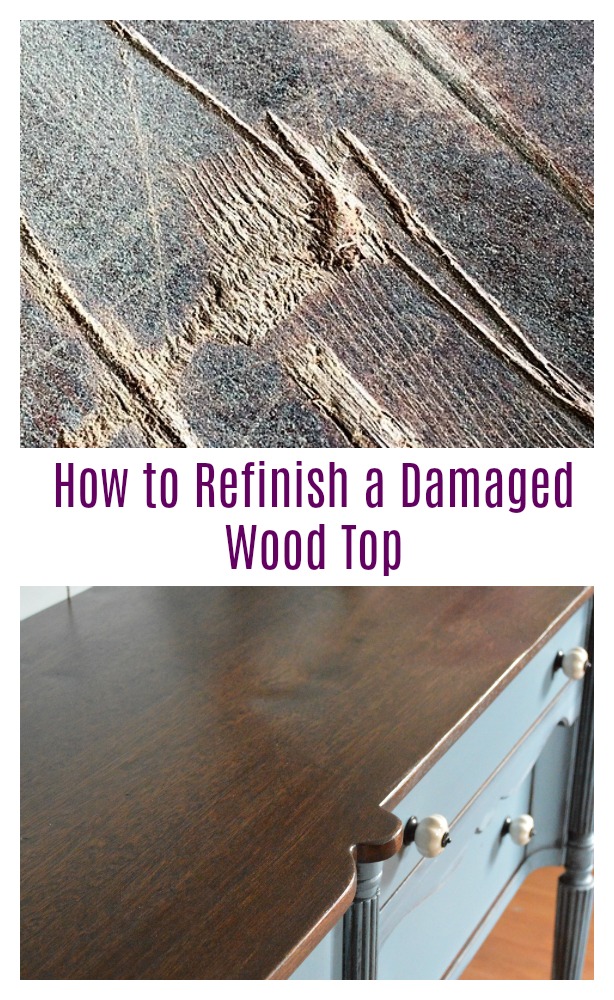
Here is a pic of the damage to the Stillwater Sideboard.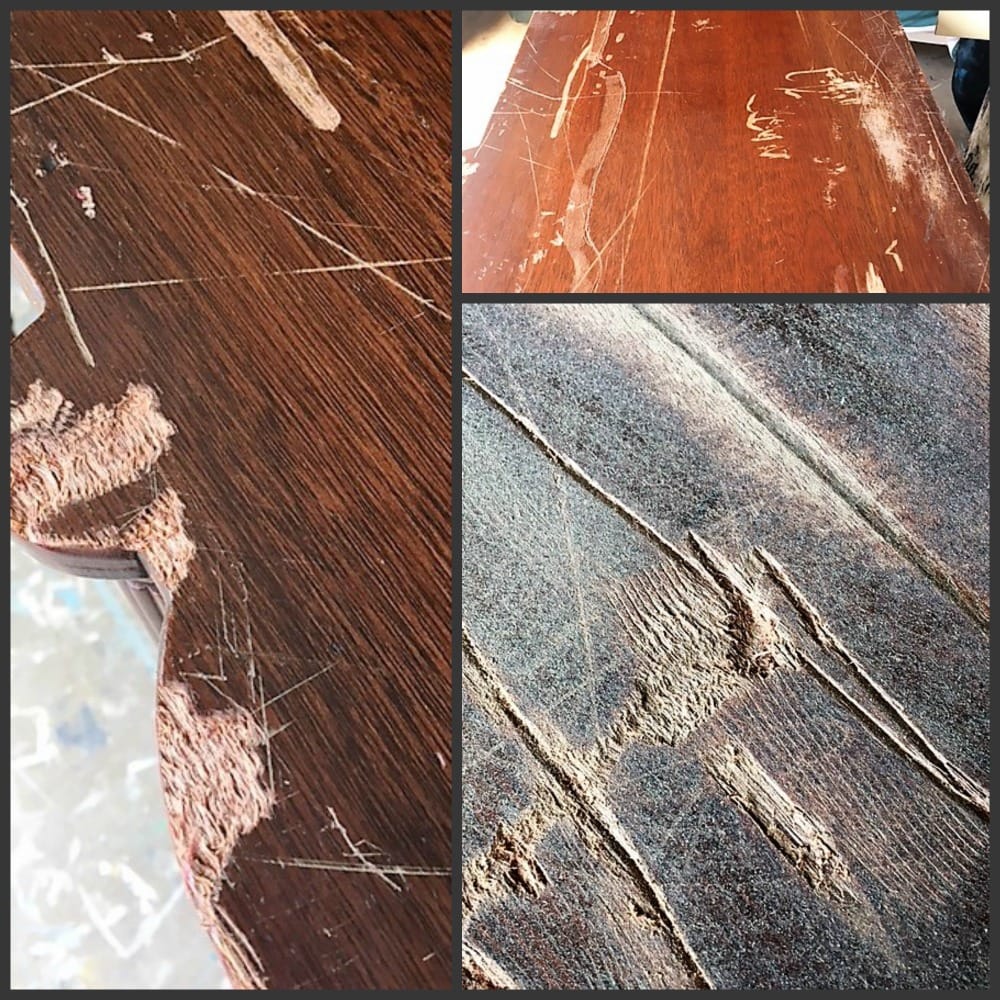
In order to sand a damaged piece back to its original grain, you will need a power sander. I now have a Ryobi and it works really well (I prefer it to the Ridgid that ended up breaking after a year). I typically use 60 grit sandpaper to start.
After sanding back the Stillwater Sideboard, the deep gauges were still visible. Taking wood filler, I applied it into the crevices and sanded again, this time with 120 grit. The wood filler was still visible after sanding but I kept repeating the process to build it up. 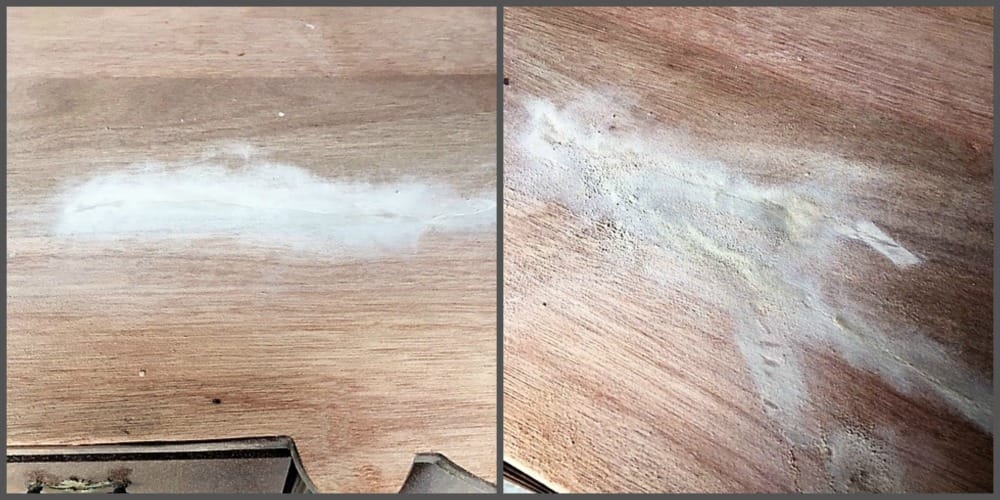
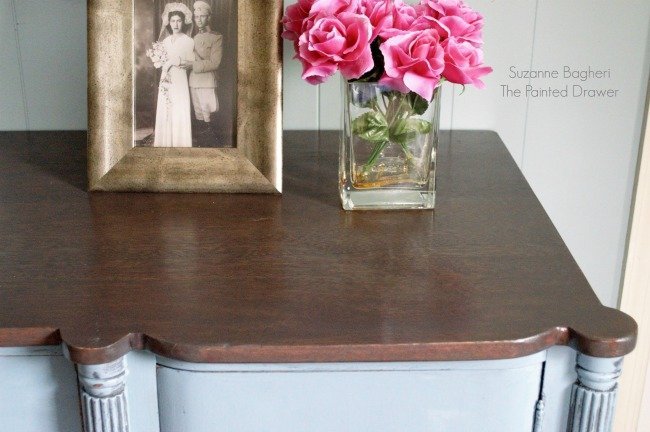
I really pressed the sander hard into those gauges. This smoothed the damaged areas out. It did create small dips in a few places that you can see if you look closely but they are hardly noticeable and honestly inevitable because the damage was so severe. Minwax Dark Walnut and Varathane Weathered Gray stains were applied.
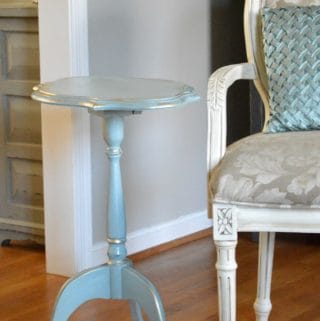
Here is a related post featuring the Diamond Table and a few other projects. It was originally published in July, 2015, Refinishing – Not Restoring – A Vintage Wood Top
Yesterday’s post was all about the color Chateau Grey and I used my little Diamond in the Rough table as an example. I was so happy that many enjoyed the post and thought to answer the main question I received in a post rather than in the comments section. The question was about the wood top and how I refinished it. Particularly, how I was able to fill the holes and what stain I used.
Note that the title of the post is how to refinish – not restore – a wooden top. I don’t strip and stain to recreate what once was. Using what is given to me (dings, scratches, holes, burns etc.), I go with it and and create something different.
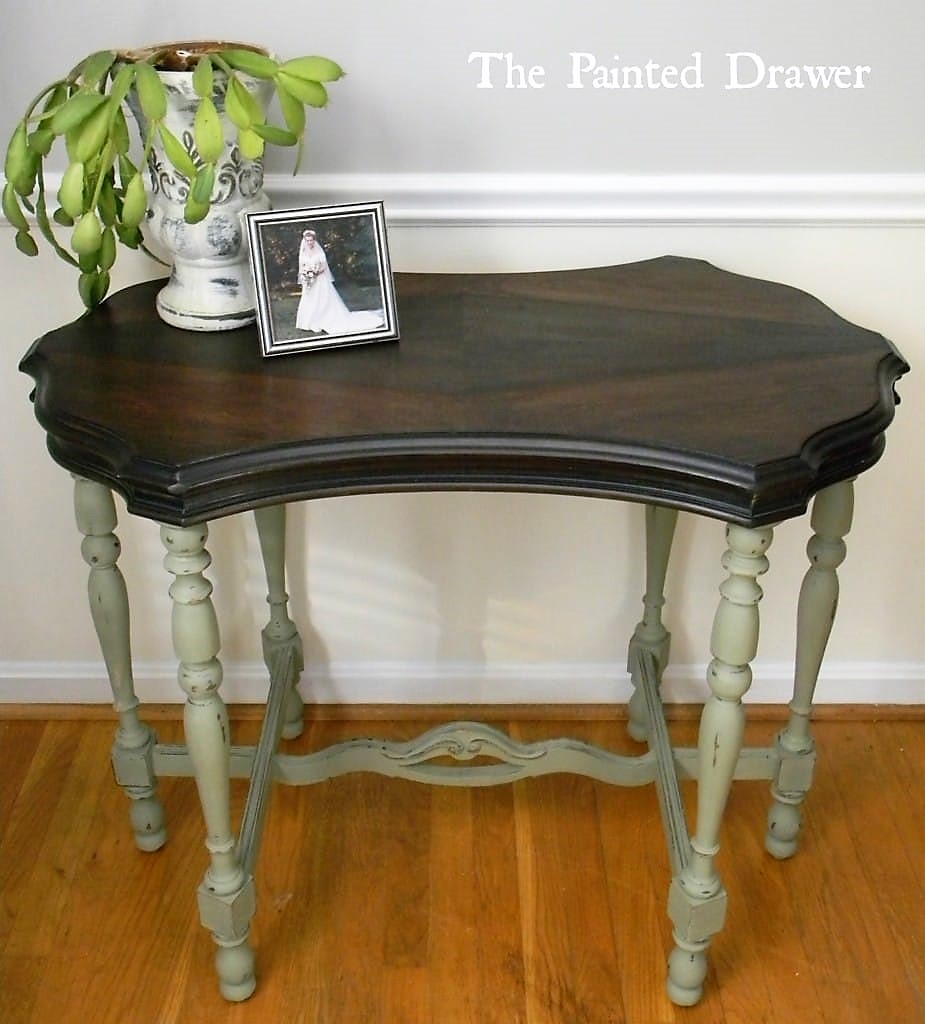
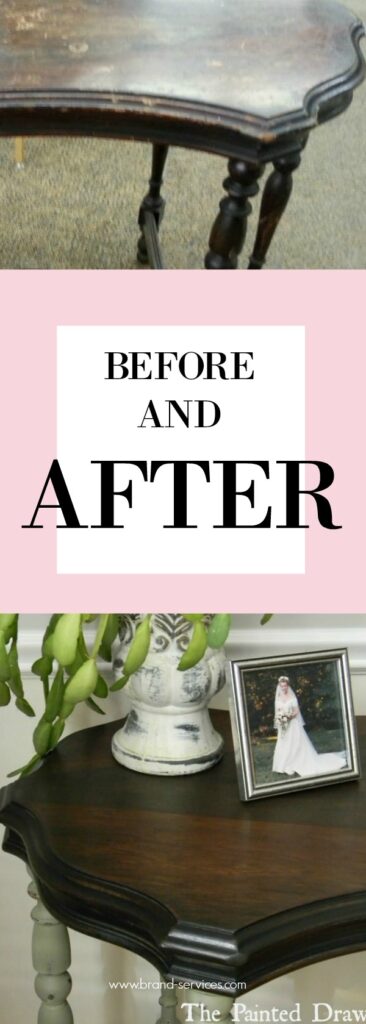
Here is the table top in question where you can see the holes. I still wonder why on earth someone drilled holes straight through a small table that can’t even take that much weight on top of it. A mystery! 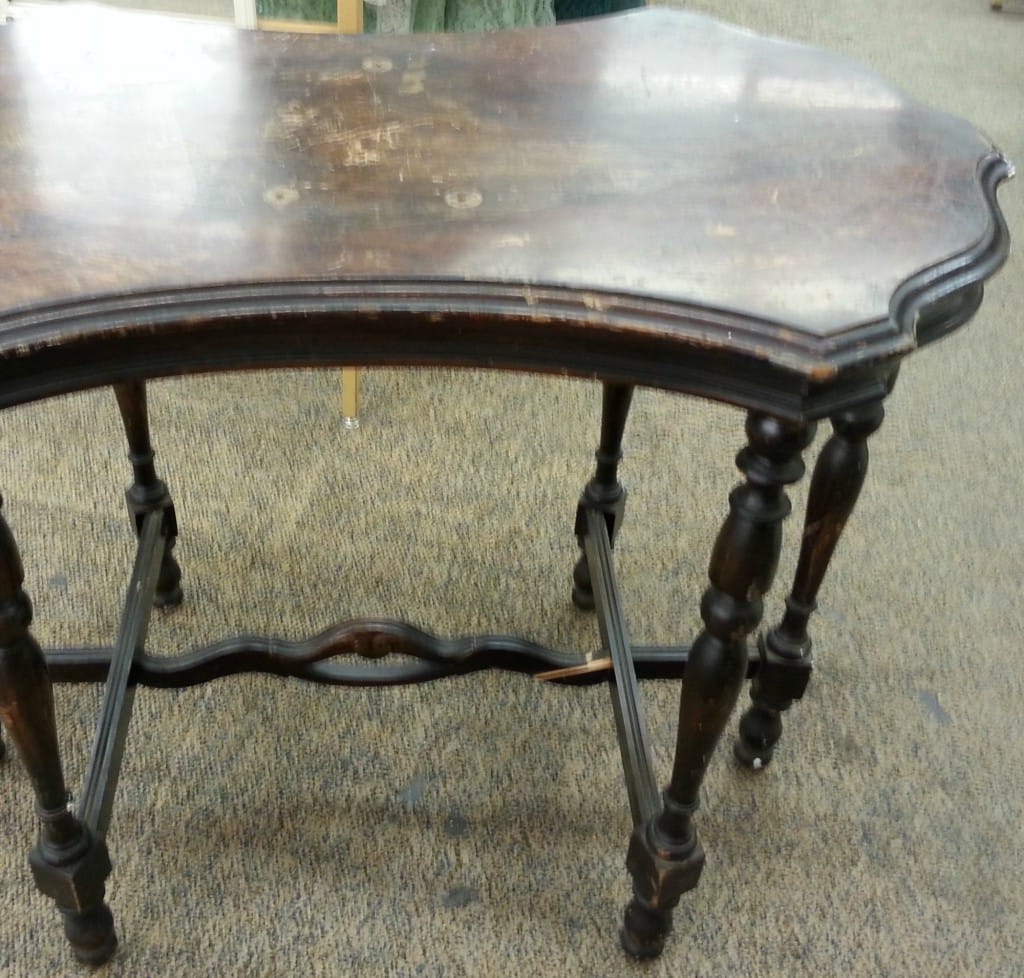 For that particular piece, I took Elmer’s tinted wood filler (stainable) in the color Walnut and squeezed it into the holes until full. I then sanded the whole table back and repeated the process. I used Minwax Dark Walnut stain on the table top and the circular areas where the holes had been drilled stained nicely. Because the top is so dark, and the holes were not too large, they kind of disappeared into it. If you look closely, you can see a darker circle in the diamond. This is the filled hole. It is easier to make blemishes disappear when using a darker stain.
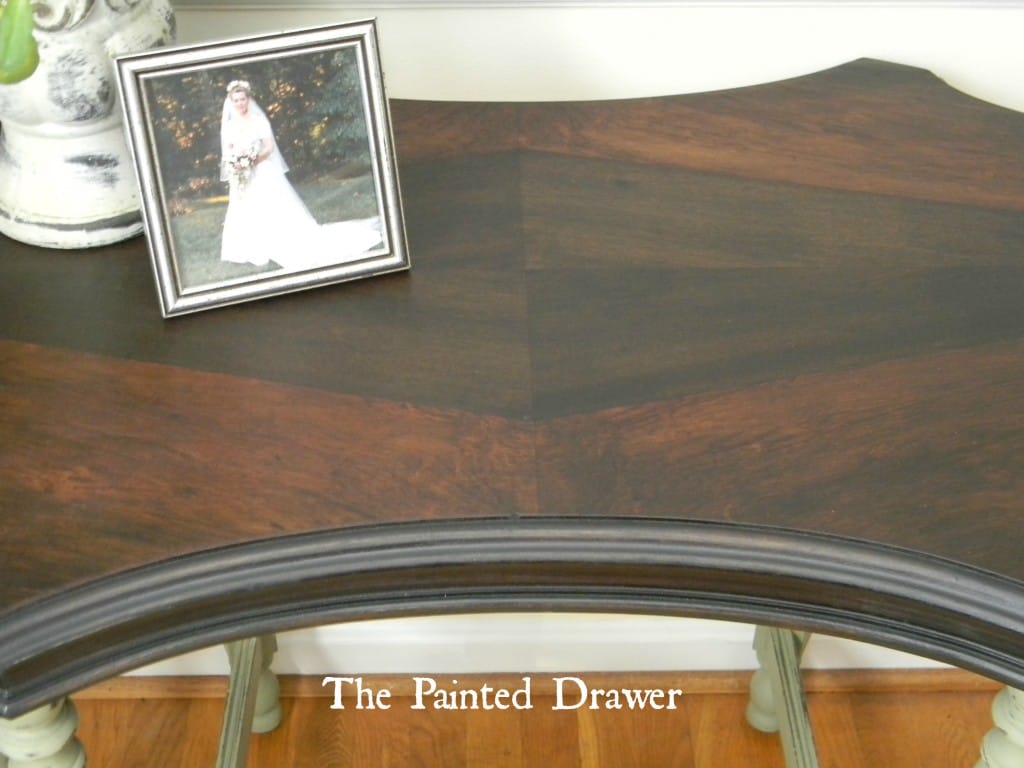
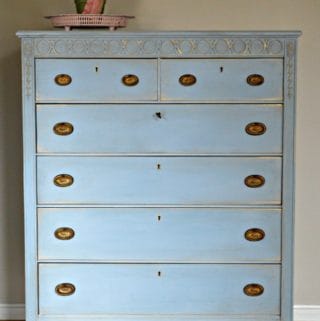
 On the Beach Chic dresser, I used Varathane stain in Sunbleached to create a streaky, bleached look. This damaged top had a burn hole that was much larger than the Diamond table and because I stained the top in a lighter grey, it still showed and was noticeable but it blended pretty nicely and the whole effect was very nice.


As far as the sides of a piece, if you are staining the table a darker stain, and the sides have a lot of detailed ridges and are not damaged, there is no need to totally strip the sides. It would take forever and the stain will cover them. I take my sponge and sand around the sides in a uniform way leaving some of the older stain in the deep crevices and then stain.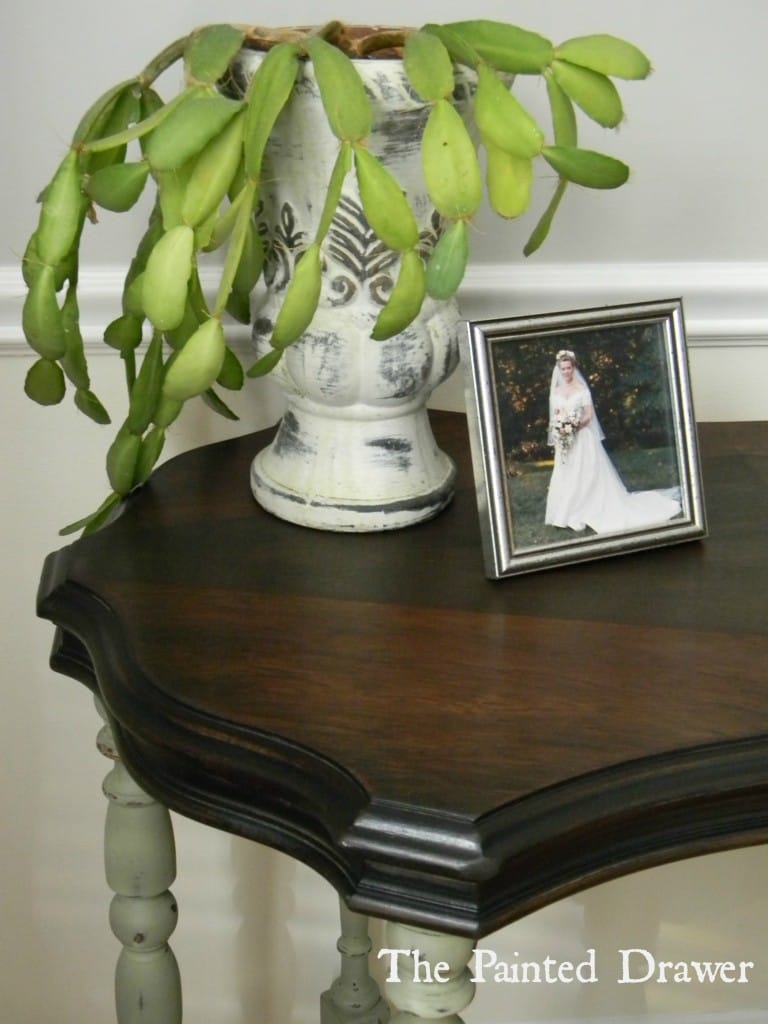 If you have a table top that you want to make lighter and the edges have ridges, I like to leave the darker stain within the ridges. You can see how the darker stain highlights the detail on the French Country Desk‘s pine top.


 YouTube Tutorial HERE how to sand back a smaller table top using a sanding sponge.
For larger tops, I use my Ridgid power sander. However, the Drexel Triune dresser really did a number on it so I may have to upgrade to a different sander. I will keep you posted on that one! YouTube Tutorial here. Please subscribe!
Product List



Hello, I’ve had pieces with extensive damage also, how are you able to stain sections that you’ve repaired with wood filler? I can never get it to look good and end up having to paint. Can you offer any advice? Thanks and take care!
Hi Sian, I also have that problem. On that piece, I used the filler to kind of build it up and then literally sanded the heck out of it to almost eliminate it all before staining. There are still dips in the wood where the deep holes were and I couldn’t fill because the filler would show too much. It’s ok if I use a darker stain – the lighter stains show the marks. I also like the wood colored /stainable filler. It does still show with lighter stains (beach chic dresser) but with some super damaged pieces there is no other way. This is why I say refinish and not actually restore because these pieces are beyond a true restoration. A confusing answer – sorry!
I have the same question basically. Any time I have used wood filler the stain never blends and you can plainly see where the filler was.
Hi Dienna, I also have that problem. On that piece, I used it to build up the holes and then sanded it back to try and eliminate as much of it as possible while still keeping what was essential to fill in the holes. A TON of sanding! There are still dips in the wood where the deep holes were and I couldn’t fill because the filler would show too much. I find that it’s ok if I use a darker stain. The lighter stains show all of the marks. I also like the wood filler that comes in different wood colors and is stainable. It isn’t perfect and it does still show but when working with really damaged tops it will never be a perfect finish. I guess perfectly imperfect!
I appreciate your reply. I have a rocker that one of my dogs used for a chew toy and the marks are so deep sanding will ruin it. I spent half a day sanding this rocker that someone threw away so I could restore it to the woods natural beauty and then this happened. I really don’t want to fill in and paint but it’s looking like I’m running out of options if I want to keep it “original”. I guess I could paint the rocker part but not sure how that would look.
Do you have any suggestions?
very well, That’s truly amazing a makeover a table can have, Good work and thanks for the suggestion regarding the sandpaper size.