Painted Kitchen Reveal I’m finally done with my kitchen – just in time for Thanksgiving! I had already painted the bottom cabinets in General Finishes Milk Paint in the color Millstone. I decided to paint the top cabinets in their Antique White to lighten them up and give a bit of contrast. I painted the top walls in Sherwin Williams Accessible Beige and under the chair rail in in Benjamin Moore Cloud White. I also touched up the trim. I’m having the ceiling patched and painted on Monday and then the whole room will be complete!
The cabinets were originally a yellow based cream. The General Finishes Antique White was a subtle change but it really makes quite a difference. You can see it here as I was applying the paint. The paint adheres beautifully. I painted two coats, each time using my brush in an opposite direction. This keeps any brush marks to a minimum. I applied General Finishes Flat Out Flat topcoat for a durable finish.
And here is the kitchen now! I am very happy and love how it flows through into my newly painted dining room in Sherwin Williams Rainstorm.


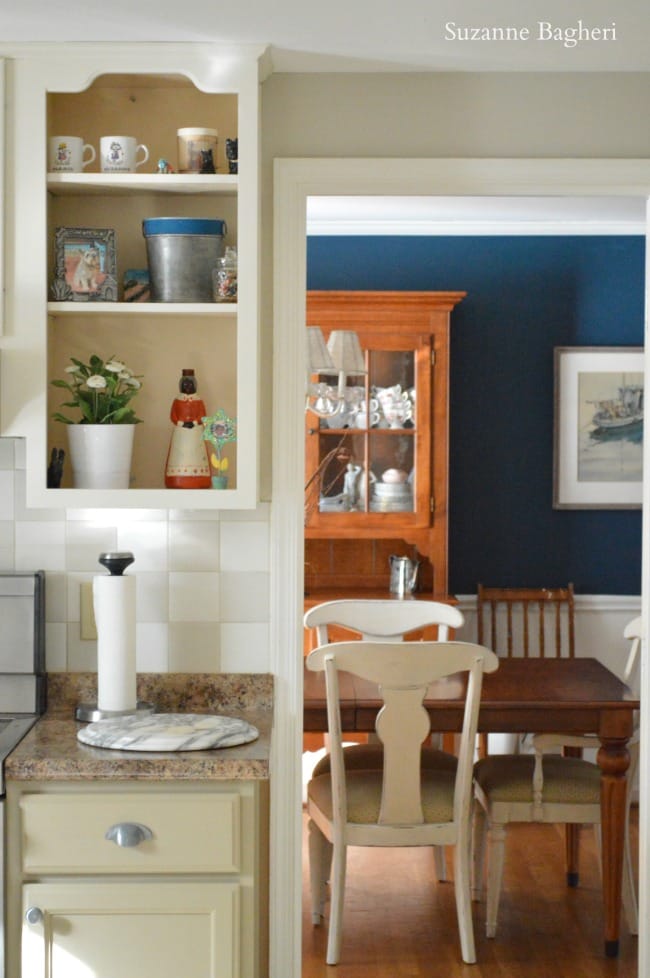

I placed the farmhouse cabinet in Midnight Blue into the kitchen and it’s the perfect place for the telephone, dog biscuits, etc. I moved the Driftwood Secretary into my living room.
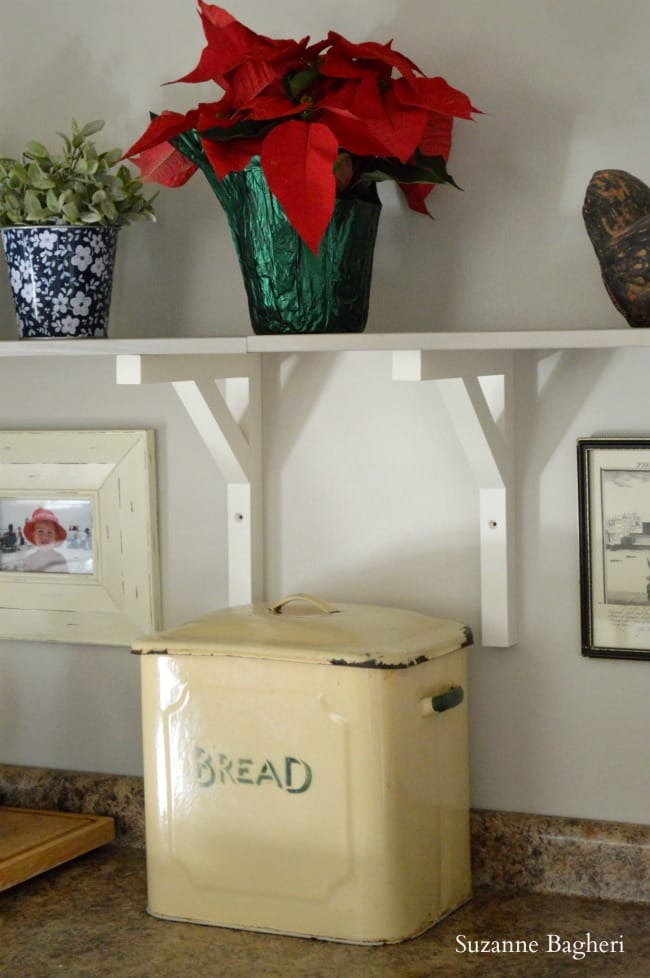
My mother brought this vintage breadbox back from England a long time ago. It was originally my great aunts and now it has a home in my kitchen. Speaking of England and totally off topic, I just finished the Netflix series, The Crown and highly recommend it! I have been walking around my house speaking in a highbrow British accent 🙂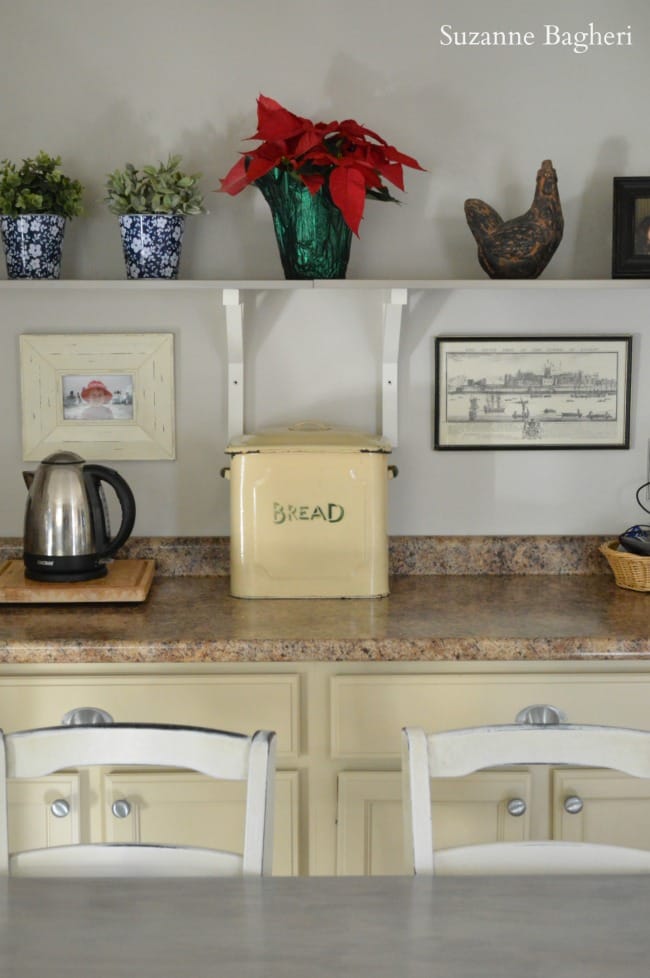
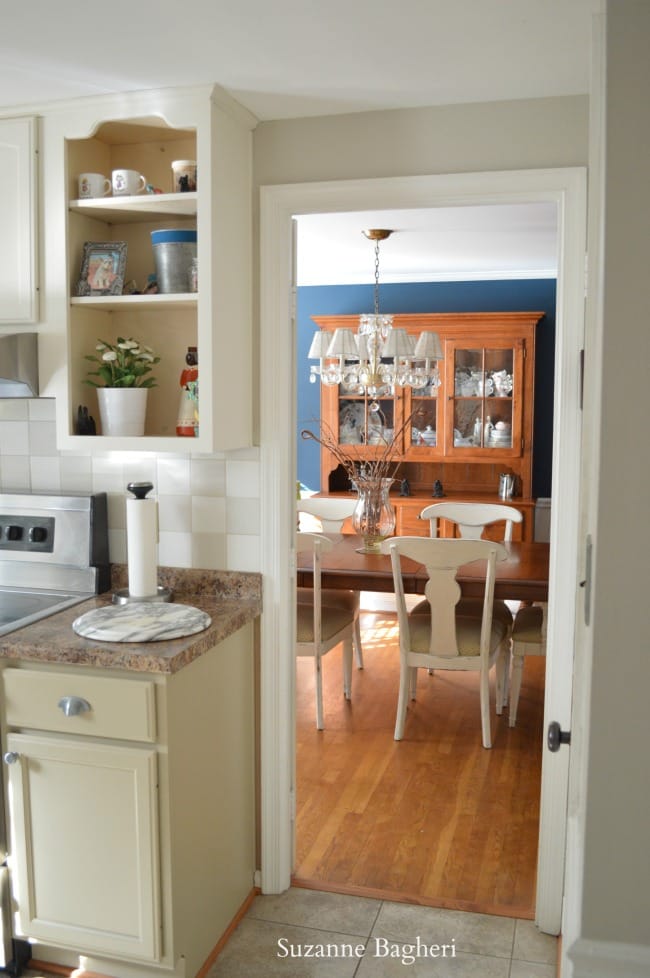
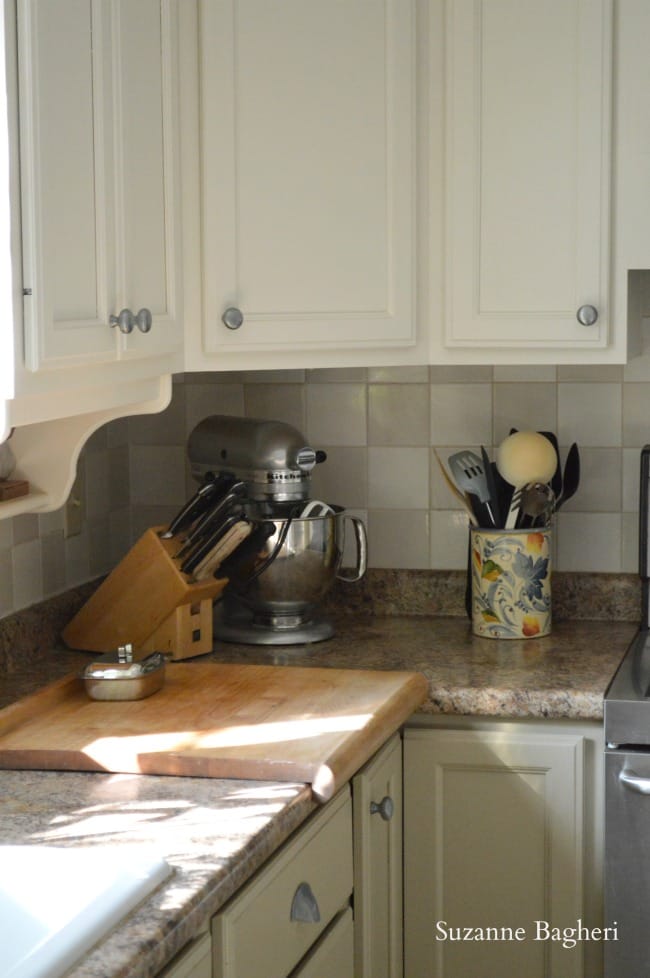
The Ikea shelves are still up and extremely useful. One day I may try to find a thicker, more rustic shelf but these work well for now.
The farmhouse table has had yet another makeover. I wasn’t happy with how white the top looked and wanted to warm it up. I added General Finishes gel stain in mahogany, then java, then another coat of whitewash and then a final coat of gray stain. It was quite the process and truly trial and error on this one.
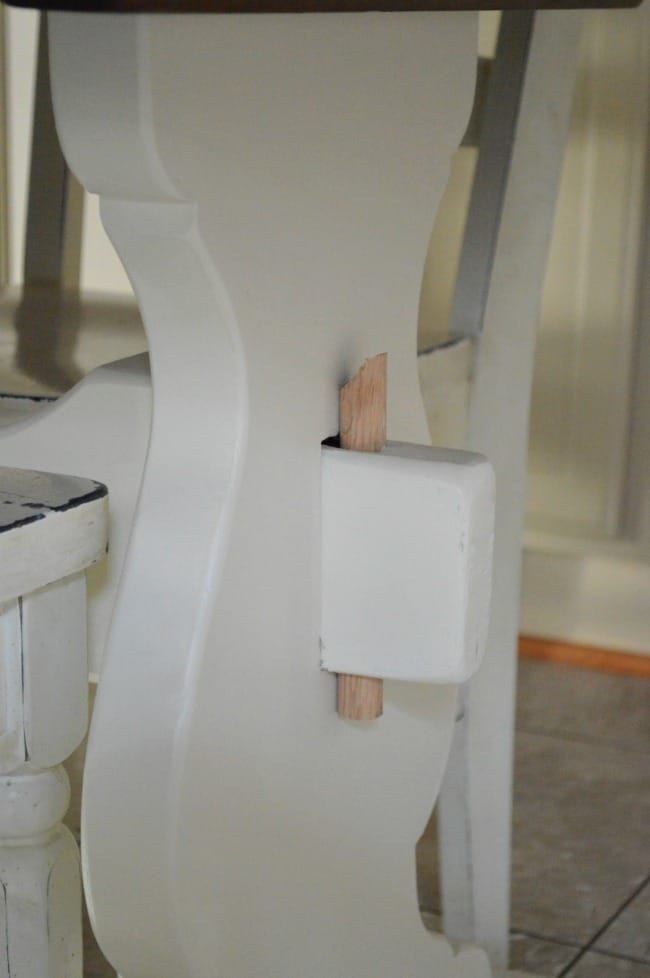
The table was missing its original two pieces of wood that fit on either end of the bottom rail to stabilize the base. I made a few trips to Home Depot and found a round wooden dowel rod. I cut it down to size and made a miter cut on the end for it to fit through the opening. This is a round peg in a square hole but hey, it works!
Oh, my goodness…I finally like it 🙂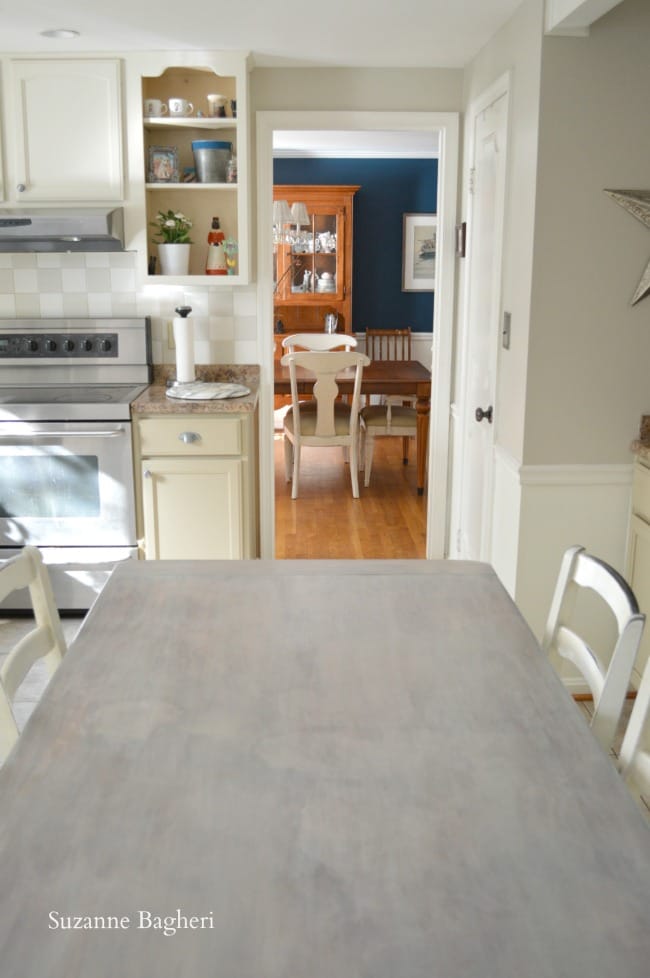

I’m almost done with the easy updates on my house. My next project will be installing new flooring in our hallway and I still really want to remove part of my kitchen wall that leads into our family room. I’ll keep you posted!

Your kitchen is coming together beautifully! I love the contrast of the upper and lower cabinets. Perfect choice!
Thank you so much, Robin! I know that you understand the pain lol!
Absolutely spiffing!!!
Cheers mate!
It looks beautiful! Your choice of colors is spot on! I’ve just finished watching Downton Abbey so am also thinking in a british accent! Ha! Did you sand and prime your cabinets before painting? So nice to see something other than white!
Oh, I LOVE Downton Abbey! So sad it’s over! I didn’t sand them prior because they didn’t need it. The paint went on like a dream right on top of the existing finish and adhered really well. Thanks so much!
It sure looks great! I’m getting ready to paint my kitchen cupboards so I’m curious, did you paint inside your cupboards?
Tania
I painted the backside of the doors but not inside my cabinets. They are already a cream color so they didn’t really need it. I painted my kitchen before (my last house) and honestly, painting inside the cabinets is a huge undertaking. I suggest getting a white shelf paper and lining the shelves instead. No one is ever going to look lol!
That’s kind of what I was thinking too… I took the doors off one cupboard already and converted it into sort of open shelving which required painting inside and even that was a pain in the butt!
Tania
Looks great! I too love the look with the upper and lover cabinets different shades. Cheers!
Thanks Annie!
I am getting ready to paint my kitchen cabinets with general finishes milk paint. The previous owners painted them white but they haven’t held up very well. I’m thinking of going with seagull gray on the island and lowers with snow white on the uppers. Will also use one of their topcoats. How have your lower cabinets held up since you’ve had them done for awhile? Your kitchen looks great and I always look forward to your posts in my email so I can see another beautiful transformation!
Hi Rhonda, the cabinets have held up really well. I am happy with the result. I suggest adding two coats of the topcoat for added protection. I think your idea of Seagull Gray and and Snow White sounds amazing. I had my backsplash to contend with and so I stayed in that color scheme. Best of luck and thanks!
Your cabinets look great, Suzanne! Your kitchen has a similar footprint to mine and we opened a portion of a wall a few years ago and absolutely love it. It feels more open and brighter now. Just thought I’d throw that in there as you weigh whether or not to open yours to the family room.
Hi Marie! Yes, we do want to open it but are going to wait until after the holidays. The floors will be an issue and I need to figure that out first. Unless we do a half wall and I can’t decide which way to go. It is on my radar – believe me! I wish I could see your kitchen for some inspiration!
Your cabinets look beautiful! Did you sand your cabinets before using the milk paint? I’m getting ready to tackle my cabinets and looking at all options. I just finished my island with Antique Walnut Gel Stain but want to go white or off white with the rest of the cabinets.
Hi Pam, I did not sand prior to applying the paint. The existing finish was in good shape and smooth. The milk paint adhered really well with no sanding/prep or primer. I highly recommend it!
The two colors look awesome!
I was wondering how you applied the Flat Out Flat? Like, I think you mentioned brushing on the milk paint one direction for the first coat and then the other direction for the second coat. Did you do it this way with the top coat as well? And did you use a brush or a foam brush?
Thanks!
Hi Joanne, I used a sponge brush for the topcoat. I applied it in alternating strokes as well. It minimizes any marks. Good luck with your project!
Thanks for the info. I have one last question as I’m in the middle of a kitchen reno myself. How long after the last coat of top coat did you wait till installing the hardware and mounting the doors?
Lastly, did you refrain from cooking for awhile until they cured? I’m so scared to mess up all my hard work yet am anxious to get my kitchen back together. I worry that steam and stuff from cooking will mess with the finish before it has time to fully cure. Am I being overly anxious?
Hi Joanne, sorry to be late in responding. I waited only a few hours until I put the hardware back on and reinstalled the doors. The topcoat dries quickly and is ready to go soon. I did not refrain from cooking. The cabinets were done and the topcoat had been on for 24 hours before I actually made dinner again. Don’t worry about that. Let them sit 24 hours and cook away!
Thank you so much!!