Please note that some of the links below are affiliate links, and at no additional cost to you, I will earn a commission if you decide to make a purchase after clicking through the link. All opinions are my own.
I posted this page last June but thought to repost as I have received quite a few questions regarding stains and waxes. I should add that I am now also a fan of Minwax Polyshades. I used this on the Shell Dresser and it came out beautifully. It adds a poly coat to a stain and the outcome is a gorgeous, shiny topcoat. This takes a lot of patience and is not for a project that you need done quickly. After sanding down the top to its grain, apply the first coat and let dry for a day. Sand back again with a high grit sandpaper and reapply. It takes a few days to completely cure but once it has, it is super strong. I also have a few YouTube videos on how to sand and stain your furniture that you can access on my Tutorials page or my YouTube channel.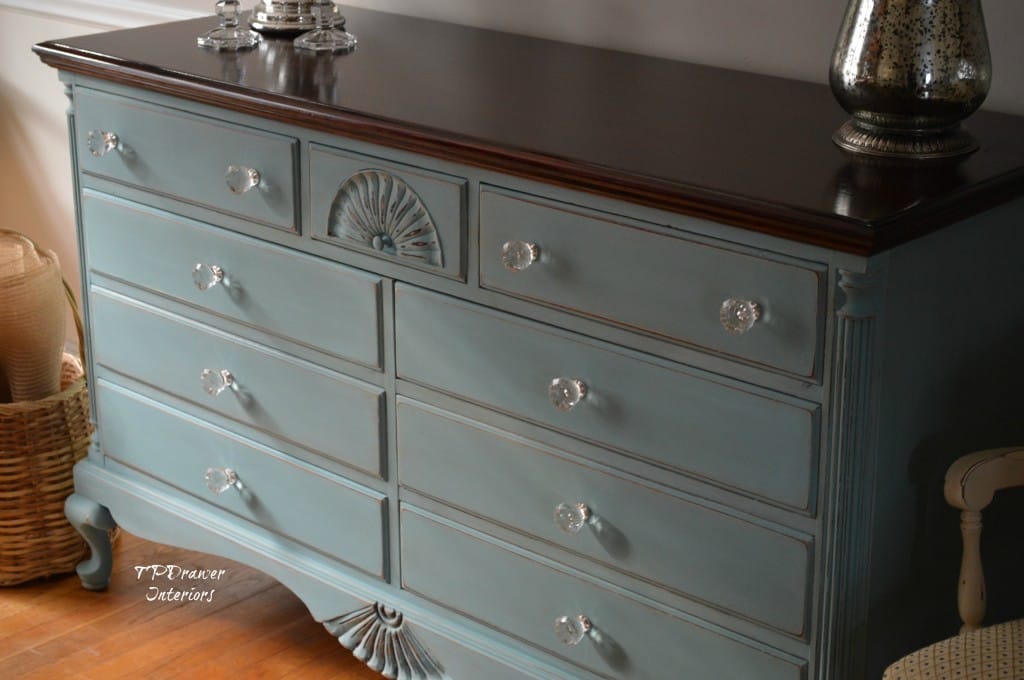
Original Post date June 13, 2014
I have received many questions regarding stains and waxes. I know a lot of you are trying your hand at painting your furniture and I hope these are useful tips to share!
Natur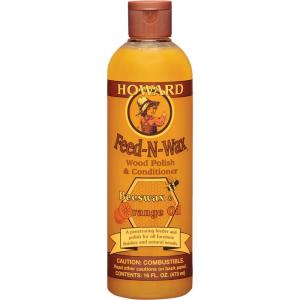 al Wood Tops: After sanding, I typically use Howard’s Feed & Wax. This brings out the natural color of the wood and gives it a protective finish. To change the actual color of the wood, I stain it first. I use Minwax stains and really love the color Walnut for a rich, dark top.
Another great protective finish on either a painted surface or wood, is General Finishes Wipe On Urethane in a satin finish. Use a soft cloth to apply – just apply it evenly going with the grain.
Waxes on Chalk/Clay Based Paint:
Prior to using any wax, make sure your paint has completely cured to a hard finish. This is important, or you will end up with a total mess on your hands!
Wax will change the hue of your chalk/clay based paint – even the clear wax. It deepens the color and gives it a richer tone. It also will give the piece a durable finish that is water resistant so keep that in mind when deciding to wax or not.
You do not necessarily have to wax chalk/clay based paint. If you paint your piece in chalk/clay paint and like the finish “as-is”, you do not need to wax it. If, however, you are sanding the piece down to distress it or to create a smoother finish, you will need to wax. This is because after you sand, the chalk/clay paint will come off easily in a fine powder. Even if you clean it well with a damp cloth after sanding, it still tends to powder off.
I always sand my piece prior to waxing. It does create a mess and I do it outside with a mask but I just prefer it to sanding after waxing. Another way to distress is to use a wet wipe on the edges. This will take the paint off as well.
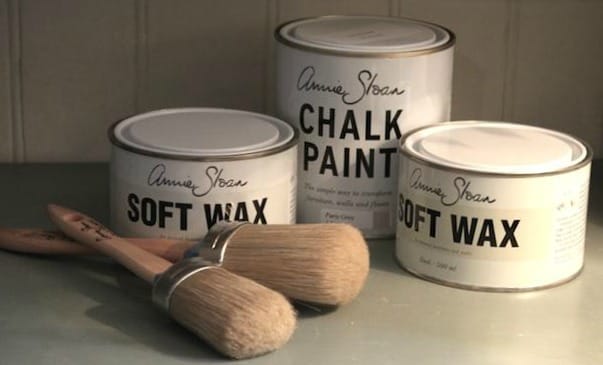 Annie Sloan Clear Wax:
A smooth, easy to apply wax that gives a piece a lovely finishing touch. This wax can be applied with either a brush or cloth. I use a soft white cloth to apply the wax. When applying, only use a light and – very important – even amount on your piece. Too much wax in places will create a splotchy effect and you don’t want splotches! Really smooth it into the piece by softly rubbing it in until the piece is covered in a uniform layer. Look at it in different angles and light to make sure you got all of the piece. Let the wax set until it is no longer tacky and then take a soft cloth and buff it for a shiny finish.
Annie Sloan Dark Wax: A little goes a long way! This needs to be applied on top of the clear wax. If you apply the dark wax directly onto your piece without the clear as a base, it will stain your paint. I prefer a brush for the dark wax. Dab it in and tap the excess off on a piece of cardboard and then apply to your piece. Work it in with your brush into the crevices. If you feel that you applied too much dark (remember a little goes a LONG way with the dark wax) just take the clear wax and use it to rub off the excess dark. Continue applying and wiping off with the clear until you get the desired antiquing effect you are trying to achieve. I just love the look of dark wax highlighting the details of a piece.
Maison Blanche Dark Brown Wax:
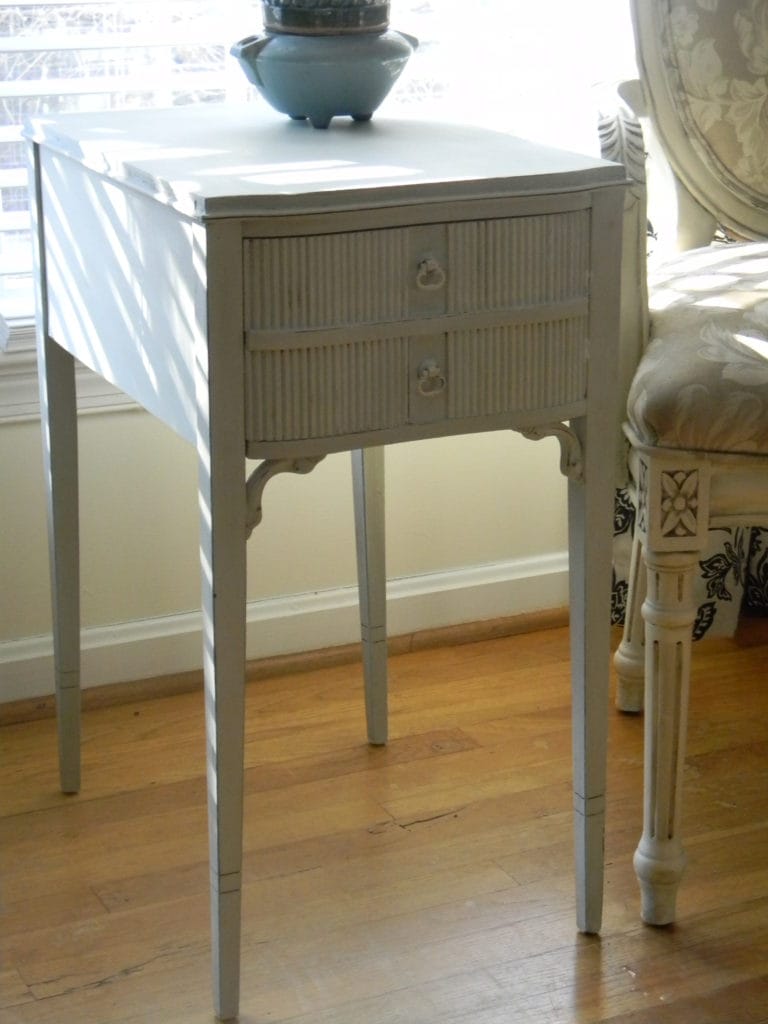
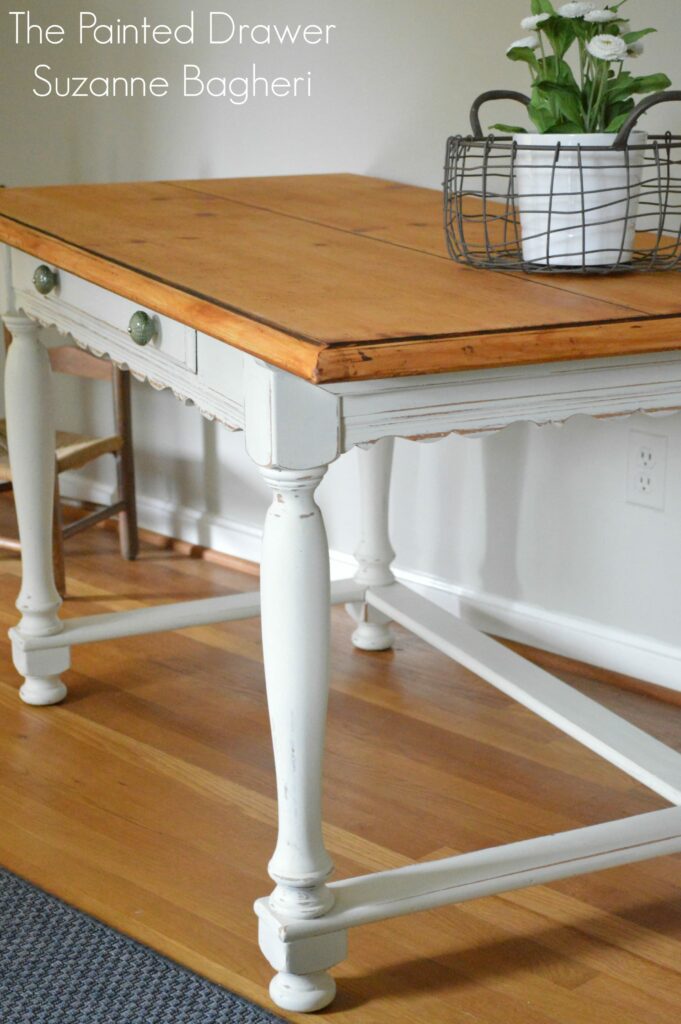
This is a great product. It goes on smoothly and is applied directly onto your piece without using the clear wax first. It gives the paint a deeper hue and I think of it more as a stain than an antiquing wax. (I did a “How To” video on it which you can access above in Paint Tutorials). It can be used sparingly in places to create depth, as I did on the piece below… 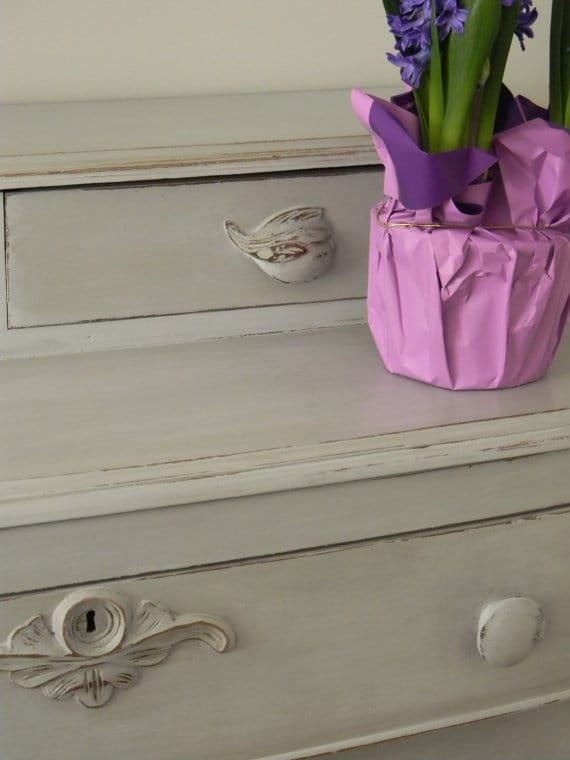 or all over to give the paint a deeper tone. The table below was done with Maison Blanche and the chair in Annie Sloan. I believe you can see how the chair has a more antiqued look to it.
  Please keep the questions coming!
Suzanne
Product List:






great tips! and oh my a high schooler!!!! AAAAAH!
Thank you so much. Waxing is my least favorite chore, but I do love the finished result. I never know exactly how any of my pieces will look until I’m able to wax them. I just wish there were an easier way.
I have not found any info regarding cleaning brushes after using any of the waxes. I have mine in a ziplock bag while waiting to learn how to clean it. How do you clean your brushes after waxing ?
Hi Karen – I use old t-shirts to apply my waxes. I find that a clean, soft t-shirt is great and then I use it to buff after applied. I do have one brush that I use for AS Dark Wax. I keep that one in its own bag because I only use it for the dark and can just re-use it over and over again. I think that there are solutions for cleaning the wax brushes and will ask my stockist her opinion. As far as for stains/poly, I know that I will toss the brush afterwards. Too much work for me to clean – I’m lazy
Thank you Suzanne. I also like to use a soft t-shirt for most flat surfaces, but for carved or grooved areas, I am loving the round brushes to dab and stipple. The round brushes work great but I’ll bet everyone will agree that they are pricey. I have always believed in spending $ when I can for good quality brushes and with the traditional brushes I have owned, I have taken excellent care of them. With this new fangled round brush and the $ invested, I appreciate your asking around about the recommended care . I hope they don’t ruin while in the ziplock bag as they have wax pushed all through them now. I swished it back and forth on some t-shirt fabric to get as much off as I could…then sealed it up in the bag. Today is about day 3 I think in the bag.
Love all your work and have learned so much from you! I have a question, I am wanting to re-do my kitchen table. My daughter spilled fingernail polish remover and it ruined the finish. What would you recommend I use for the top? I would need to have something that would withstand the abuse it gets daily from all things including my daughter (no more polish remover though lol) I love the shell dresser where you used the Polyshades, would that hold up to regular use? Thanks for your help!!!
Thank you, thank you, thank you for this post! I really needed it