Original Post: All About Waxes: My Tips and Tricks
The following remains one of my top pinned and shared posts. I just added info on General Finishes products that were not previously included. Enjoy and I hope it is of help!![]()
I have been using General Finishes products for years. I especially enjoy their Milk Paint. It is an acrylic based paint and does not naturally chip off as other milk paints may do. It allows me to distress where I want and goes on smoothly and dries quickly. I have to say, I really love this paint. Another plus is that it does not require wax – I love chalk paint but let’s be real, waxing is a chore!
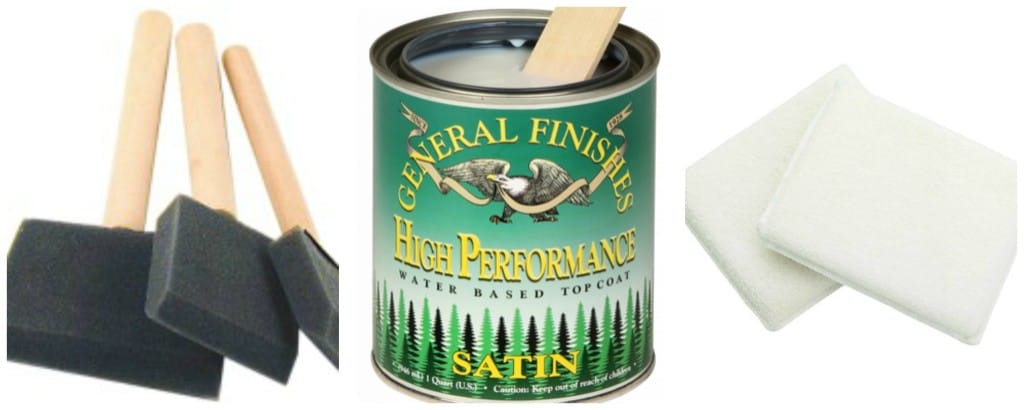
After applying two coats of the paint, I apply General Finishes High Performance Water Based Top Coat. The product is easy, dries quickly and does not smell. It is also water based, which makes for easy clean up! For a matte finish, I use General Finishes Flat Out Flat Topcoat. Both are applied the same way and both give a wonderful finish.
- Tip One: I prefer the flat finish but it comes in flat, satin, semi-gloss and gloss. To apply, take a foam brush and dip it into the sealer. Then brush it over your piece, overlapping your strokes. When sealing a large, flat surface, the larger staining pads work well.
- Tip Two: When applying over a dark finish, say their Lamp Black, be very careful not to allow any sealer to pool or sit on the piece (as in a crevice). When it dries, it will show on the darker finish.
- Tip Three: I find one application of the top coat does the trick but if you are finishing a table top or another piece that will get a lot of wear and tear, then you should apply a second coat.
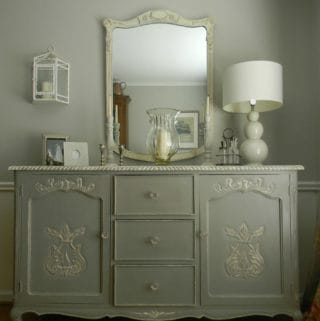
Examples of milk paint product: Midnight Sideboard, Antique White and Gold Dining Chairs (video tutorial included)
I also enjoy General Finishes Chalk Style Paint. It is a fantastic product and dries quickly and is great to distress or layer. I use the General Finishes Flat Out Flat topcoat to seal the chalk style paint. It is applied as above, with a foam brush, and gives the piece a great finish.
Examples: Rembrandt Red Buffet; Vintage Chest in Black Reveal and GF Chalk Style Paint Full Review
Now on to waxes over chalk paint. The following is all about waxes and sealers because I get a lot of questions about this. How to apply it, which brand to use, clear vs. dark, etc.
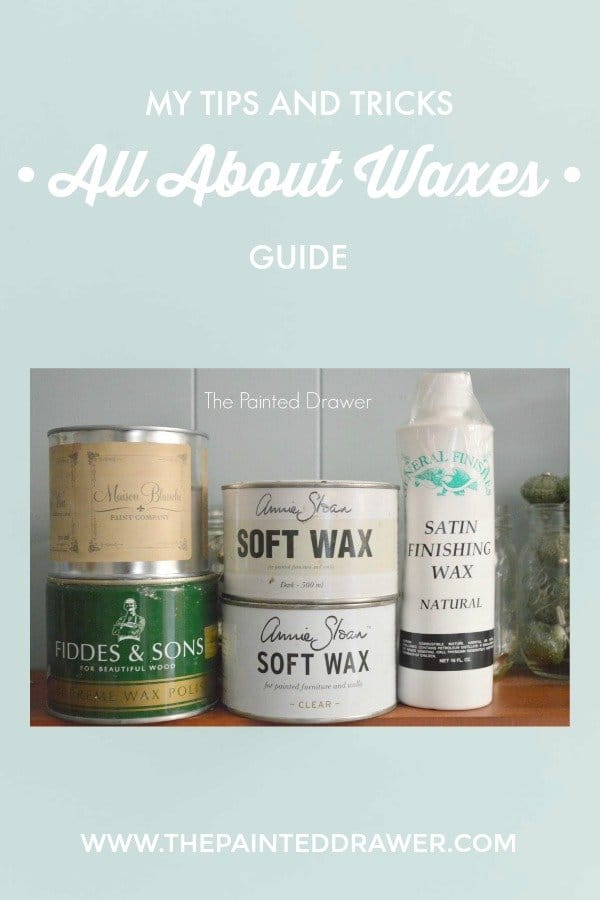
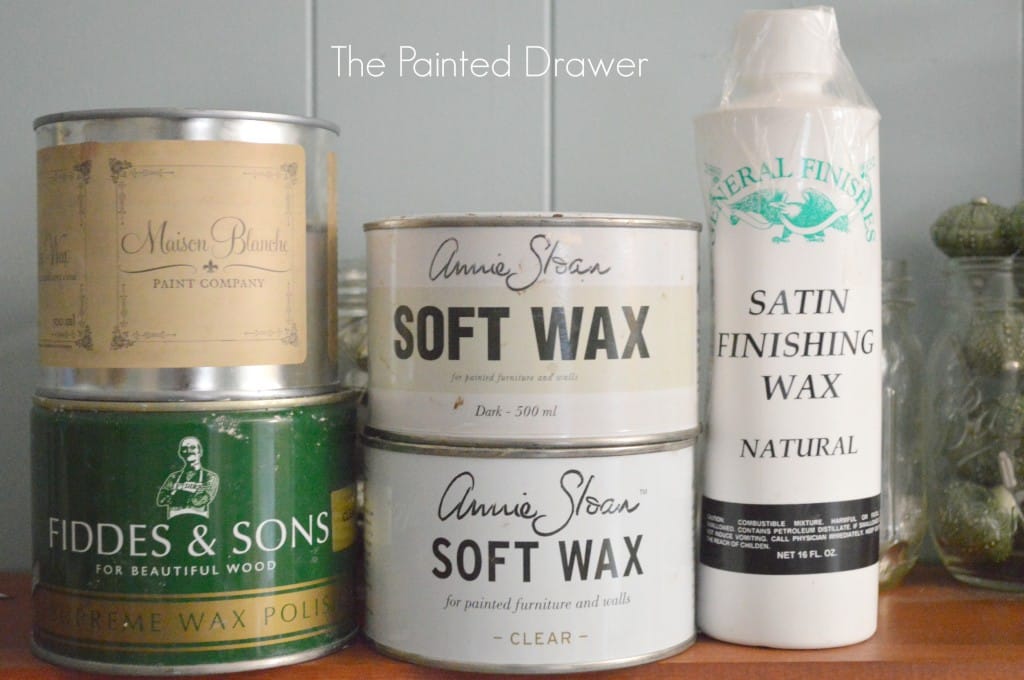
I use the following waxes over chalk based paint – Annie Sloan Clear Wax, Annie Sloan Dark Wax, Maison Blanche Dark Brown Wax and Fiddes & Sons Supreme Wax Polish.
- Tip One.: All waxes can be applied easily with an old t-shirt or a wax brush. I see no reason to go out and buy an expensive wax brush unless you plan on finishing a lot of furniture. An old t-shirt will do for a project here and there. I do recommend a brush for Annie Sloan Dark Wax as the bristles get into a piece’s nooks and crannies better. I use a stencil brush I bought from AC Moore that was pretty inexpensive.
- Tip Two: I sand all of my pieces with a super fine sanding sponge prior to waxing. I take the sponge and go over the entire piece in a circular motion until smooth and there are no sanding lines left. You can sand after waxing but I prefer prior. I also do all of my distressing prior to waxing. This way, my distressed bits are sealed nicely and the finish of my piece is super smooth. I have heard from other bloggers that there is no way to get around brush marks when using chalk paint. This is not true. Follow my advice and sand prior to waxing and all brush marks will disappear. Beware that it is messy and I use a mask while I do it.
- Tip Three: After I sand, I use a slightly damp paper towel to wipe off the chalk dust before I apply my wax, or (my secret) I use a handy leaf blower in my garage that I bought for this purpose ($40 at HomeDepot) and it blows all of the dust away. I also use the blower to blow away all of the debris when I sand back the wood on top of a piece to refinish it.
Waxes:
Annie Sloan Clear Wax goes on well and doesn’t have too much odor. However, it is thick when applying and you really need some elbow grease to rub it in. Apply it section by section onto your piece. It will stain your piece if you leave it sitting too long on one section without rubbing it in. I have to really stress the fact that you should only put on a thin layer and do not glob it on. I apply it in a circular motion and really buff it in. After it cures, I go over it again with a soft, clean cloth to give it more sheen. This wax dries beautifully into a hard and super smooth finish.
Fiddes & Sons Supreme Wax Polish is super easy to apply. It goes on like butter – super smooth – but it does have a strong odor. I actually open the door or window if I’m inside while applying and it takes a few hours for the smell to dissipate. However, it is so easy to apply that it is worth dealing with the smell. It gives a great sheen and smoothness to a piece.
Annie Sloan Dark Wax always needs to be applied on top of a dried/cured coat of clear wax. If you apply the dark directly onto your paint, it will stain and smear. This wax is super dark and you need only a tiny bit to create an aged look. I tend to use it only in crevices or detailing that I want to look aged. In my opinion, it is a tricky product. Used sparingly, it can create a fantastic finish – really beautiful. Use too much and your piece will just look dirty. If too much dark is applied, you can take clear wax and wipe it off. However, it will not totally come off and will have darkened the piece. I’ve heard of mixing the dark wax with mineral spirits to create a mixture that can be applied with a paint brush. I will try this soon and let you all know the results.
Maison Blanch Dark Wax does not need to be applied on top of clear first. However, it is not the same look at all as the Annie Sloan. It does not give the same aged look. It is more of a stain than a wax and as you apply, your piece will turn a deeper hue. It does not streak and goes on easily. Not much odor.
Tips from Readers:
Thanks for sharing Suzanne-I use AS dark wax with hemp oil at the same time and it goes on easy and fast with a brush and I can control the shade. I agree about using an old T-shirt-no need to buy an expensive brush. I also find old white socks to work well for waxing…Darrielle @ D.D.’s Cottage and Design
Thanks for the tips Suzanne! I’m excited to try the Fiddes & Son, I’ve heard good things about it. When I use Annie Sloan dark wax I actually mix a little of the dark on a paper plate with some clear wax. Mix it together well and apply. Eliminates the two step process and I find you can control the color better….Traci @ The Vintage Peacock
Hi Suzanne – I’ve been painting furniture for a while now and just wanted to add my little tip. I used to put apply so much pressure when applying wax and buffing, but after much experimenting, found this often will actually remove the wax you’ve just applied and not always giving you a nice sheen. As long as your surface has been sanded smooth all over after painting, you can just apply the wax with little pressure. No need to rub so hard. I do use a waxing brush for soft waxes and I let the brush glide over lightly with little pressure, going back and forth until I see the sheen. If you apply a thin coat of wax this way, you hardly have any buffing left to do. Your sheen will appear right away with just the brush. I love Fiddes wax but after reading the label, I try not to use it too often. I, like you, do sand down all my pieces after painting and distressing and this does make such a huge difference. I just find it tough in winter when I cannot open the garage doors to control the dust that escapes from the garage to the house? I am constantly having to dust light fixtures!!!!! I try to vacuum up the dust often, but it does travel to the rest of the house…Mary @ Orphans With Makeup

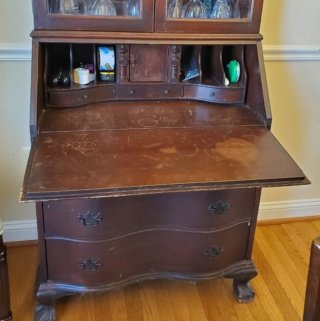
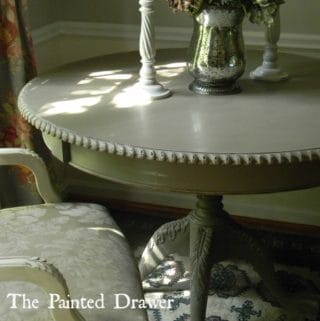
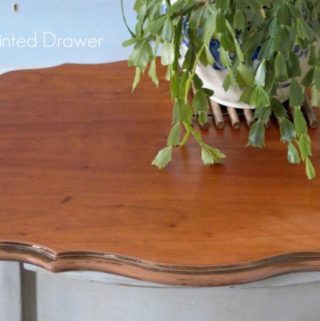
On a slightly different topic, I have a mahogany stained small round table that I want to stain black. How do I do that? Sand it down and just re-stain with the black? And what brand stains do you use?
Hi Linda, I would suggest sanding it back and staining again. You can try first to wipe General Finishes Java Gel on top of the existing finish and see if it is dark enough for you. I will save a ton of work!