It’s so easy…they say. It just takes a few hours…they say. Just buy the boards and glue them on your wall …they say.
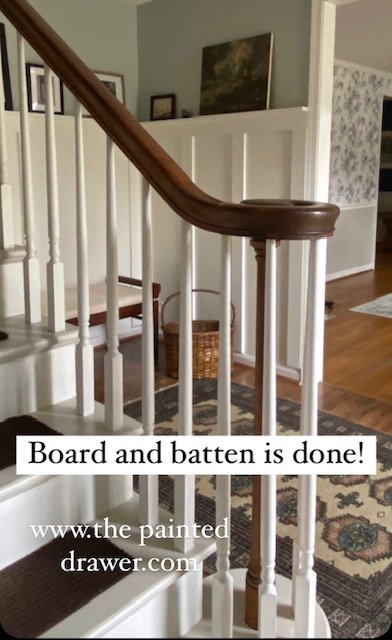
Do not pay any heed to any DIY blogger who tells you what a breeze it is to install board and batten! I read the instructions on another site, purchased the materials and set out on this board and batten adventure with my unassuming husband, who had never before heard the words, “board and batten” and I can assure you, never wants to again.
Okay, so maybe I am being overly dramatic. And quite frankly, if I didn’t always want to start projects quickly without truly thinking them through and doing my research, then maybe this would have gone smoother. Or, I could have married a carpenter instead of an IT Engineer, but that ship has sailed.
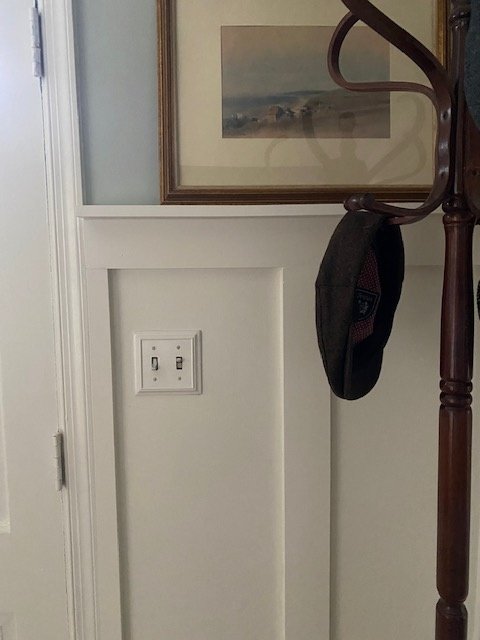
We started on a Saturday morning with a drive to Home Depot where we purchased the boards according to the online directions I had found (Item List below). We then came home, stood in the foyer and looked at each other, waiting for the other to say how to start – how high the top board should be, how far to space the vertical boards, etc. The question of how high to place the horizonal top board was quickly answered when my husband dismantled the old alarm system. When he pried off the sensor that was attached to the wall, we discovered that when it had been installed, the security company had literally created a hole large enough for a small rabbit to enter. We made a quick decision to start exactly at that height in order to cover the newly discovered rabbit hole in our wall.
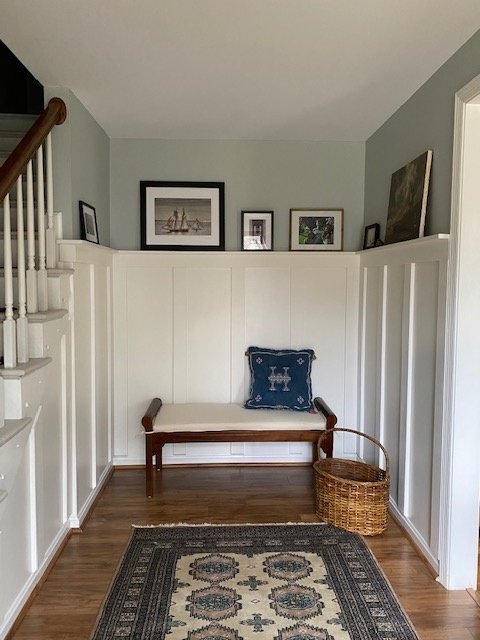
The top boards were actually pretty simple. My husband cut 45 degree angles for the corners to miter the joints and using a level and a nail gun, he attached them to the walls.

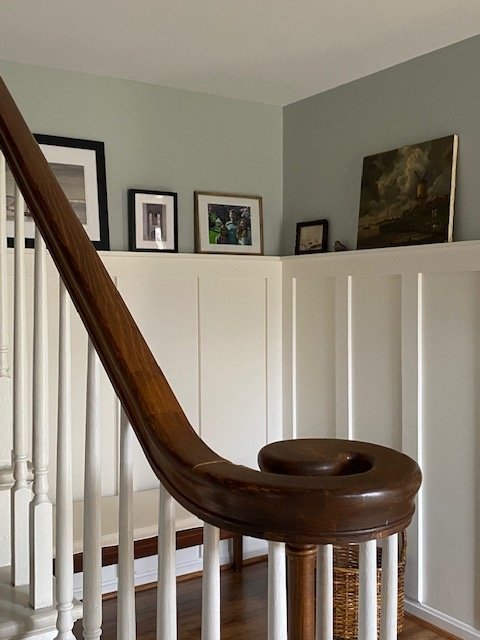
Then he proceeded to install the top shelf/ledge along each wall over the horizontal boards. Again, he measured and mitered the corners on the boards and nail gunned them all in. We had gone with the 1×2″ boards (as I had read in the online article). He installed all of them. It was only after he had finished that I actually took a good look and told him that they were far too narrow to place any pictures on and that we needed to take them all down and replace them with wider boards.
So he took them down, smiling and laughing as he did so and telling me how beautiful I was.

Day 2…we began by measuring the back wall and deciding how far apart and where to place the boards. I had assumed that we would basically start running the boards vertically along the walls, spacing them out evenly starting from one end and making our way around. However, each wall is a different size and if we had done that, we would have had them all in odd places (like too close to a door opening and not matching from the right wall facing the left wall). I had to decide about how far apart I wanted them and then measure each wall, subtract the width of each board from that measurement and then divide them up. OMG! It was a nightmare. Not the math – just my deciding how far apart they should be to look right on each wall. I decided and he installed half of them. I then decided I was completely wrong and they had to all come down. I must admit, I did this multiple times.
So he took them down, smiling and laughing as he did so and telling me how beautiful I was. Day 2 ended.
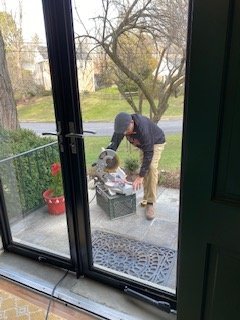
One week went by. Back to the following Saturday now!
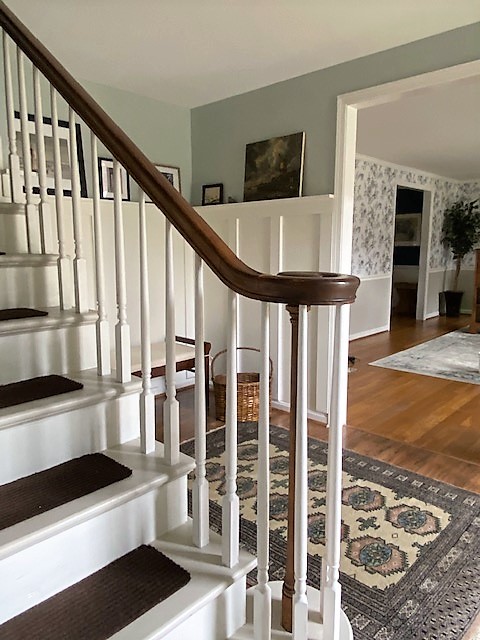
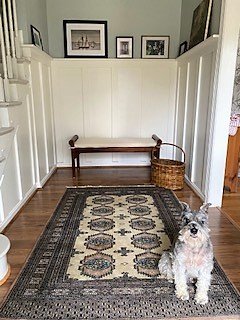
I finally figured out how far apart I wanted the vertical boards and my husband did the rest and leveled each vertical board as he nailed them in. For the bottoms of the boards, he cut them at an angle so so we didn’t have to replace our baseboards. We literally just replaced our floors and didn’t want to open that can of worms! Now the boards just angle downwards towards the existing baseboard and look great.
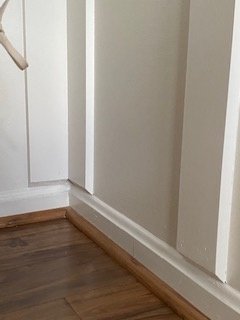
While he leveled and cut, I started caulking and then had to make dinner. When I returned, I immediately saw that a horizontal board was not level. Actually, the board was level but looked off because the ceiling is not level to the floor. I had my husband take that board down and level it according to the ceiling (just a smidge up – not enough to make a difference to the ledge running along the top but enough that if not done, would have always looked askew).
So he took it down, smiling and laughing as he did so and telling me how beautiful I was. Day 3 ended.
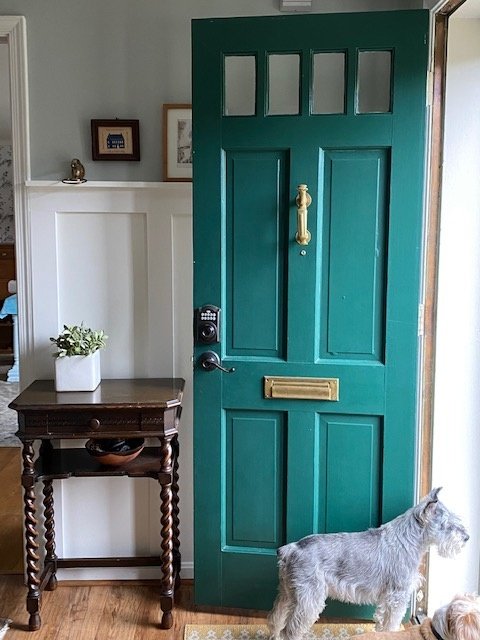
On Sunday, I ran to HomeDepot and bought the new, wider 1×3″ boards for the shelf. He then cut/mitered and installed the new ledge that is SO much better. That extra inch makes a huge difference and I can now place my artwork, etc. without it being perilously close to falling off the edge. He also did all the fiddly bits around the doorway opens, etc. We used a few of the 1×2″ boards for around the front door. Day 4 ended.
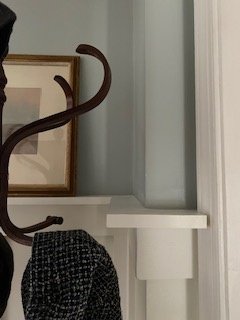
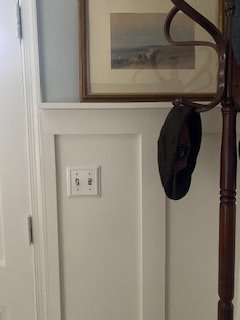
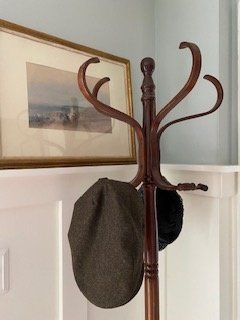
I then spent countless hours during the week caulking, filling in holes, sanding and painting all of it and only just finished! I do like to give my husband a hard time but honestly he did such a great job, especially as I just kept changing my mind and almost took down as many boards as we put up by the time it was all done.
Here is a breakdown of what we used for our project:
- Boards – primed and 8ft long.
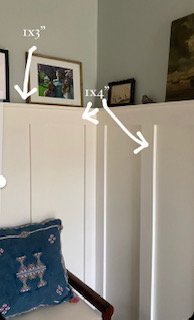
- 1×4″ boards for the battens (vertical boards and top board)
- 1×3″ board for the ledge that runs along the top
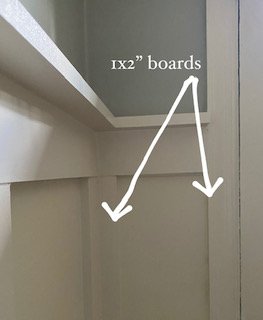
- 1×2″ boards for the trim around door and in small corners
You will need:
- The patience of a saint.
- Miter Saw
- Level
- Calculator
- Nail gun
- Sandpaper
- A TON of caulk and spackle
- Paint
- A good glass of wine/beer or something stronger.
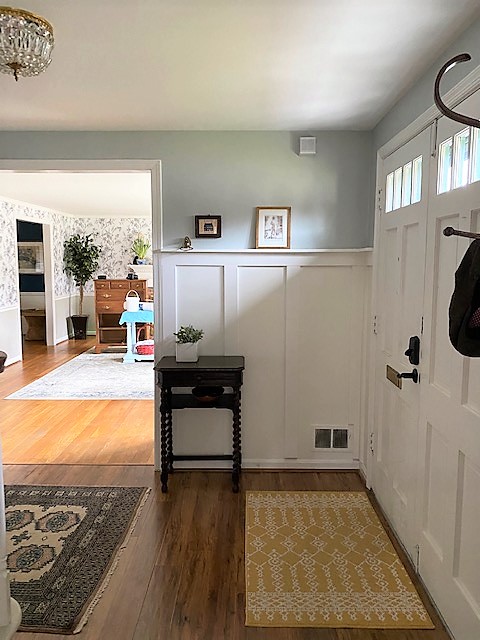
Paint Colors:
- Benjamin Moore Cloud White in semi-gloss
- Sherwin Williams Silver Strand in eggshell
- Flooring: Pergo Applewood
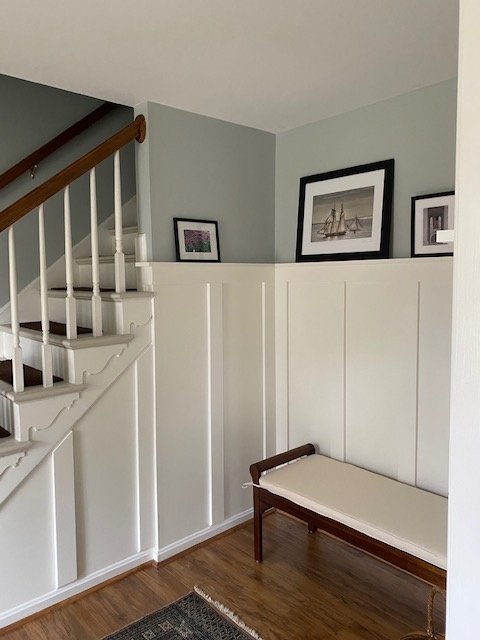
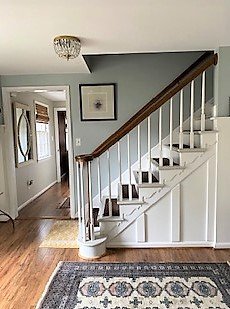
The yellow rugs are from Target. We have a little landing rug at the bottom of our stairs for our schnauzer, Lucky. He is 13 and needs a soft place at the bottom or he get nervous going down the stairs. I just bought the bench from Wayfair and it is perfect in the space!
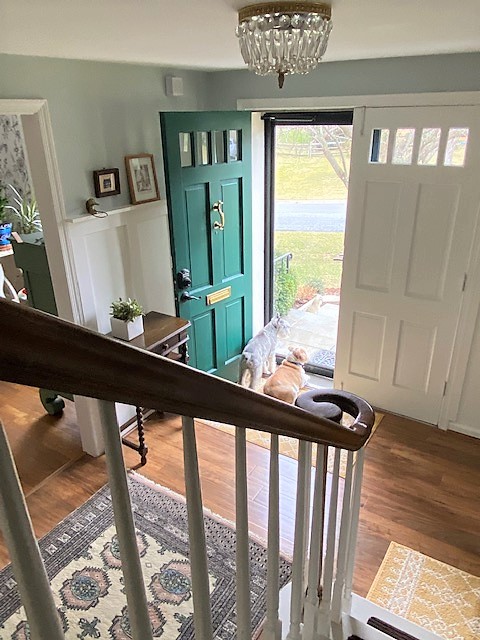
We had a lot of extra material because the boards were 8ft long and we had to use only one board per batten. If you want to make your project more economical, you can install 4ft tall battens and get two out of the one board (or split whatever size height boards you purchase into two). We plan on finishing our basement soon and hopefully we can use the overage then. The original 1×2″ pieces for the ledge (that we didn’t use) were just a waste but again, hopefully we can use them in the future.
Disclaimer! My husband is actually lovely and this post is all in fun







I feel like I could have written this post as we also b and b’d a room last month and it was not as easy as all those bloggers say! We too found wall issues that dictated where the horizontal boards were placed when we removed wallpaper put up by prior owners. I think I spent a couple days filling holes and caulking seams, but we’re happy with how it turned out and can laugh about it now! I don’t think we’ll do this again, shiplap was much easier! You and your husband did a great job- it looks terrific! I love the color of your front door, too!
Hi Caroline, maybe the next house!
I know you understand the pain lol! Talk about caulk – holy smokes I think I went through an entire container and then some. We are SO glad it is over and SO glad we will never have to do it again. Although, now that we have I know that the second time around would be a ton easier! Thanks again! I am not about to embark on shiplap
Your husband is a saint! I can’t even imagine what my husband would say or do if I had him take down what he just put up! And more than once! ??. But oh, it is BEAUTIFUL! Thanks for sharing that fun post!
Dear Susan,
Thank you so much! I am so happy with it and SO happy that it is done! Never again lol!
The finished product looks amazing! You both did a great job! My husband will not even attempt this (so my walls are still plain). Also love your sense of humor! Thanks for sharing.
Hi Sharon,
Thanks so much! You just have to laugh at yourself sometimes
Looks great! You did a terrific job and it elevates the space. Enjoyed your comments and know from whence you come. Thanks for sharing.
Hi Suzanne this is regarding an old post about painting laminate. I tried sanding, primer for shiny surface, and latex paint. It scratched off easily. Was my mistake not using chalk paint? Thank you Irene
Hi Irey, Yes, your mistake was the paint. I recommend Annie Sloan and using her laquer over it (which is what I did) or another great product is Slick Stick by DixieBelle as a primer, their chalk mineral paint and then Gator Hide to seal.
Good luck!