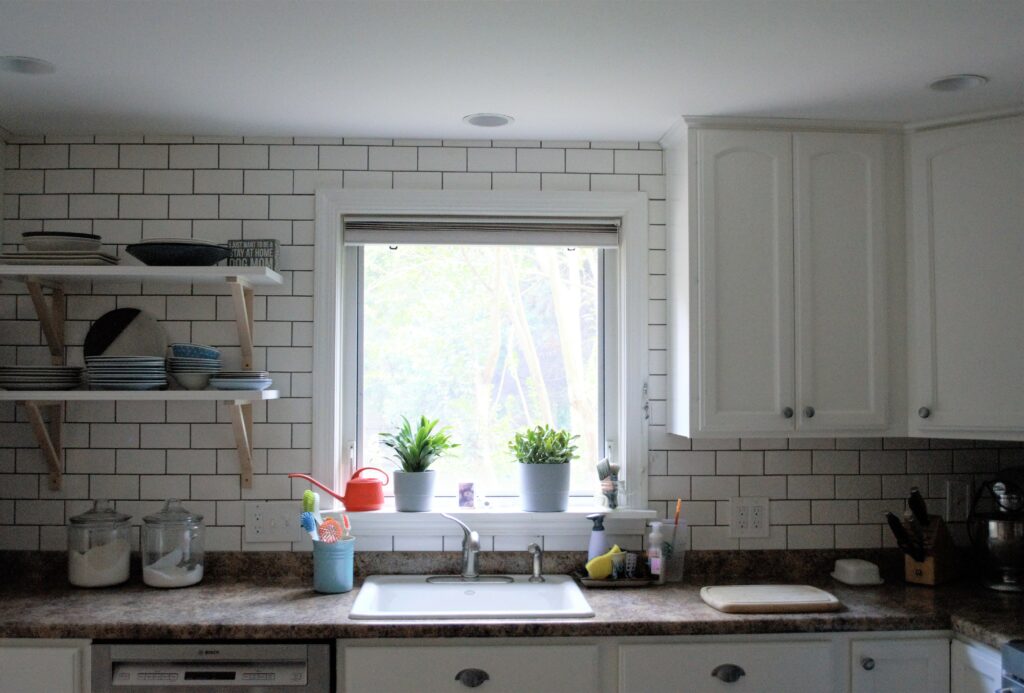
It has taken SO LONG to finally accomplish this task! Back when I decided to update our kitchen by knocking down part of a wall, painting my kitchen cabinets and adding a subway tile backsplash, I decided to remove one cabinet to make an open space next to the sink. We then installed the subway tile up to the ceiling. The next step was to add open shelving on that wall.
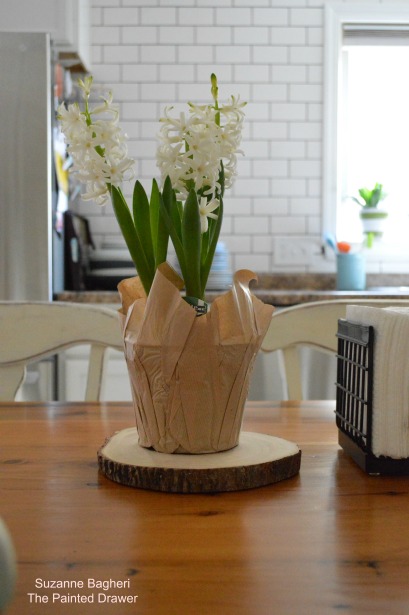
At first I wanted the rustic, solid wood slab shelves that are popular these days. I honestly love them. However, they were way out of my price plan. Even with a sponsored post discount, they were going to run $700 for three shelves plus brackets. I also was unsure what color wood to choose that would complement and not compete with our large farmhouse table. I had to put that idea on hold.
I also waited because I knew that drilling into the tile was going to be quite labor intensive and time consuming and nerve wracking! It ended up being all of the above!

I decided on open shelving from Ikea. I really like the look and ordered the shelves online. They sent me the wrong ones – this project just kept running into delays. I had to drive to the closest Ikea to resolve the issue and purchase the correct ones. I needed the wider shelves because I need to place my larger plates, etc. on the shelves (they had sent the narrower ones) plus I needed the correct length.
Once I had the correct shelves home, we went to Home Depot and researched the screws and the inserts we would need to install them tightly and securely on our wall. The shelves are heavy and with plates, etc. on them, they will be even heavier. Also, they are not going into studs but into drywall.
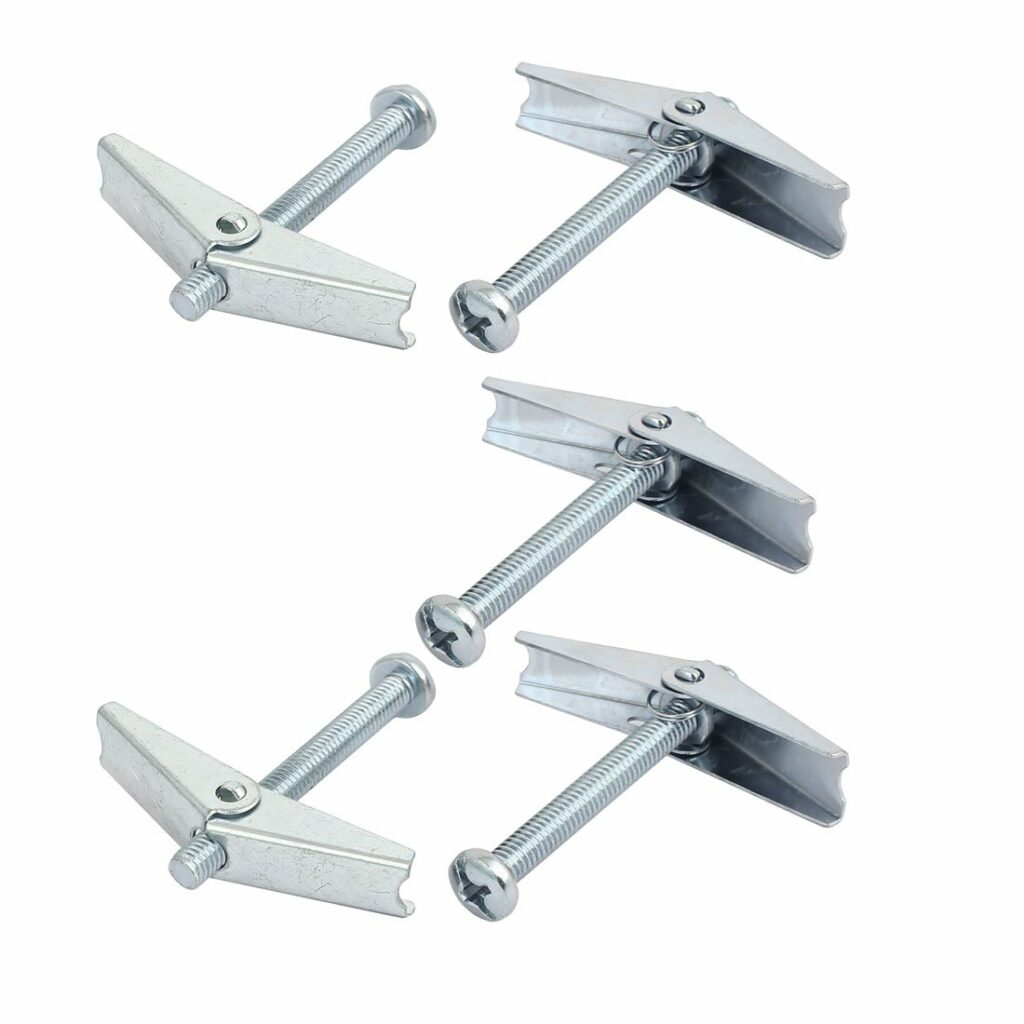
We chose the correct toggles. These open up once drilled inside the wall and hold 100lbs each. I knew that the shelves would be secure with four per shelf installed into the wall. Now for the screws! The screws had to fit through the holes of the shelf brackets, through the size of the holes in the toggles and (at my insistence) be gold (the screw heads show through the brackets and the screws that came with the toggles were silver). Yes, we were at Home Depot for at least an hour finding the correct screws!
Next, we purchased a diamond drill bit that drills through tile. We finally had everything we needed to begin. I marked out exactly where the shelves were to go. This took AGES to do. I was extremely nervous because once the holes were drilled through the tile, they were there for good! No changing my mind (which is hard for me).
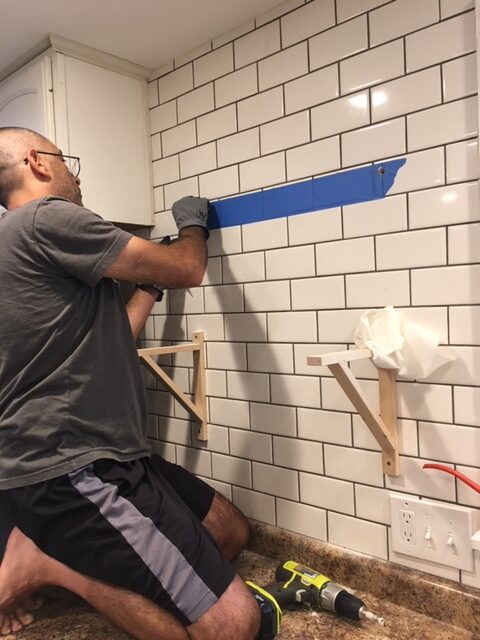
We ended up marking the spots on the tile where we wanted the holes drilled and used painters tape to create a straight line from one mark to the other. This insured that the holes were level and it was a lot easier to start drilling first through the tape because it was not as slippery as starting to drill directly onto the tile. It was even more slippery because as my husband drilled, I had to keep the drill bit wet by pouring a light stream of water on the bit as he drilled. This kept the drill bit from cracking the tile (similar to a wet saw). Once the holes were drilled, the screws went through the brackets and thread through into the toggles, which were popped through the holes into the wall. Lining up the brackets to make sure they were level vertically, we again marked where the bottom holes were to be drilled and drilled in the bottom holes and repeated the process.
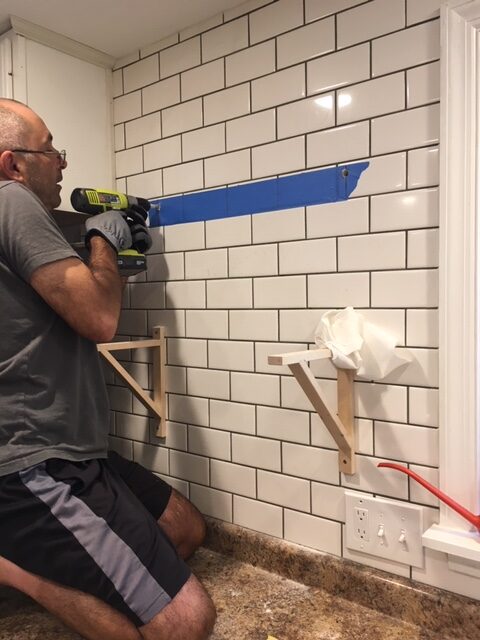
Boom! The brackets were up! And we didn’t break any tiles!
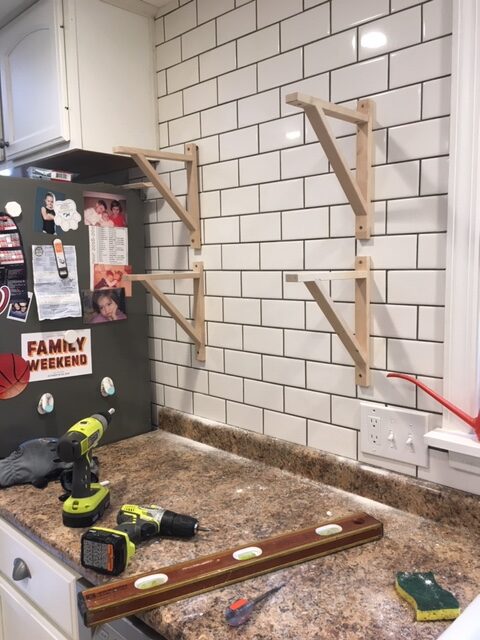
Here is how the shelves look now! I am so happy to have this project complete!
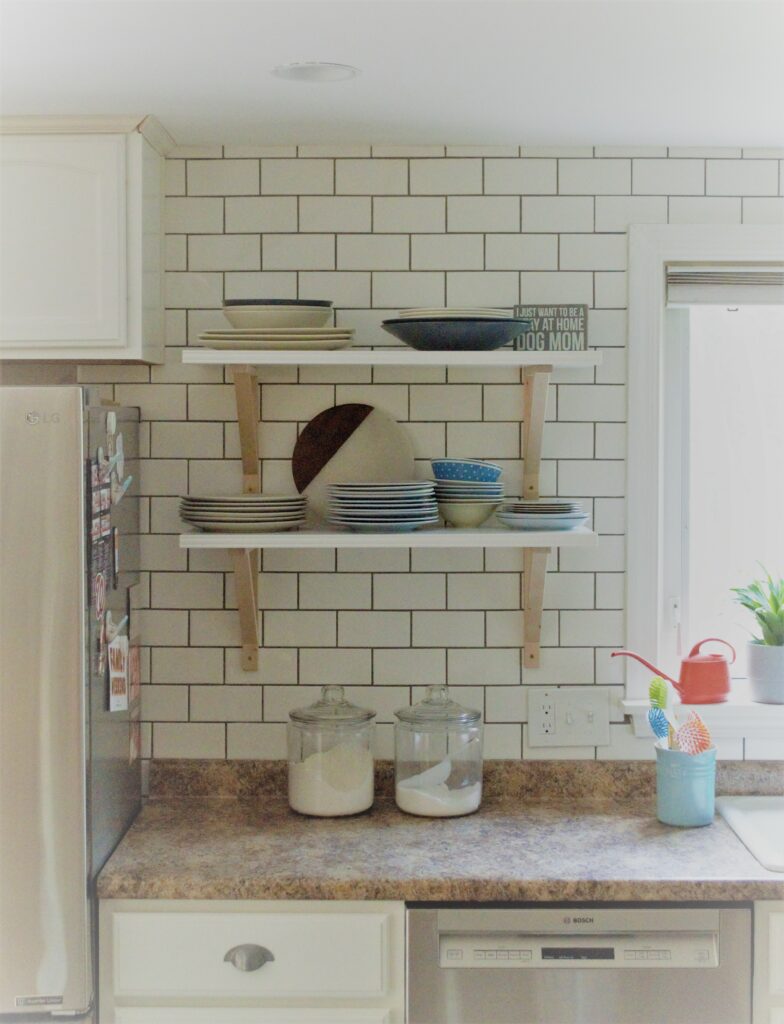
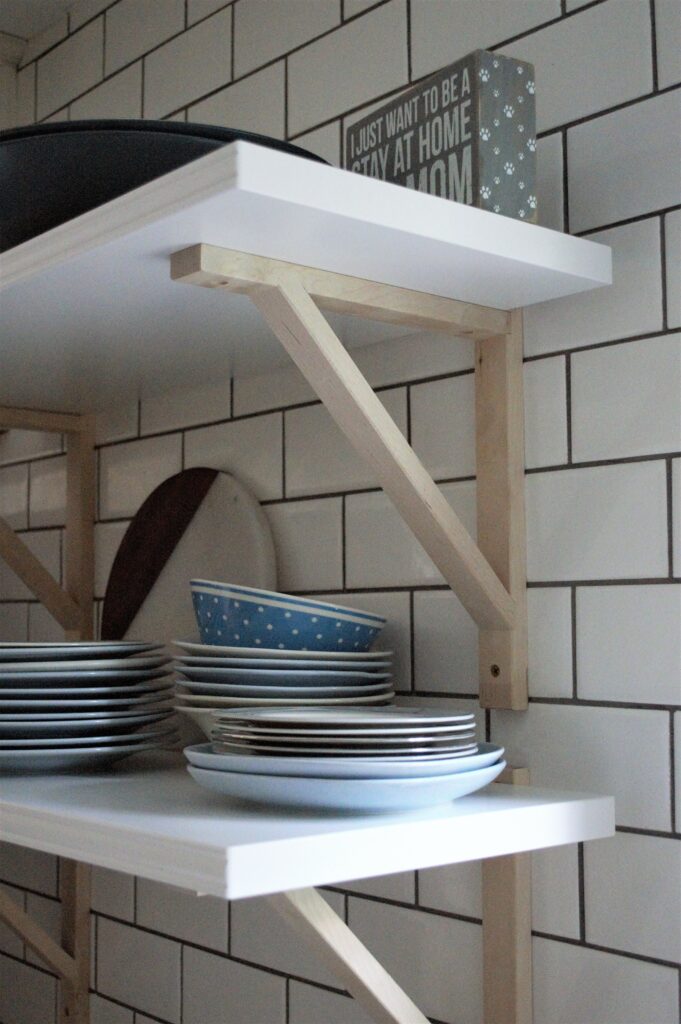
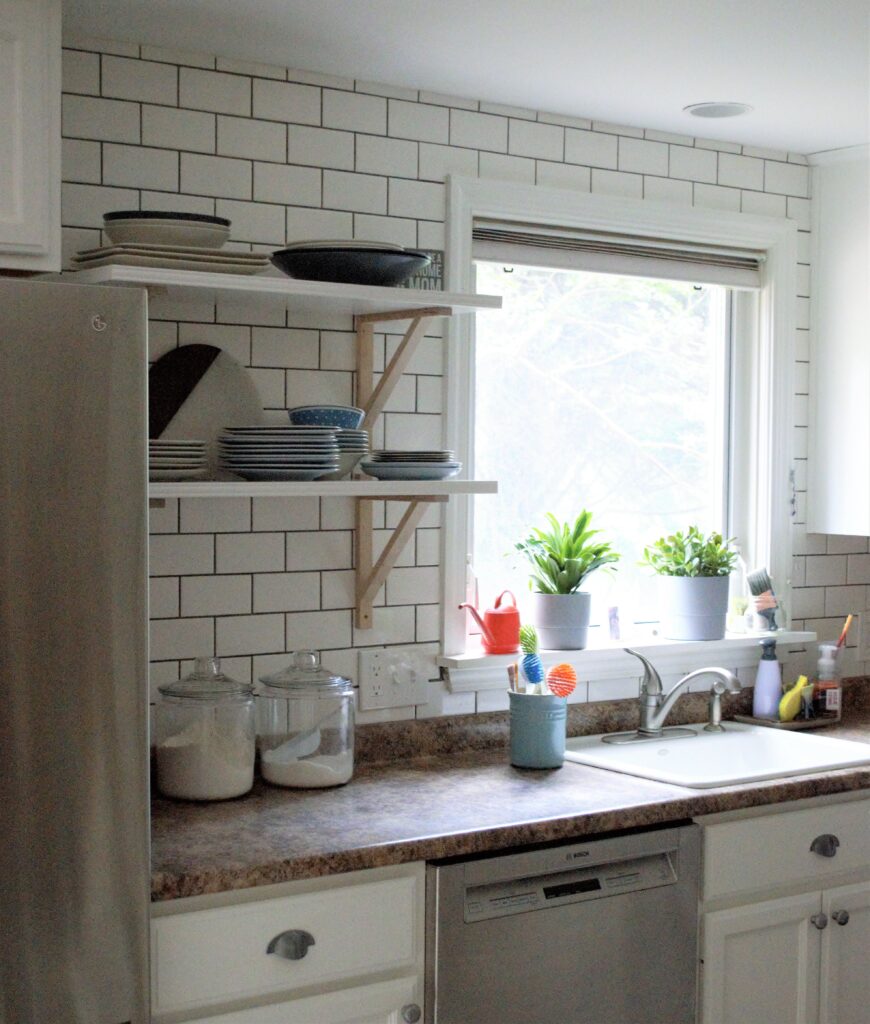
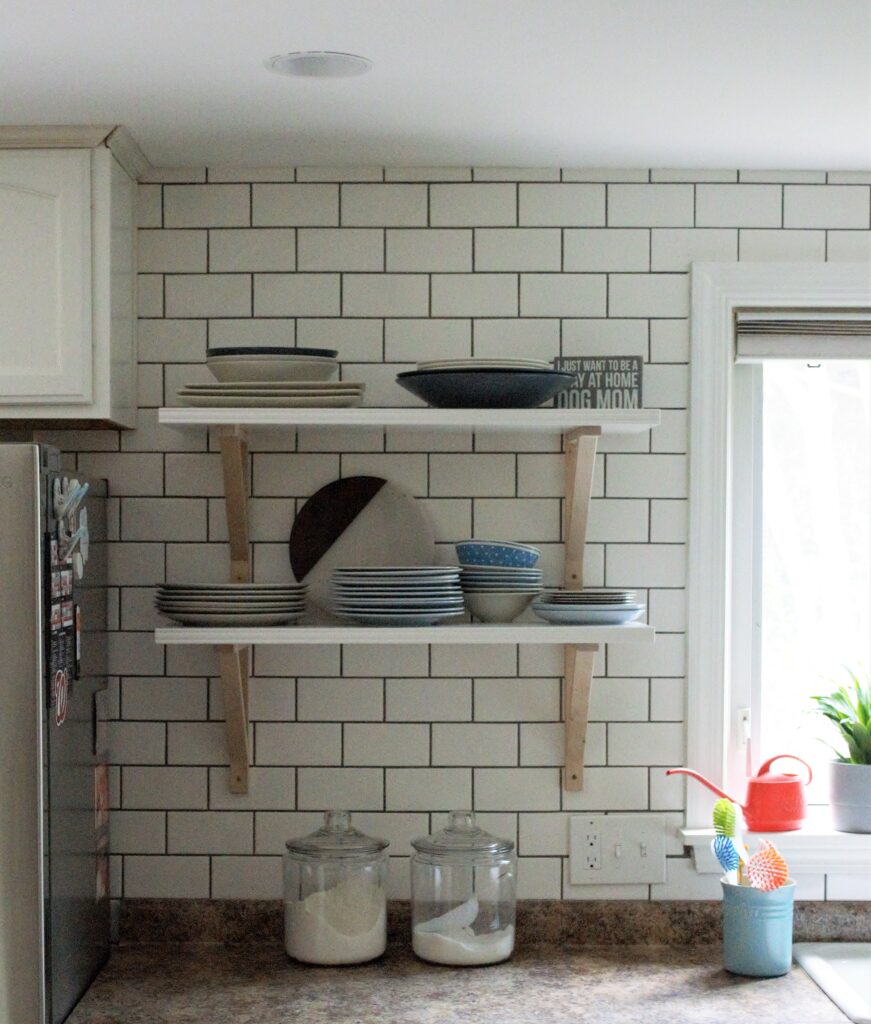
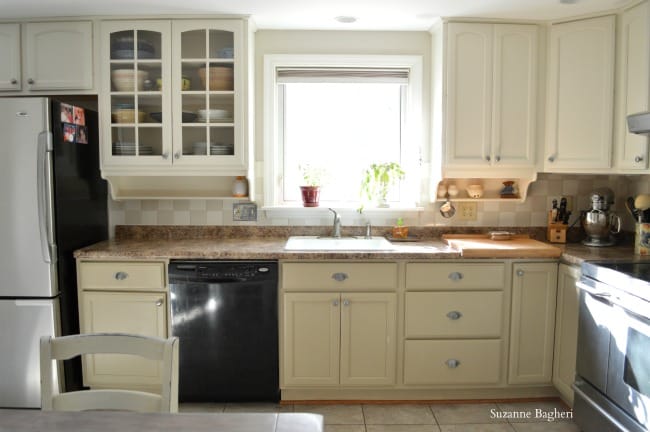
And we really, really need a new countertop! I wish I could just wiggle my nose and it would appear but I don’t have magic powers! Here is the before and after pic at this juncture.

And here are a few random pics to share! We just came back from our California vacation and here are updated shots of the dogs! Have a great weekend 🙂




Sometimes the ‘little’ jobs take a lot of time!
Suzanne, I am considering painting my 20 year-old contractor-grade cabinets. This is a tough decision because they are still in pretty good shape apart from the finger damage on the most used.
Questions:
How are your cabinets holding up after painting?
What paint and sealers did you use on them?
Do you think that having knobs and pulls helps to keep the finger markings down? (My cabinets just have a finger slot under neath the doors and we neglect to use them.)
Thank you very much for your help! I really enjoy seeing your fantastic work.
Kind regards,
Sharon
Hi Sharon, I would say go ahead and paint your cabinets but make sure you take the time to do it right. Clean them well first and make sure to mark each one after you take them down so you remember which door goes well. I use Benjamin Moore Advance paint that is self leveling and a paint and primer in one. It took two coats to cover well and I used a small brush to get into the crevices but a foam roller to finish to create a smooth finish. I happen to love hardware on cabinets. It’s like the finishing touch and there is so much to choose from! They will keep your doors cleaner but it does depend on the look you are going for. Best of luck!
Your shelves look great. Very nerve-racking I can only imagine. But your Doggies are BEAUTIFUL!!! Really appreciate seeing pictures of them!! 🙂 Thanks for that!
Hi Mary! Thank you so much! I hope you are enjoying your summer!