
It is a cold, snowy morning here in Maryland and we are all snug inside and enjoying a lazy snow day! I kind of need the rest as I’m recovering from a very nasty cold and also from finally finishing this massive job – the Hampton’s Farmhouse Table 🙂
The table was originally purchased by my sister at a shop in the Hamptons (hence the name!). It is handmade and honestly, was pretty pricey.
She had it in her home in Brooklyn for years but when they moved to their new house, it didn’t fit the space properly. They’ve opted for a more modern table that extends for large family dinners. She asked if I wanted it and so (of course) I said yes.
I quickly emailed my shipper, Bill and he picked it up for me and delivered it a few weeks ago. Here it is in my kitchen the day it arrived.
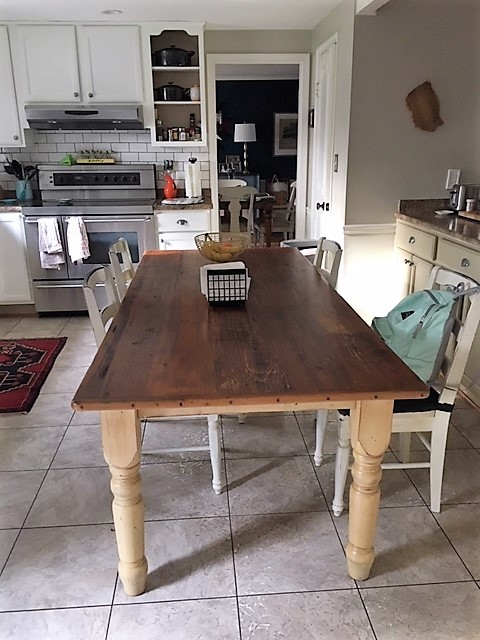
The table had been used and abused by small kids and just life in general. Nothing major, but the finish was wearing off in places and there was a lot of marks from the kids artwork over the years.
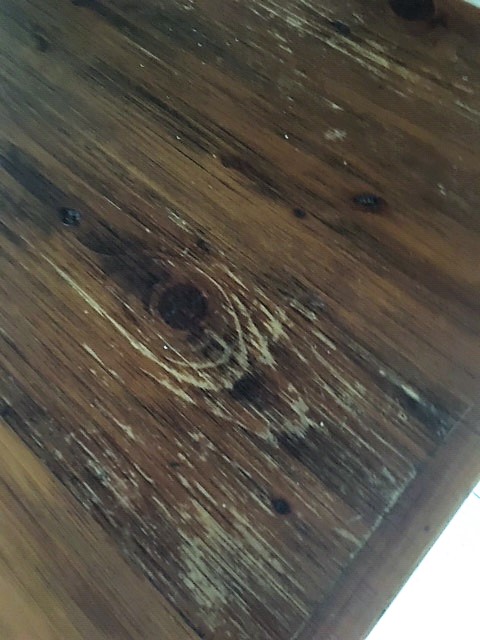
I decided to see what was underneath that aged and dark finish. My husband helped me take it outside to the garage. Using my orbital sander, it took hour and hours and hours and hours of sanding the top with a 80 grit sandpaper to get the finish off. And then, after all of that effort, it looked terrible!
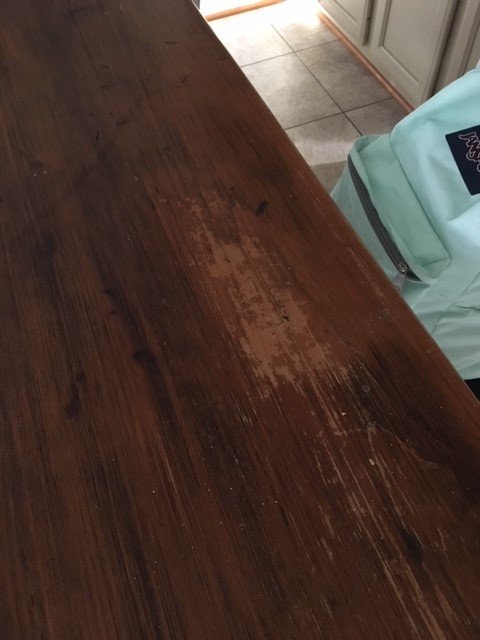
I kept going and next used 120 grit sandpaper. It still looked bad but I was done with sanding. Just. Done. It just wasn’t going to get any better with any more sanding. I used Mineral Spirits and using a paper towel, wiped it all down. That had to dry overnight. Here it is – told you it looked terrible!
The next day I took a quick drive to my local Woodworkers Club for advice. The older gentleman there was great. He helped me with the following steps.
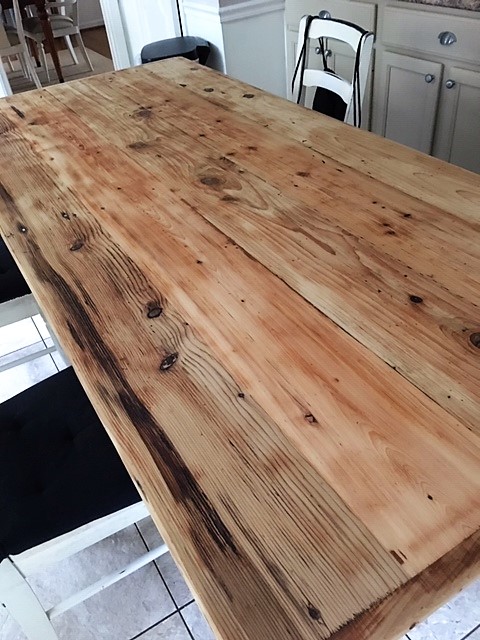
Taking a stain pad, I first applied General Finishes Gel Stain in Pine by wiping it generously over the top. After that dried for a day, I used 220 grit sandpaper and gently sanded it all over and wiped it down with a soft cloth. I then applied one more coat of the stain and finally, it looked great!
After the second application of gel stain dried overnight, I applied a coat of General Finishes Arm R Seal on top. Letting that dry overnight, the next morning I took a Norton, Non-Woven Sanding pad and used it to gently sand the top. It is basically a soft sanding pad that is used instead of steel wool, so no mess!
This was wiped down and I then repeated the process (sealer/Norton sanding pad) three times.
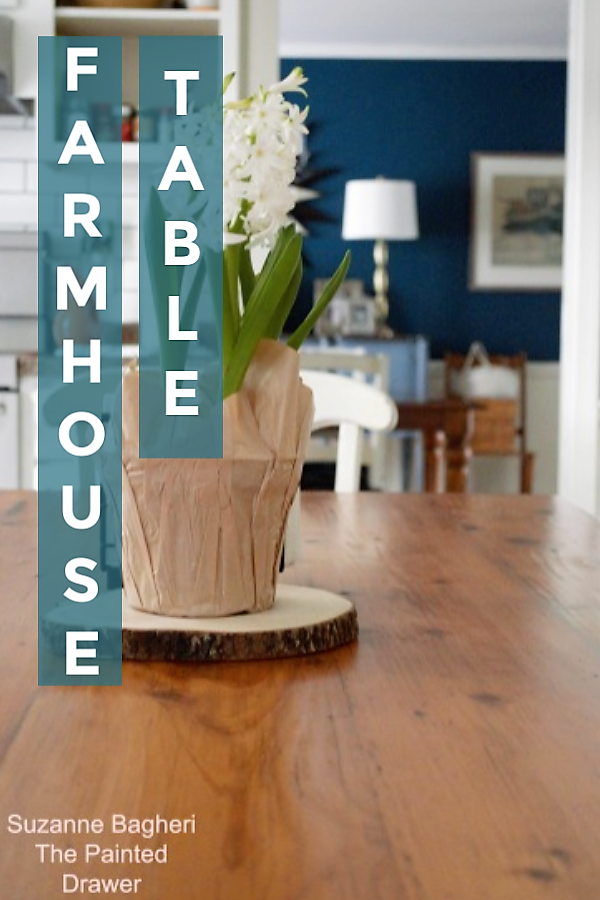
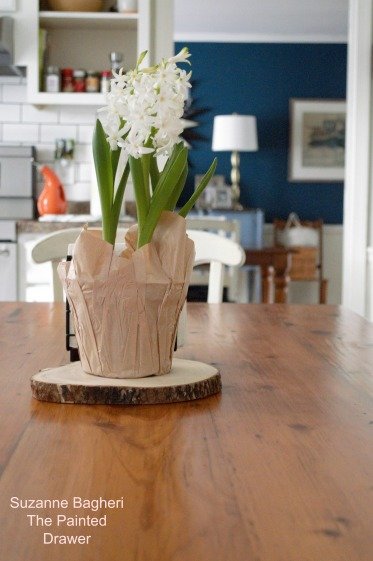
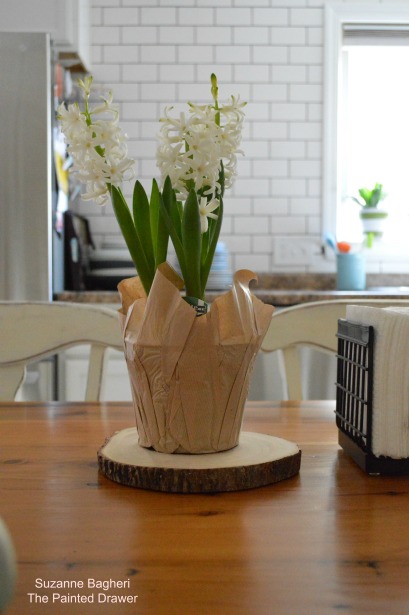
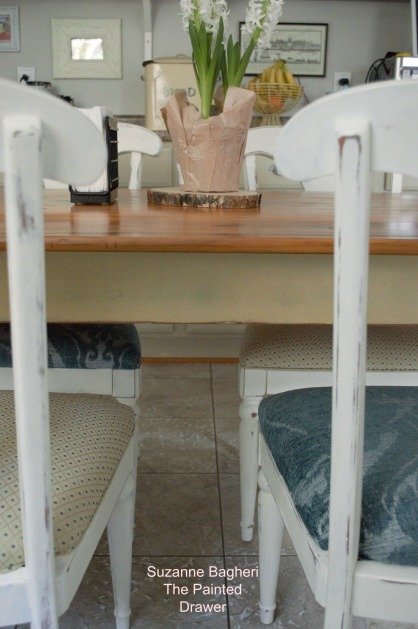
Here is the finished table!
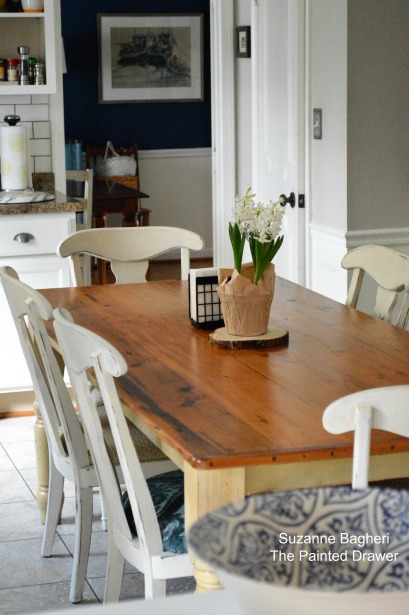

I’m still working on getting those shelves ordered and installed! I also need to paint the base of the table. I’m thinking a creamy white to match the chairs that I swapped out from my dining room.
Oh, do you prefer the blue or the cream fabric for the chairs?
Thanks!
Product List:


So nice. We did a similar table only maple it took hubs some time before we got the right look and color. You always do such a nice job! I like the blue on the chairs!
Thanks, Kimberly!
Oh WOW!!! NICELY DONE! BEAUTIFUL NOW!
I would paint the table legs to match the chairs – which ever color you settle on for the chairs.
Dear Mary,
Thanks for your advice! I am thinking the same 🙂
Wow, that table came out absolutely beautiful I will use these steps to redomy table, thanks
Thanks, Kathy!
Oh my goodness that table is beautiful. I have a solid maple table in my kitchen that the kids and grandkids have abused over the years. I love the table! And I love the wear and tear, but I do want to refinish it when I retire. I think when I redo it I will follow your suggestions on refinishing. It should work very nicely for my table. Thanks for all your wonderful tips and pictures!
Hi Susan,
Thanks so much! I hope my tips help you out and your table turns out beautifully! Let me know!
I think blue. That is if your going to paint the table legs creamy white.
Hi Cheryl,
Thanks so much! I am thinking the blue wins!
Suzanne, wow, you did something memorable for your own home and didn’t stint on effort (which I might be inclined to do if it were “just for me”!) I guess you won’t be explaining away any rough spots on the surface, all that sanding! What a gorgeous table it is! And will be even more so after the body is painted. I’m neutral, since you asked, on the chair covers. What about paint drop cloth, natural? I’ve never done it (you probably have), though I have a huge piece of it here and hope to someday, for something. Just wash it, and cut a little larger than the chair pad, and fit. Right? I drop in here every now and then, so glad I dropped today!
Dear Louise,
Yes, for once I actually worked hard on a project for myself, lol! Maybe because it was my sisters and I had to prove to her how lovely it could look! I’m still undecided on those chairs! I like the drop cloth idea – very diy and cheap! I’ll keep you posted!
Beautiful job!! Lots of hard work, but it definitely paid off! Just paint the base legs to match your chairs and a perfect set! For the chair pads, both are good, but I like the pop of blue, especially when you see the blue paint from the dining room. Gives just enough pop of color to your kitchen! Great job!
Dear Sharon,
Thanks so much! I believe the consensus is on the blue and I had the same idea for the tie in to the dining room. Cheers!
Hi, is the General Finish arm r in a semi-gloss or gloss finish. I love yours. I’ll be refinishing a French Style Table for my dining room and it will take a beating. Thank you.
Dear Dorothy, The Arm R Seal is in the Satin finish – sorry I should have put that in the post. Thanks and good luck with your table!
The table is now so beautiful…worth all your hard work. Sorry to say I don’t think either chair fabric is a favorite. I would look for something like a grain sack material with a stripe in the center or a black check.
Hi Linda, thanks so much! I am also not totally sold on either. I may just opt for a totally different chair entirely and put these back in my dining room. But the cost…oh, well!
Looks terrific well done ?
Looks terrific just lov the finish look?
Thanks so much, Georgina! PS – love your name 🙂