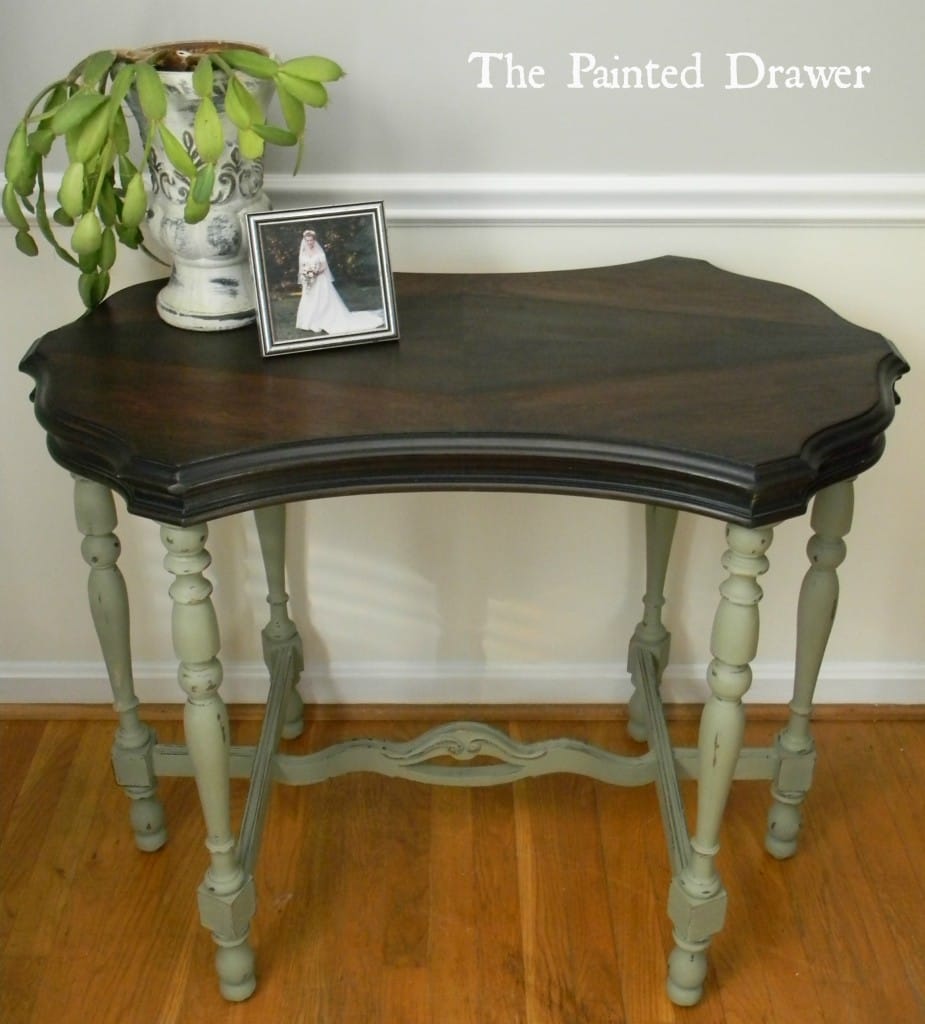
Yesterday’s post was all about the color Chateau Grey and I used my little Diamond in the Rough table as an example. I was so happy that many enjoyed the post and thought to answer the main question I received in a post rather than in the comments section. The question was about the wood top and how I refinished it. Particularly, how I was able to fill the holes and what stain I used.
Note that the title of the post is how to refinish – not restore – a wooden top. I don’t strip and stain to recreate what once was. Using what is given to me (dings, scratches, holes, burns etc.), I go with it and and create something different.
Here is the table top in question where you can see the holes. I still wonder why on earth someone drilled holes straight through a small table that can’t even take that much weight on top of it. A mystery! 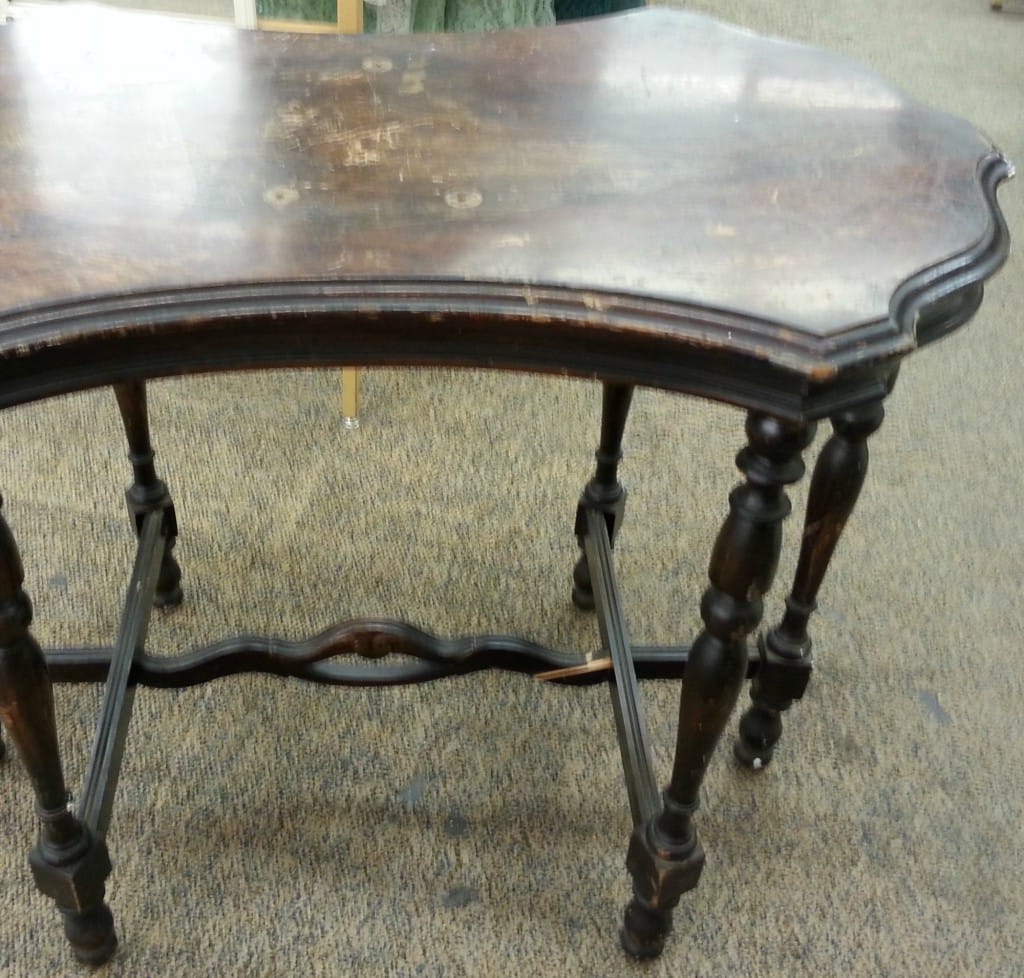
For that particular piece, I took Elmer’s tinted wood filler (stainable) in the walnut color and squeezed it into the holes until full. I then sanded the whole table back and repeated the process. I used Minwax Dark Walnut stain on the table top and the circular areas where the holes had been drilled stained nicely. Because the top is so dark, and the holes were not too large, they kind of disappeared into it. If you look closely, you can see a darker circle in the diamond. This is the filled hole. It is easier to make blemishes disappear when using a darker stain.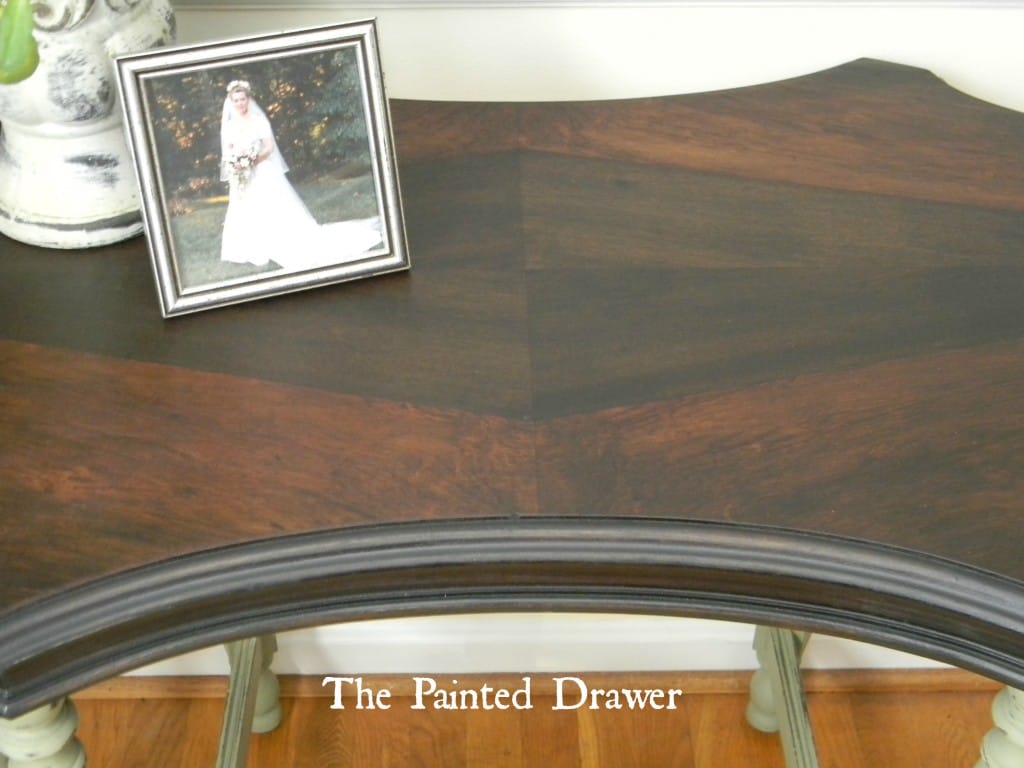
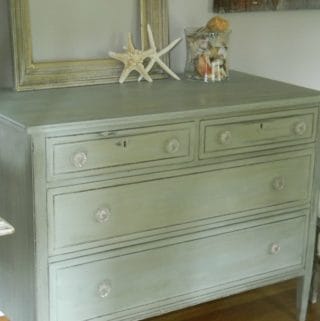
 On the Beach Chic dresser, I used Varathane stain in Sunbleached to create a streaky, bleached look. This hole is much larger than the Diamond table and because I stained the top in a lighter grey, it does show but blends. I think it actually now looks like a knot in the wood.


As far as the sides of a piece, if you are staining the table a darker stain, and the sides have a lot of detailed ridges and are not damaged, there is no need to totally strip the sides. It would take forever and the stain will cover them. I take my sponge and sand around the sides in a uniform way leaving some of the older stain in the deep crevices and then stain.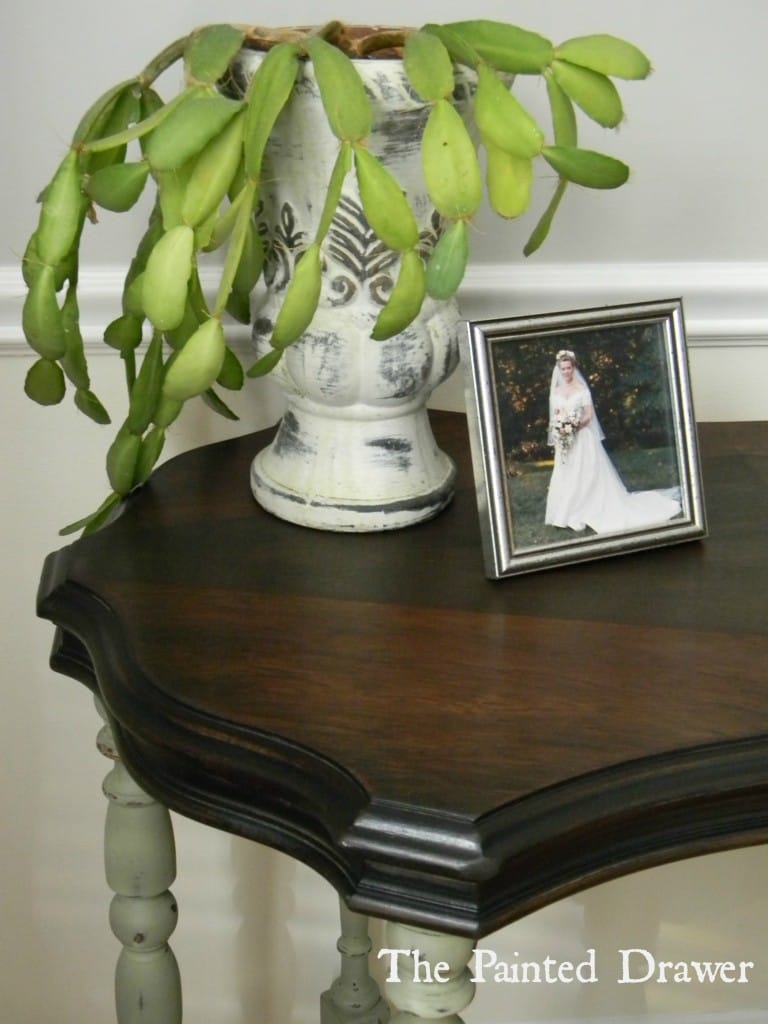 If you have a table top that you want to make lighter and the edges have ridges, I like to leave the darker stain within the ridges. You can see how the darker stain highlights the detail on the French Country Desk‘s pine top.


 It is up to you and your piece on whether to totally strip the sides or not, depending on the look you wish to achieve and the existing stain. As far as the process of sanding back, for a small table, I use a sanding sponge with 60 grit sandpaper wrapped around it to start. I then work my way up to 150 grit prior to wiping it down and staining. YouTube tutorial here:
For larger tops, I use my Ridgid power sander. However, the Drexel Triune dresser really did a number on it so I may have to upgrade to a different sander. I will keep you posted on that one! YouTube Tutorial here:




Love your work! Fantastic!
All so beautiful….I need you at my house:)
Thank you so much for all the info – I actually think I may have enough information to actually attempt to refinish a piece without ruining it! I love all your work!
Thank you for the information. I think all of the imperfections in older furniture adds to the charm.
I couldn’t agree more!
Thank you!!! The above tutorial will help tremendously. As I said in the comment with my question, I have learned much from your blog. It always contains so much educational material and I truly appreciate it.
Love the way you have present this.Thank you for the blog.
Thanks for this post, Suzanne. I’ve had a pair of beautiful inlay end tables in my stash that I’ve put off because of the detailed edges … it never dawned on me that I could leave the existing stain! I’ll be sure to link them up when they’re done! Thanks again! Cynthia