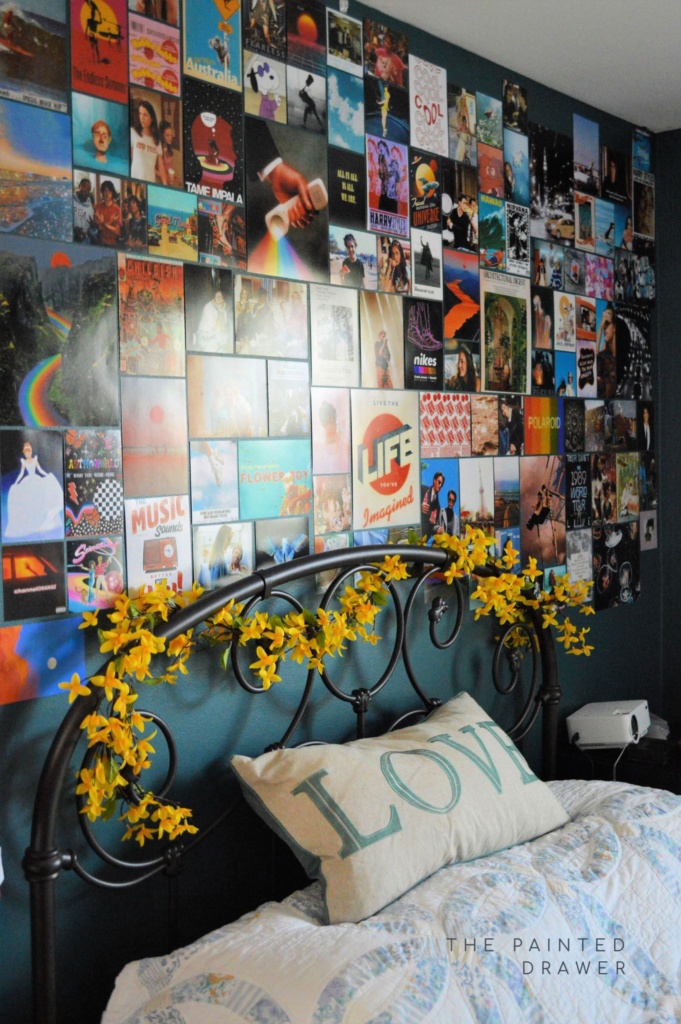
My daughter, Ella is home from school (she came home in March, as did my son) and quickly went to work in creating her own “new” space in her old bedroom. I absolutely love what she has done and had to share the process!
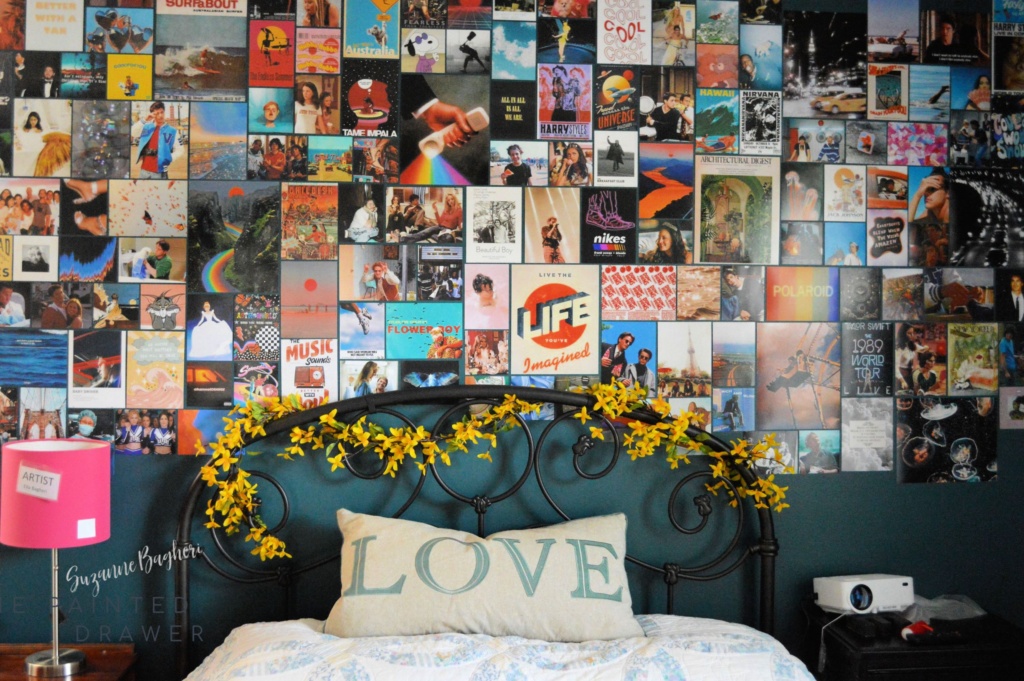
Step One
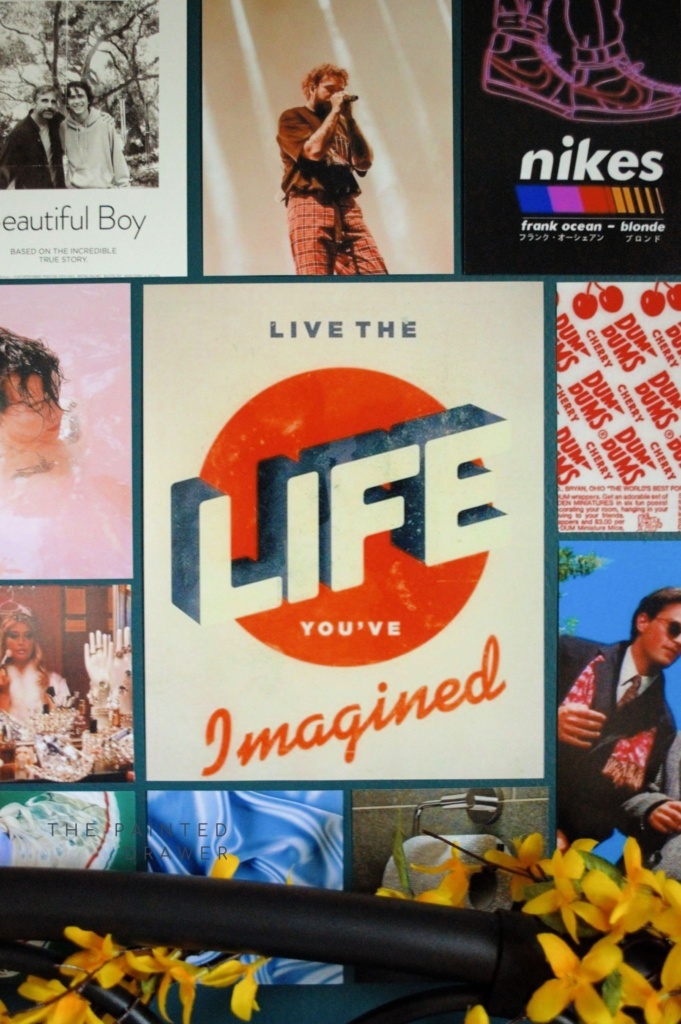
Go online (Pinterest, etc.) to choose the photos that you wish to use for your wall. These are photos of things that interest you and you may be a fan of, such as artists, TV shows, or quotes. Next, you can also include personal photos that you love. You will create your wall using both the personal and fan pics.
Step Two
Log onto Snapfish and upload your chosen files and size them as various sizes up to 8×10. We had them printed as matte images and mailed to us. They arrived within a few days.
Step Three
Spread the photos out on the floor to get an idea of how you want your collage to look. It helps to group the pictures by sizes, and mark whether they are a horizontal or vertical image.

Step Four
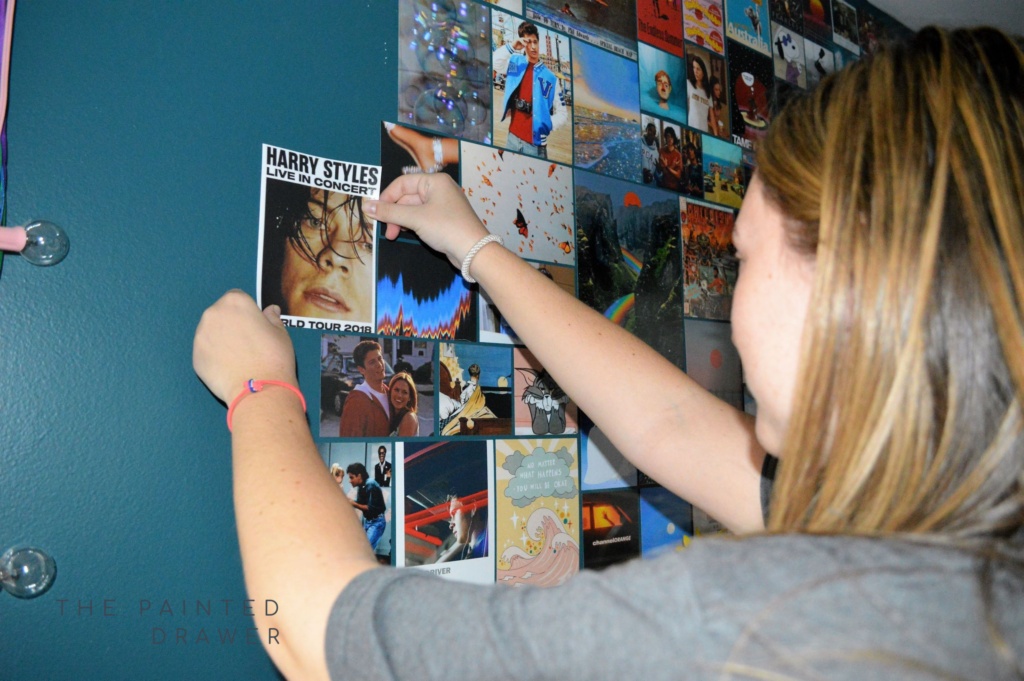
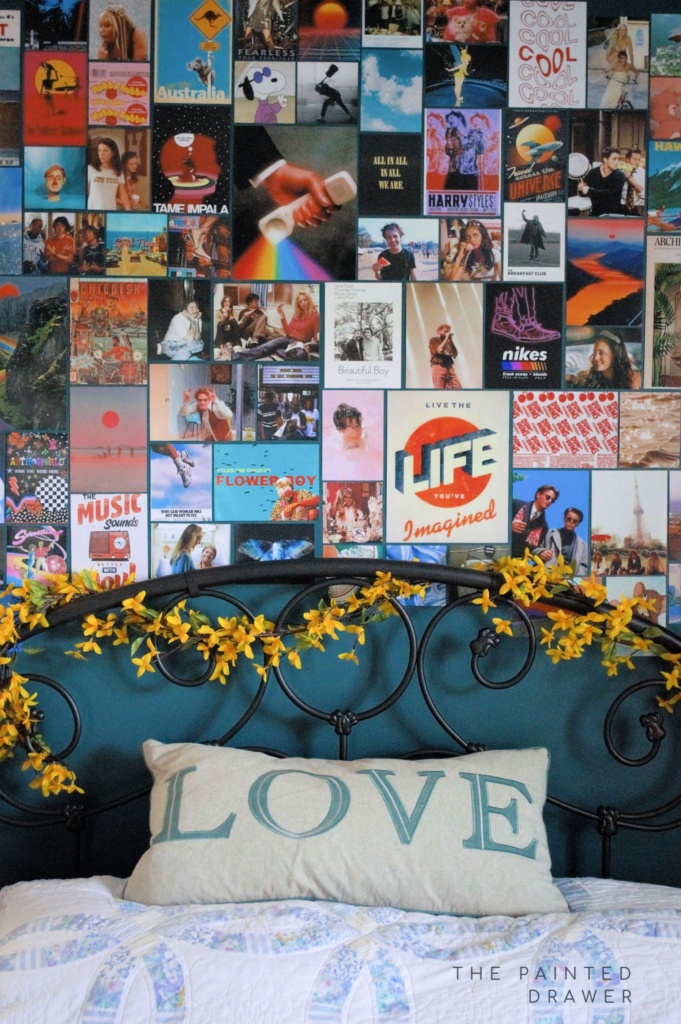
Take a level and mark a center, straight line. Start from the center of your line and work your way out to either side when placing your photos on your wall. Then work your way above and below the line, creating a puzzle-like collage.
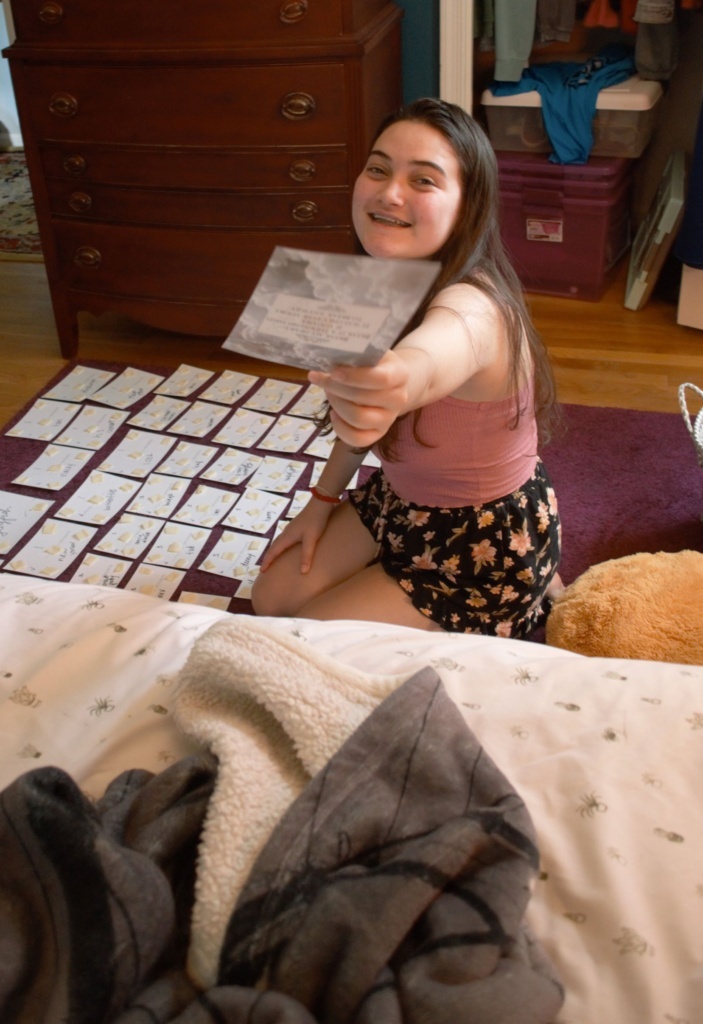
It helps to have a friend (or sister!) to help you in this step. They can hand you the pics while you stick them to the wall, and make sure they they look evenly spaced from a distance. You can use two sided tape to adhere them.
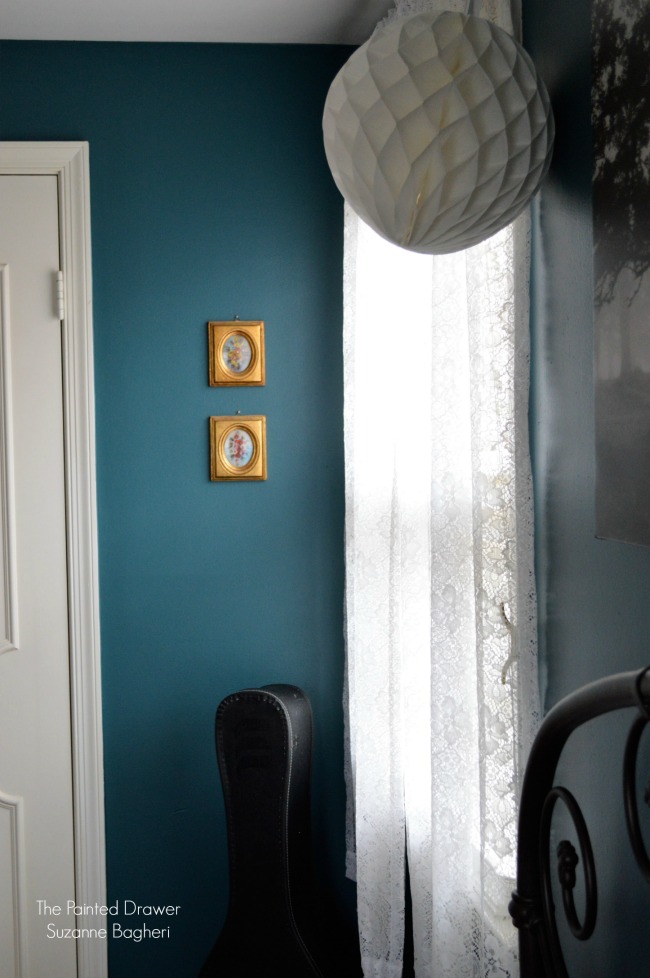
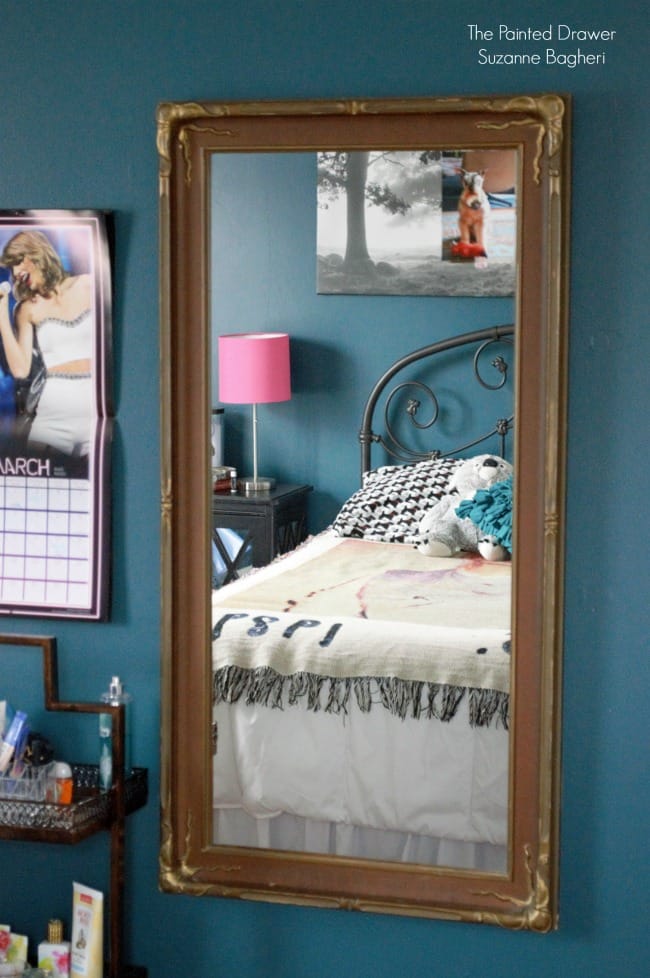
I think it actually looks like wallpaper. I also like that the pics are on a dark painted background. Ella’s room is painted in Behr Marquee Wanderlust.
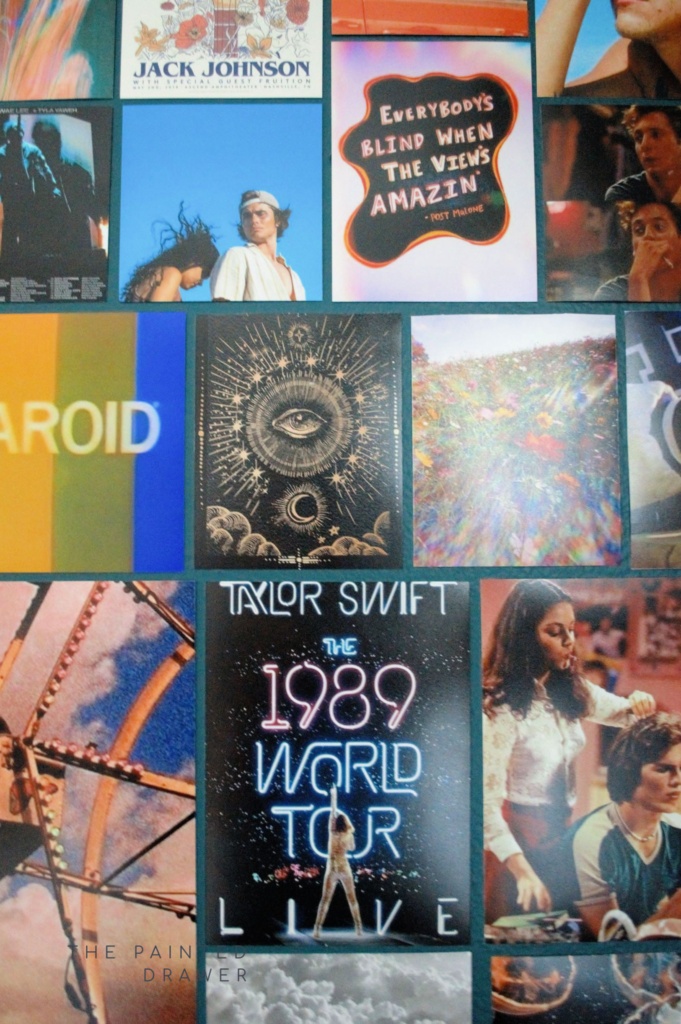
Have fun creating your own personalized photo wall and have a great weekend!
