
Sugar skulls and sugar skull art is an important part for Día de Los Muertos, or Day of the Dead, that has gained popularity over the years. This Mexican religious holiday celebrates the belief that the gates of heaven are opened, allowing for the deceased loved ones to come back and spend the day with their families. The sugar skulls represent the celebration of life and death and are placed on altars, according to Byrdie. The holiday isn’t until the end of October or early November, but this is a fun post to share any time of the year!
Sugar skulls are made from sugar, meringue powder and water. Using a mold in the shape of a skull, the concoction is poured into it and dries. Many people decorate them with bright-colored icing around the eyes, head and face. To make the skull more personal to the honored loved one, hats, flowers and feathers can also accompany the skull. Whether you want to join in the fun or you are continuing a holiday family tradition, here is a step-by-step guide to creating your own sugar skull at home.
Ingredients
- 1 cup Fine Granulated Sugar
- 1 tsp. Meringue Powder
- 1 tsp. Water
- Sugar Skull Molds
- A flat surface (flat plates, cutting board, etc.)
For Royal Icing (Yield: 12 sugar skulls)
- 1lb Powdered Sugar
- ¼ cup Meringue Powder
- ⅓ cup Water

Step One
In a large bowl, mix the granulated sugar and meringue powder together. Once it is nicely mixed, add the water. Thoroughly mix everything together for five minutes until all the sugar is moist. Its consistency should resemble beach sand. The right consistency is key because too much moisture and the mixture will stick to the mold. If it is not moist enough, the skull will fall apart once the mold is removed.
Remember for every cup of sugar, be sure to add 1 teaspoon of meringue powder and 1 teaspoon of water. This principle will allow you to adjust the recipe depending on how many sugar skulls you need.
Step Two
Pack your sugar mixture tightly into your sugar molds. Scrape off any excess sugar. Place your flat surface, whether it be a cutting board or flat plate, on top of the mold. Flip it over so the plate is now on the bottom and the mold is on top of the plate. Place the plate on a flat surface and remove the mold to reveal your sugar skull.
Step Three
Let your mold air dry for five to six hours.
Step Four
Scoop out the center of your sugar skull after it has dried using a spoon, leaving a half-inch gap to the edge. When scooping be sure to avoid the neck area. Once you have scooped out the center, let it dry for another six hours.
Step Five
Combine the powdered sugar, meringue powder, and water in a bowl, mixing for five minutes. Keep mixing until the icing is thick enough to peak.
Step Six
Use the royal icing to glue your sides of your sugar skull together by applying it to the front mold of each skull. Press them together to form a 3D skull. Remove any excess icing and let it dry for one to two hours.
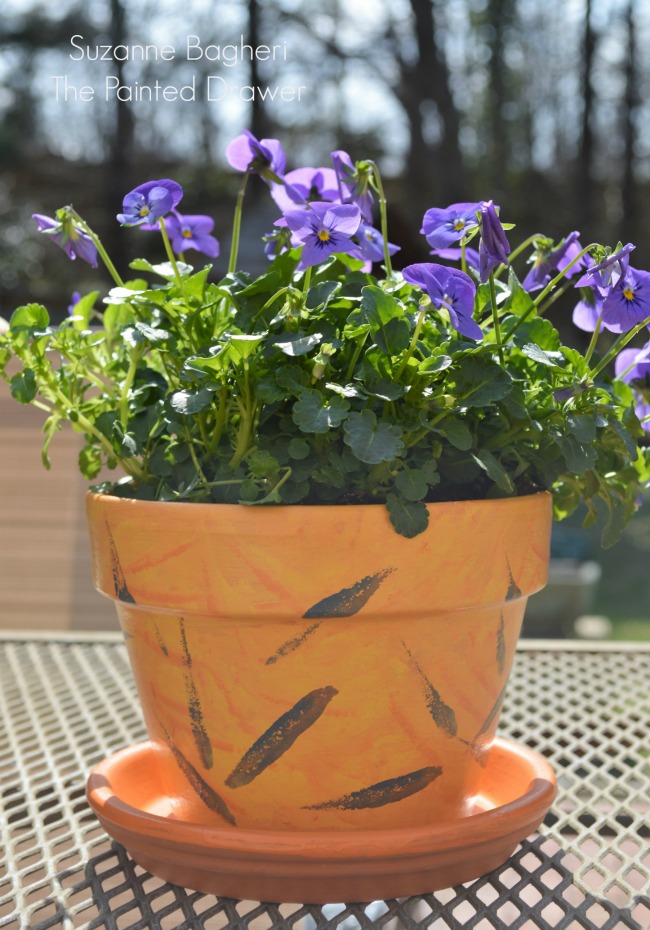
How to Sponge Paint Terracotta Flower Pots
Have fun with this craft or try your hand at painting a few flower pots!
Have a fun, crafty weekend!
Please note that some of the links above and below are affiliate links, and at no additional cost to you. All opinions are my own.