Weathered Wood Makeover Paint Application
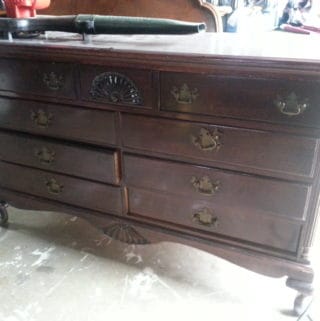
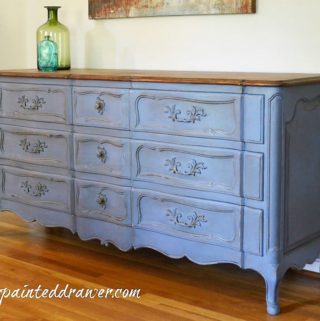
I’ve had this dresser in my garage for a few months now. You can see it hiding behind the Limestone Chest.
It is finally getting its turn! I’m thinking of giving it a huge transformation and applying a weathered wood finish. Here is the process below. I’ll post updates
![]()
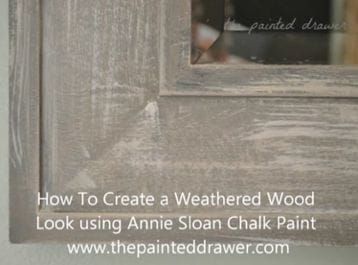 I re-styled my family room last week and in the process, was searching for a weathered wood mirror. The ones I found in the stores were over $200 and way out of my budget. However, I already had a mirror that I had purchased from Target years ago. I’m sure you have all seen the standard, big-box store mirrors. They are attractive but kind of blah in style.
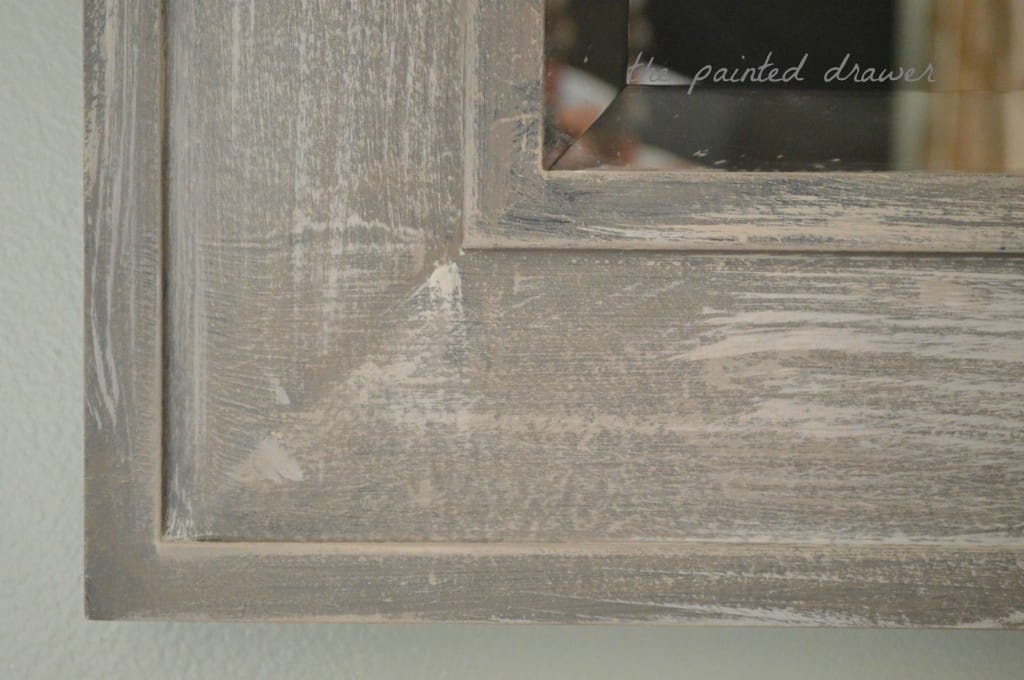
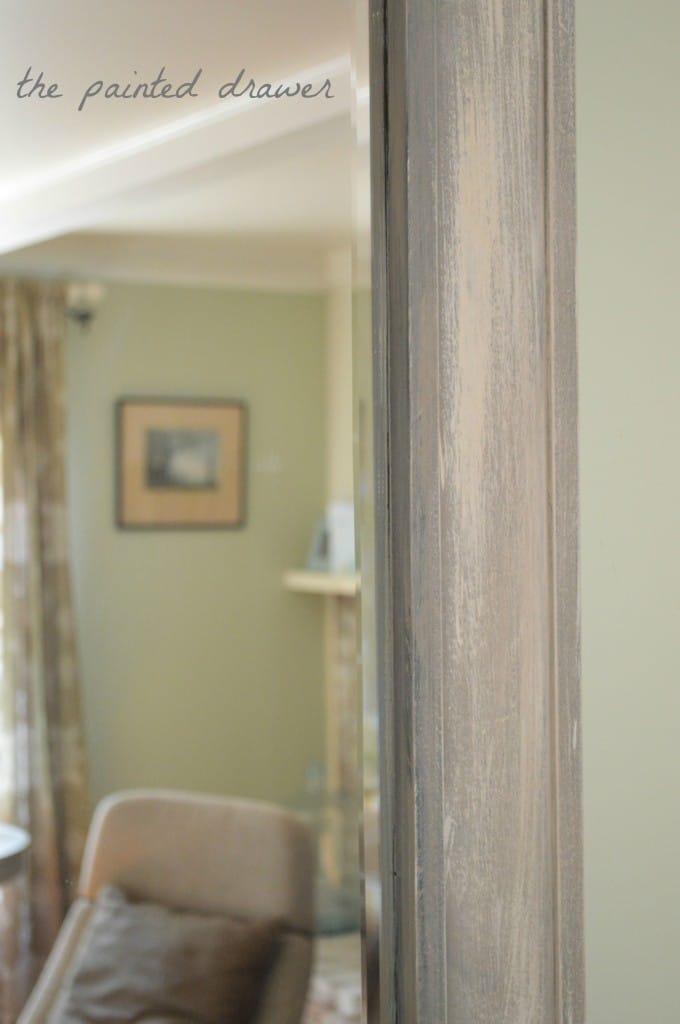
My mirror is a good size with a great chunky style frame. But, the frame was not weathered wood. In fact, it wasn’t wood at all but a hard dark plastic frame, just as the one below. It originally cost less than $40.00.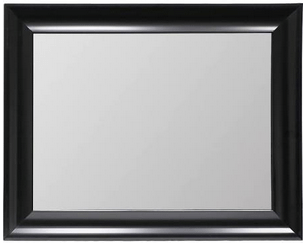 I decided to create the weathered wood look with paint.
Using Annie Sloan chalk paint and a brush, I transformed my basic, big box store mirror into a “faux” weathered wood mirror and made a tutorial for you on the process. It is basically layering paint using a dry brush method. The colors used are Coco, Old Ochre and Old White.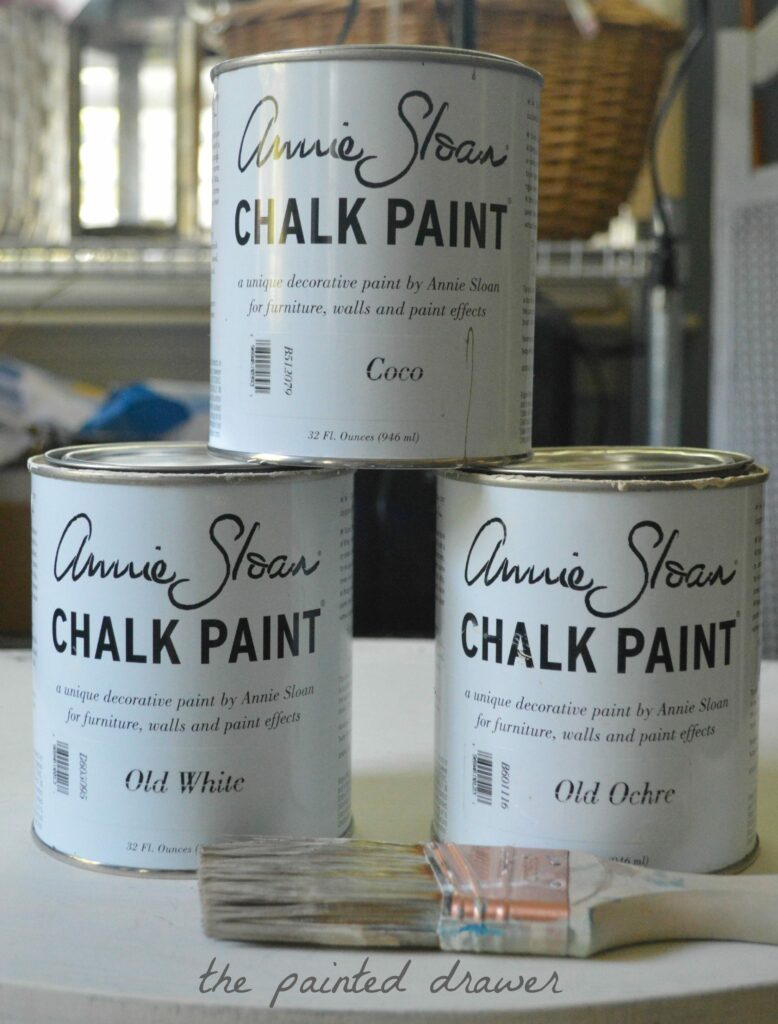
Enjoy! If you like it, please click the Thumbs Up!



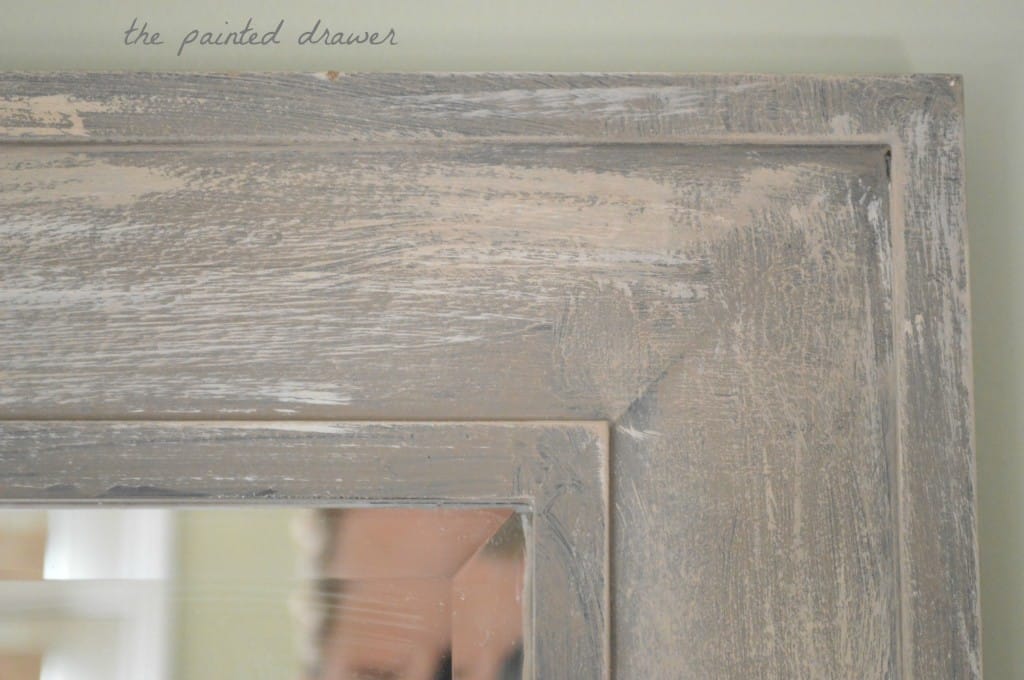
Looks great. And exactly like wood. Very creative
Thanks, Laurel!
It looks fantastic.
Thanks, Debra!
I liked this instructional video. II like to see blah, cheap things (plastic frame) turn into cool finishes. Thank you for sharing,
.
Great tutorial and you make it look so simple. I have a painting with a frame that is boring brown and I think this would be a great process to give it a little more interest. I love your site and the furniture you give a beautiful new life.
Love it!!! You did a great job!
Thanks, Mary!