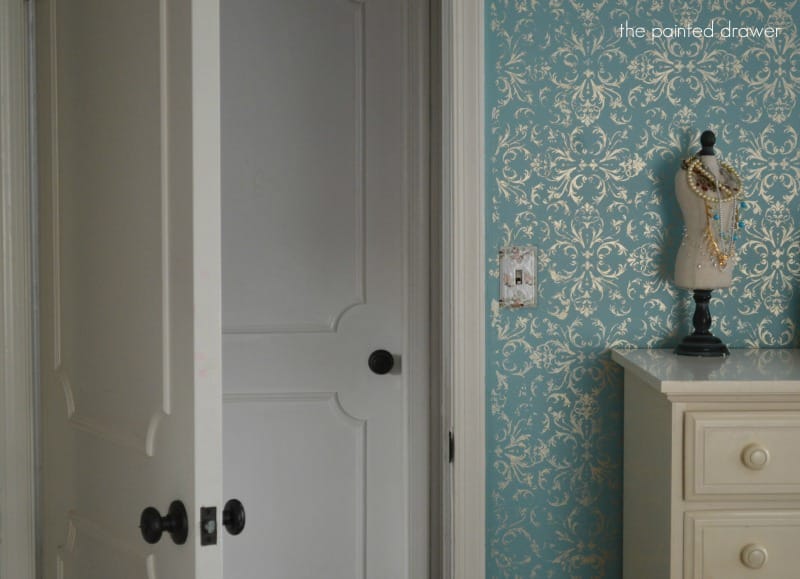
 All of my homes have been older in years but not quite old enough to have those lovely, paneled doors that you find in truly older houses. Instead, we have always had the flat, standard doors without character. In my last home we had them all replaced, which was quite costly. However, this home is old enough to have solid core doors and it would have been a shame to rip those out. We thought of a great way to take those plain doors and give them the vintage, paneled look.
For this project, you will need a table to lay your door on, hammer to take the door off its hinges, tape measure, miter saw, molding, glue and paint.
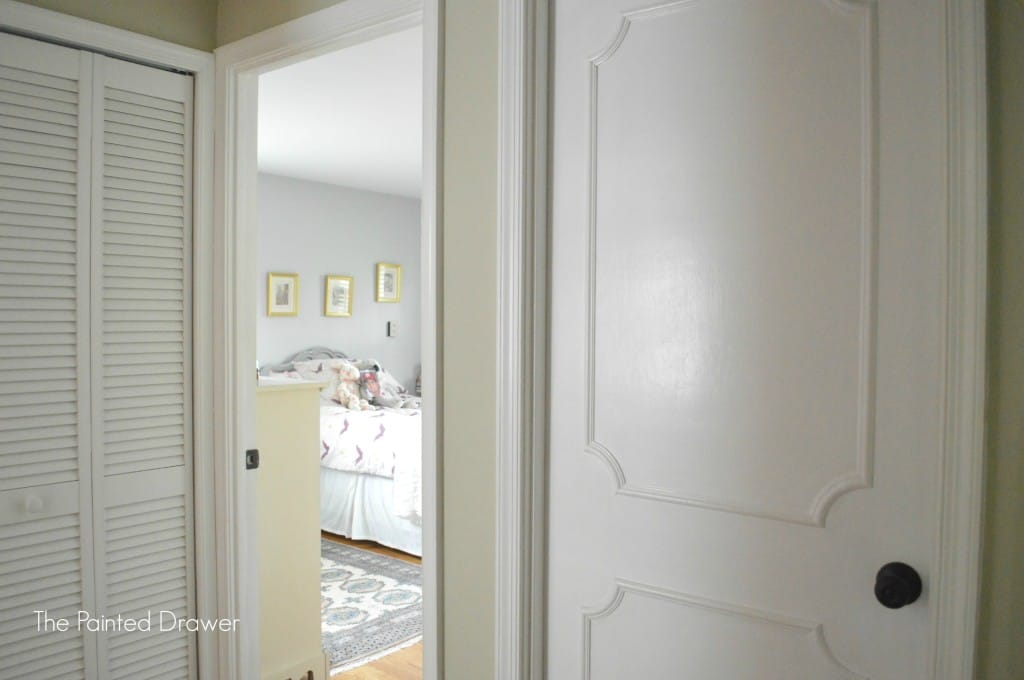
Here is a before pic of one of our doors. With the addition of molding, they went from boring into doors with character!
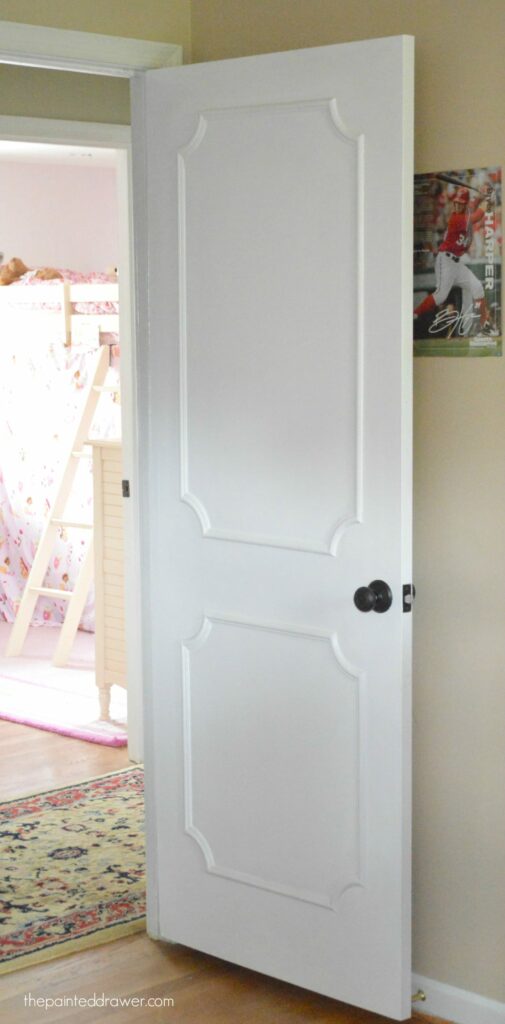 You can create this paneled look in a cost efficient way with glue and molding that you can find in any home improvement store. If you want to use non-standard molding for different shapes or designs, there are online sites that specialize in decorative molding, such as architecturaldepot.com.
Our handyman was an older gentleman who happened to have a lot of molding in his garage stash. He took each door off its hinges, measured and used a miter saw to cut the molding to size. He then adhered each piece with a strong carpenter’s glue.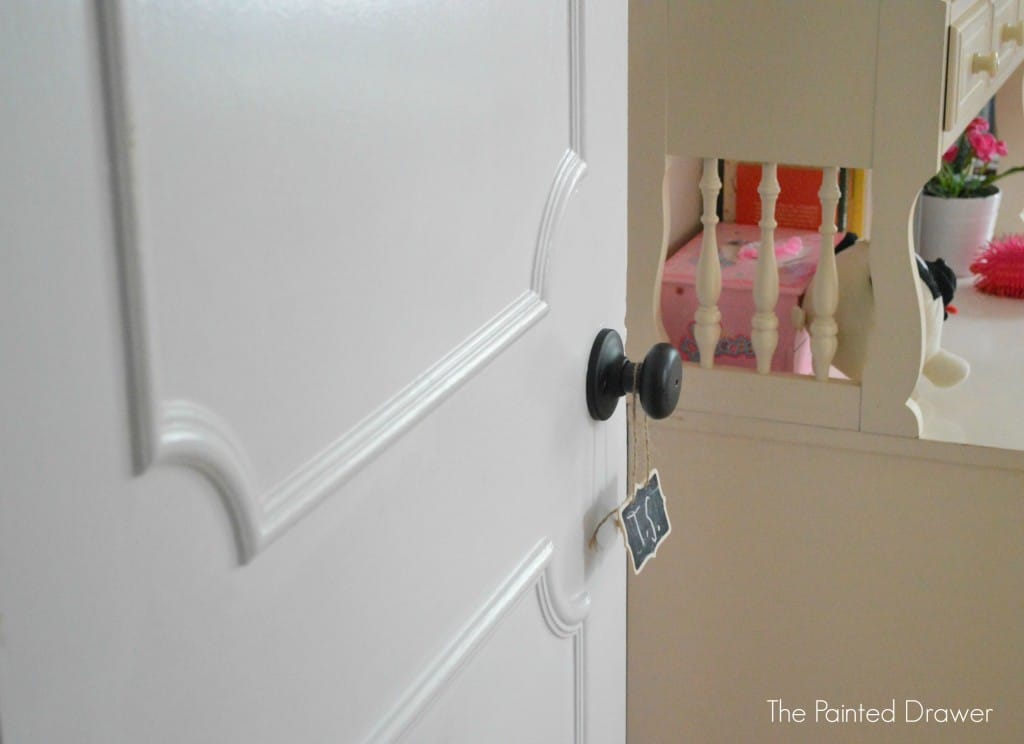 If you or your spouse are handy, then you can easily tackle this project. Just measure your doors, mark out your design and use a miter saw to cut the molding to size. Then apply and paint. It was not a difficult process but it was time consuming. The curved corners made it a little more complicated. If you want an easier version, I suggest creating straight rectangles.
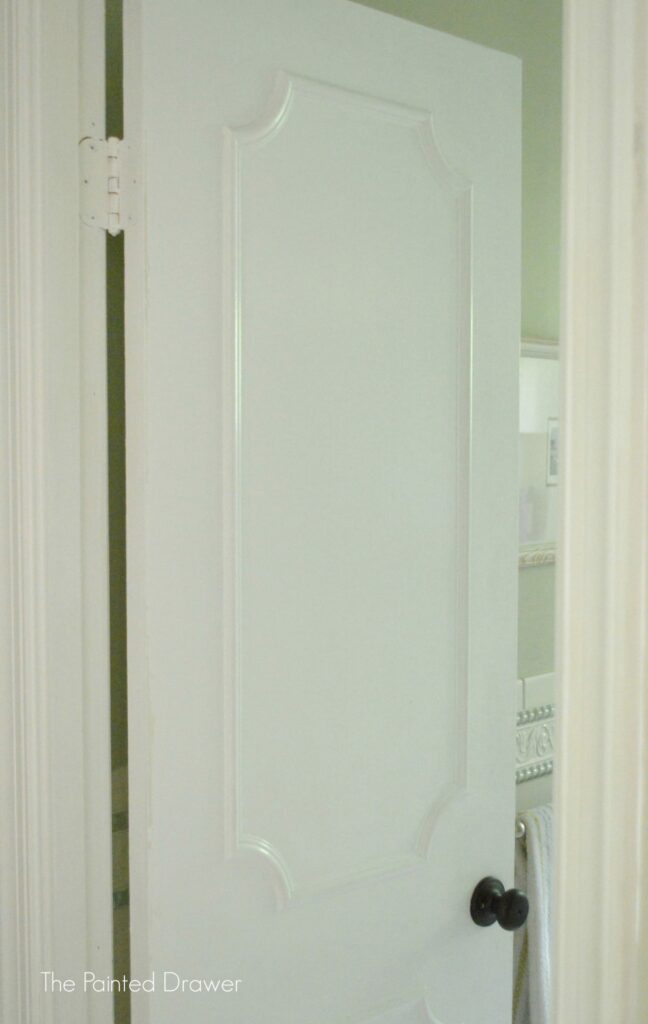 Painting all of the trim and doors a bright white immediately brightened and transformed our space. On the doors, I used a strong primer to seal the original peeling oil based paint and then applied the top coat in Benjamin Moore semi-gloss in Cloud White.
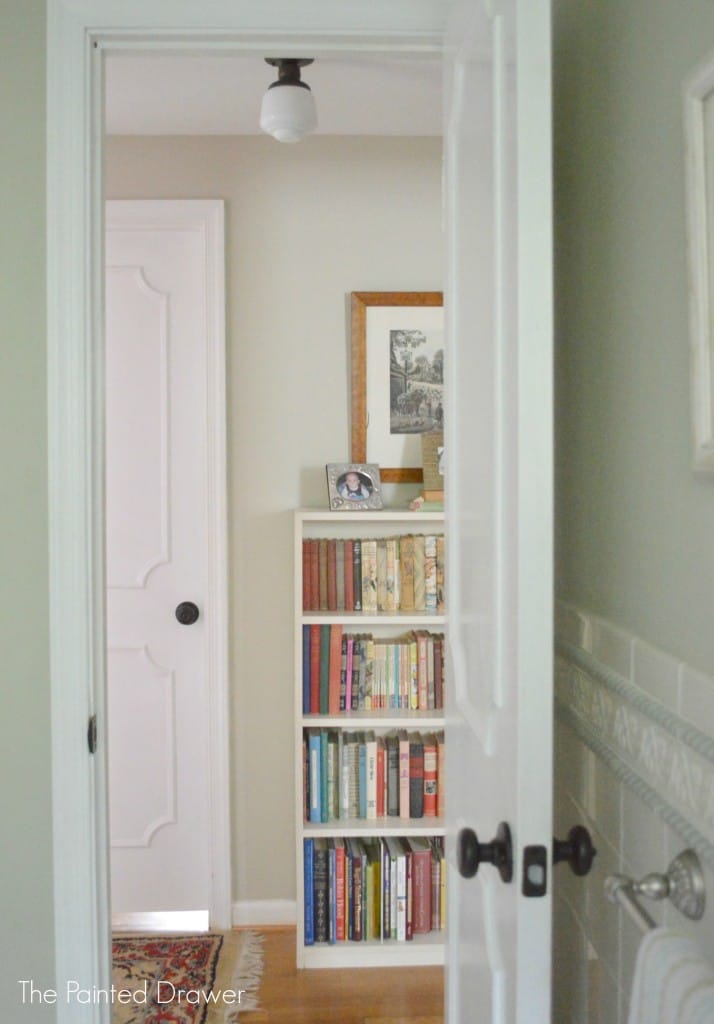
 Another way I updated the look was to remove the older, gold door handles and replace them with rubbed bronze hardware from Home Depot. We changed out the light fixtures in the hallway upstairs to match. Both were an easy and inexpensive fix.
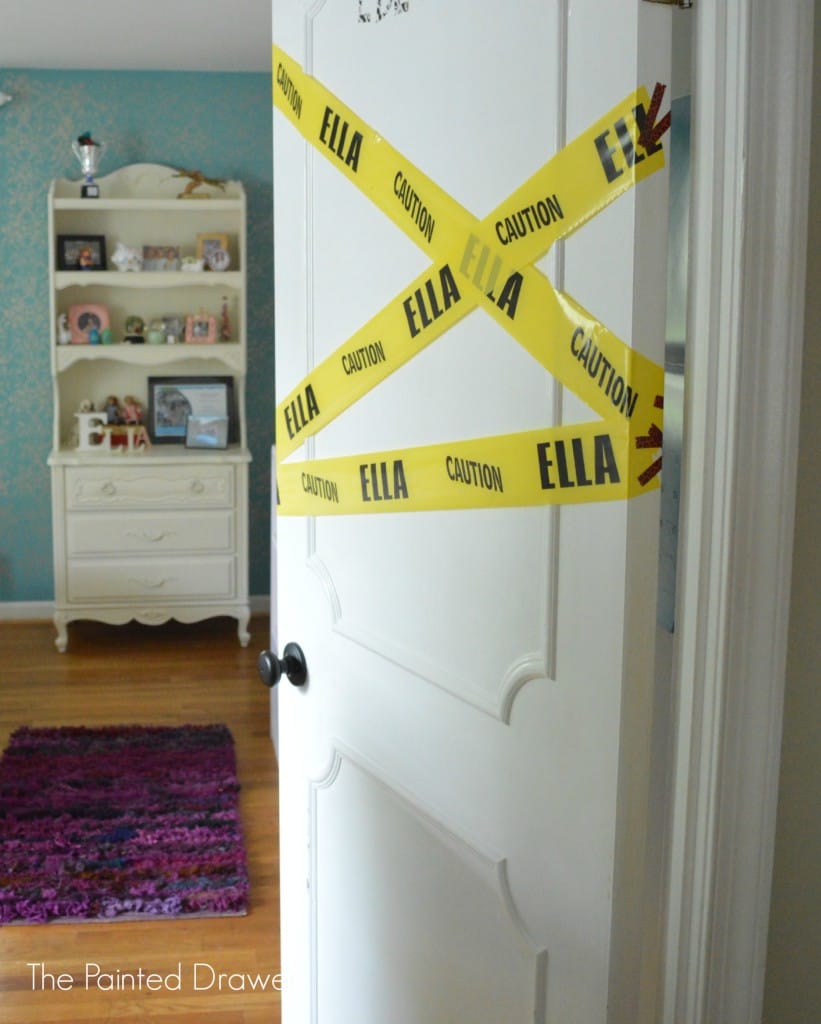
 Of course, the second I was done painting, my kids decided to “decorate”…sigh!
would you please share sources for the curved molding. I am having a problem locating it. Thanks! barb
Hi Barb, the handyman who installed the molding actually had it in stock. I believe a good resource is architecturaldepot.com. They sell circular pieces of molding that would work. Thanks!
thanks so much for the info! I found them and they are perfect!
Wow-the door looks great Suzanne! I understand how kids can change the new look so fast
Yes, the second they were done the posters and duct tape came out – they looked great for a day lol!
Oh, my! Those doors look A-MAZING! I love the easy transformation!
Yoeah! Another Nats fan! Gotta love the Natitude. Your doors look great. I like the design you chose – adds a nice touch.
The paneled doors look awesome! Did you also paint the slatted doors? And if so, brush or sprayer? I’ve been putting off painting half slat/half panel doors forever, and need to just bite the bullet. I thought about replacing them, but while ugly, they are solid wood and better quality than what’s in the stores. Any tips appreciated
Hi Cynthia, actually, no I didn’t paint those. They were new when we moved in and only have the white primer on them. I thought to paint them but since I want to replace them eventually it just didn’t make sense. Mine are on the cheaper side and I think too flimsy. Yours are likely better quality than mine. I would think the best way to paint them is to use spray paint. To use a brush will be time consuming and drips will be hard to escape! Thanks and best of luck!
Thanks for the advice, Suzanne. I appreciate it!
Hi, love the things you do in your home. So beautiful. Can you tell me where you purchased the light fixture in your hallway. I have been looking for something like that for my home.
Thanks
Hi Wanda, thank you so much! I bought them from Home Depot and they were less that $30. I know, right?! Thanks!
Such a simple change but it makes a huge impact – well done! Will share on pinterest
Thanks, Stacey!
I wanted to do this exact design on the doors leading to my bathroom, went to the specialty molding store this morning and they said the company that makes the curved molding stopped making it! Boo! Off to check your source… thanks!
Sorry for the late comment, but I just found this amazing transformation on pinterest. Would you have an idea how long it would take a handyman to do both sides of the door with straight rectangles? You said it was “time-consuming” and my guy charges hourly. Just trying to get an idea since I have 5 doors I would like to do this with. Such a creative idea to changing out the entire doors!
Thanks!
Hi Connie – It depends on the molding. Ours was a little extra work with the curves. I think that just square angles should be pretty simple for a good handyman to complete. I can’t say exactly so likely you can send him a pic of the project and ask him. He should have a good idea after looking at it. Thanks and best of luck! Oh, I painted the doors myself which was time consuming but saved us a lot of money. Cheers.
I love these doors but how did you do the curved parts. I love that instead of the rectangle. Please email me at ellieh_1@yahoo.com. thank you. oops found your answer. Love the doors.
Glad you found the answer and best of luck with your project!
I see you didnt paint them only primed. Is that more of a satin look? Im not sure i like a high gloss look. What do you think?
I primed and painted. The finish is satin Benjamin Moore in White Cloud.
Can you tell me what glue he used.
Strong carpenters glue, I believe.
I used elmer’s wood glue and so far so good. I didnt caulk because i didnt see any gaps using the elmers glue.
If you arecthinking of retangles you xan buy thenm pre-made and with sticky on back at Lux. Its in pinterest. Its kind of expensive but saves alot of time if he charges by the hour.
I used your idea and put a chalkboard in the top rectangle for my pantry door. I love it! Used cloud white satin also. What a great look! Thank you for posting.
Hi, I love this look and want to use it on my bedroom door. The placement of the moulding on your door is perfect – so pleasing to the eye! How wide is your door and how far in from the edges did you place the moulding (and how big is the space between the top and bottom “panel”)? Thank you!