
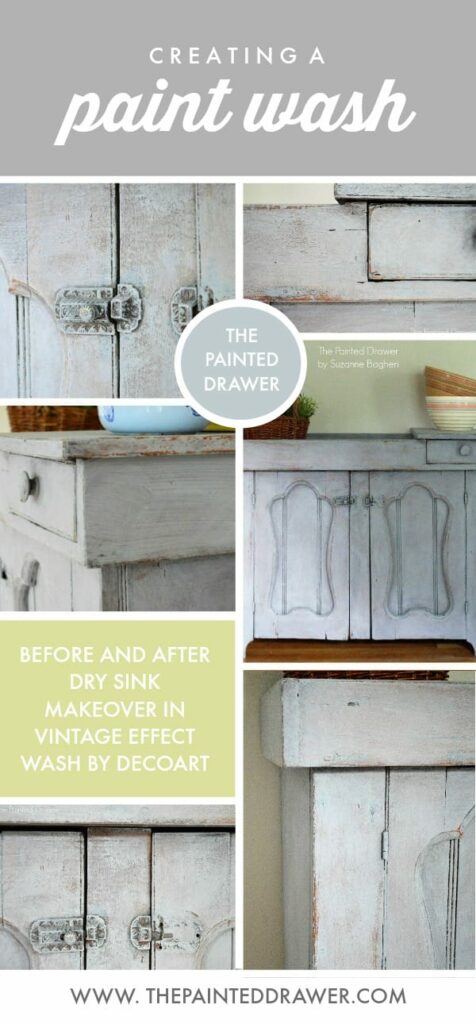
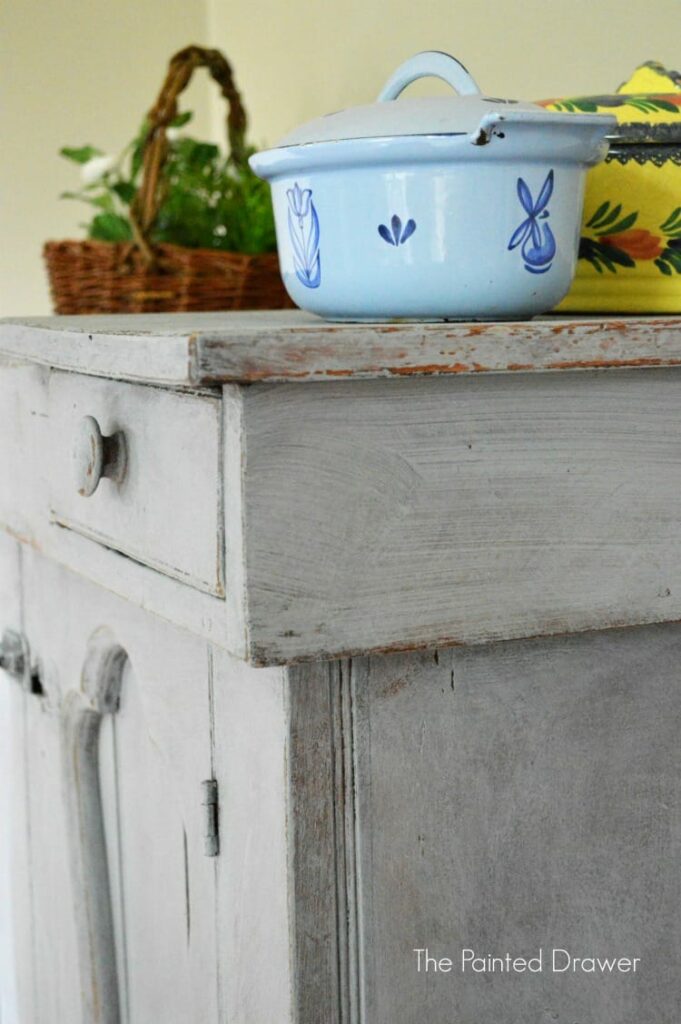
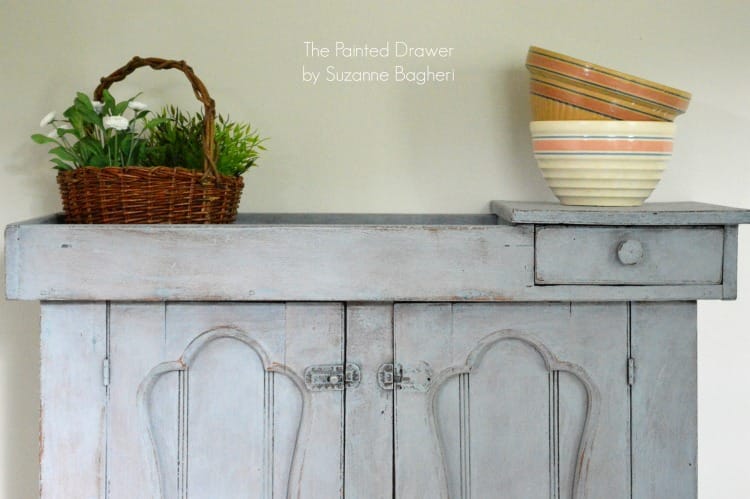
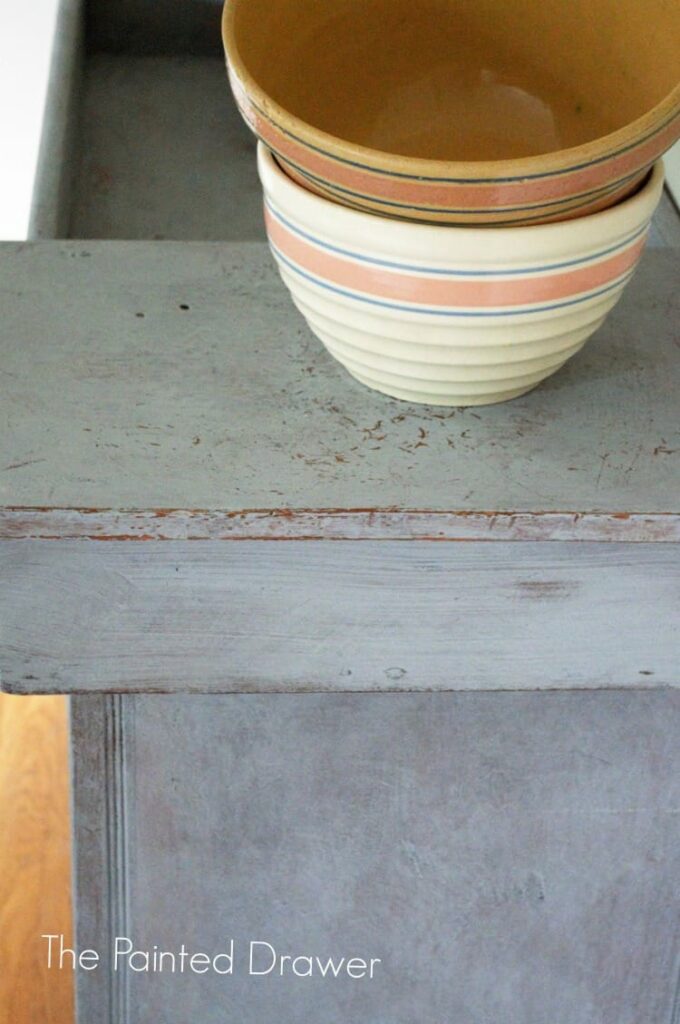
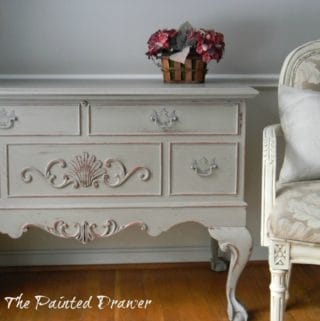
I had a lot of fun the other day using a new product to me, DecoArt Vintage Effect Wash! The color I used was gray and I decided to try it out on the old dry sink that I had picked up a few months ago. It had been sitting in my garage and was the perfect finish for a wash – old wood without a shiny topcoat. This old, unfinished wood just soaks up a wash and allows its grain to show through.
I first poured the wash into an old plastic container. Taking an old cloth and working one section at a time, I rubbed it onto the piece. 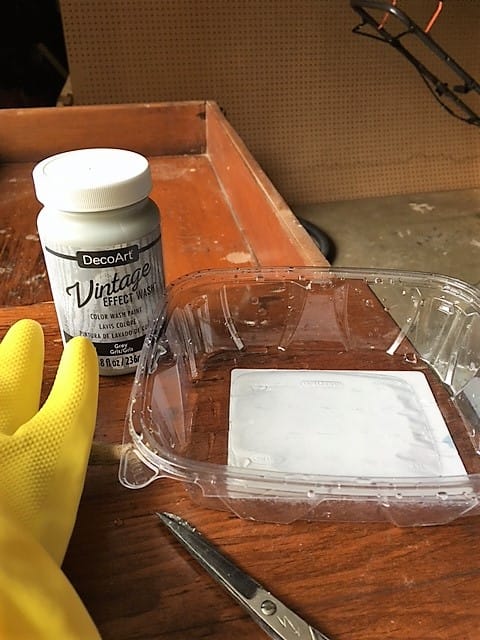
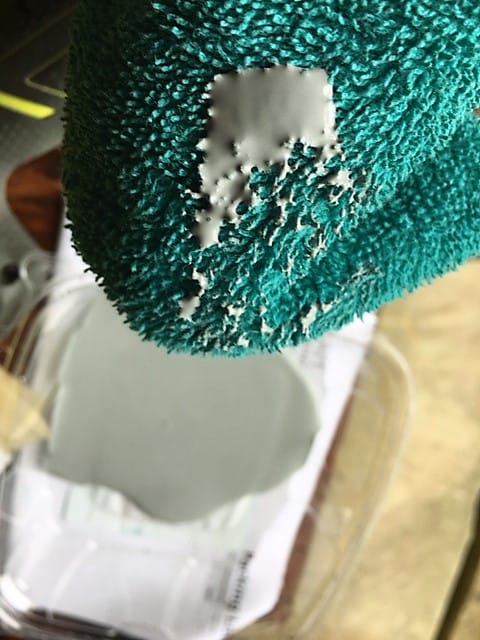
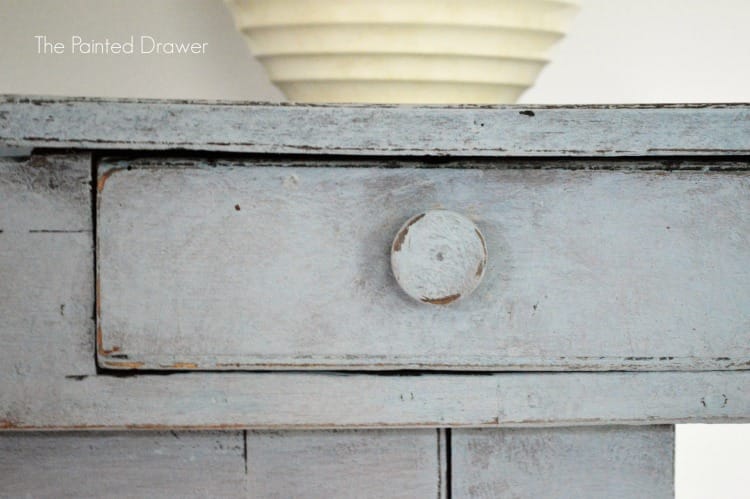
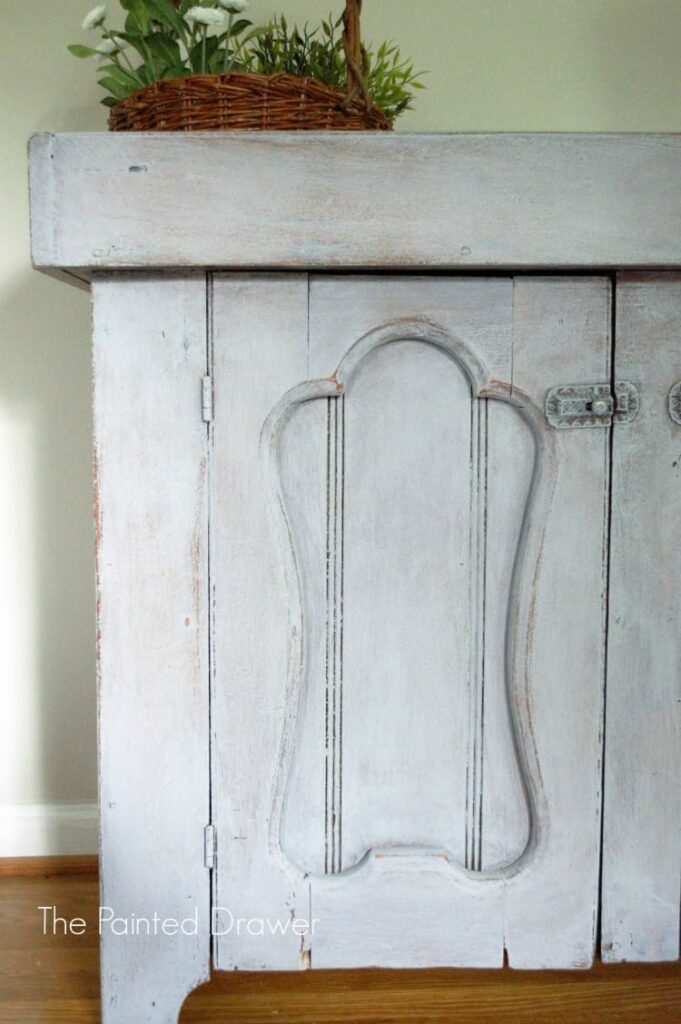
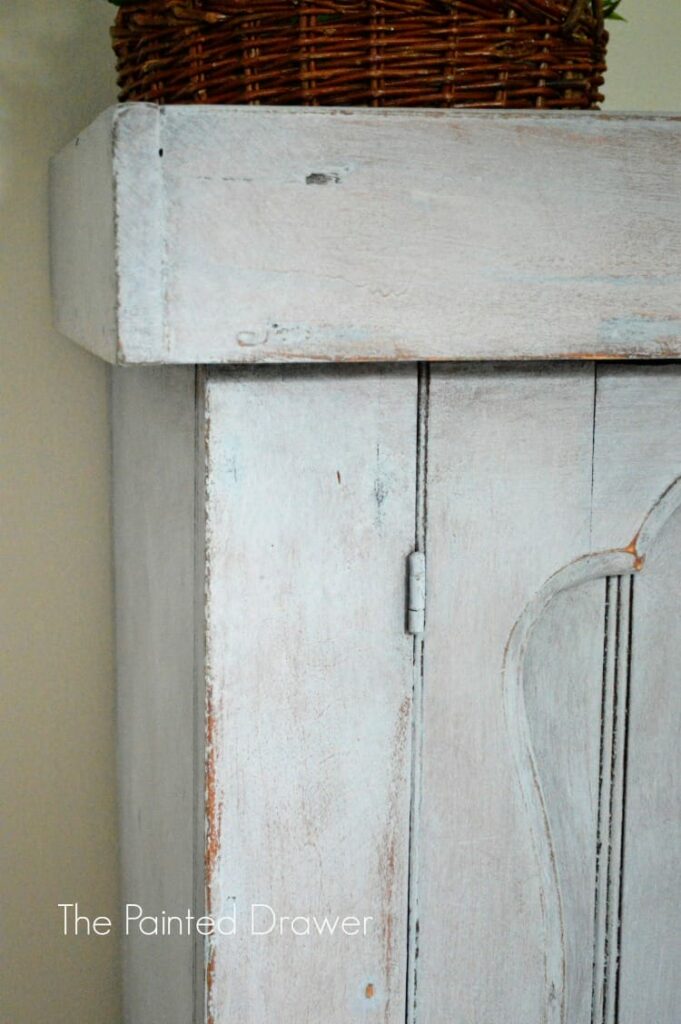
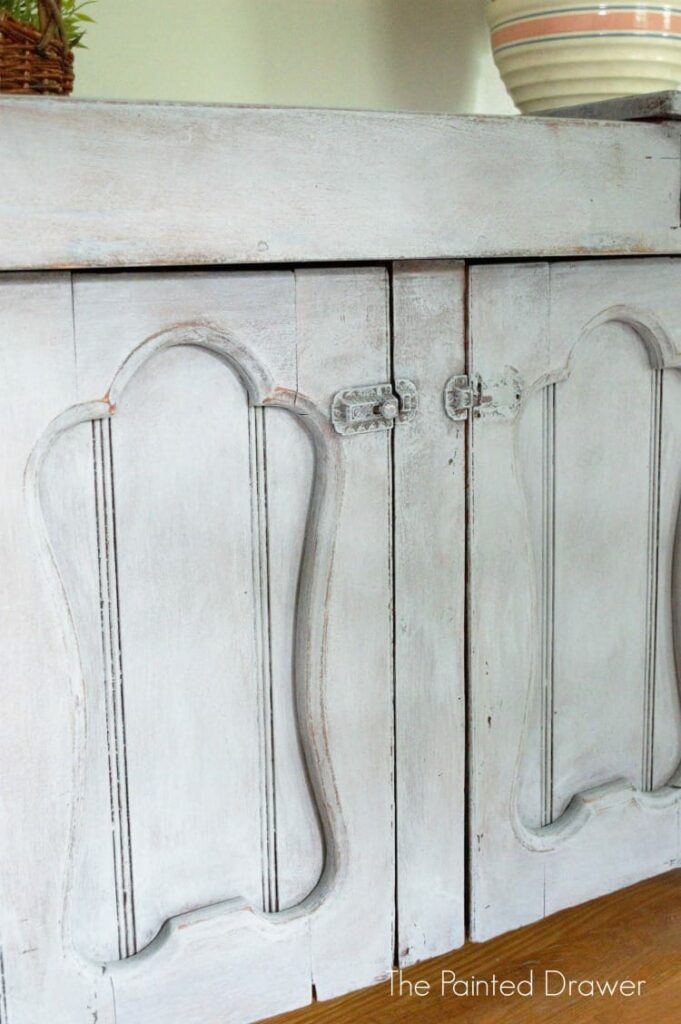
This is what the finish looked like after only using the rag to apply. I definitely wanted a deeper color.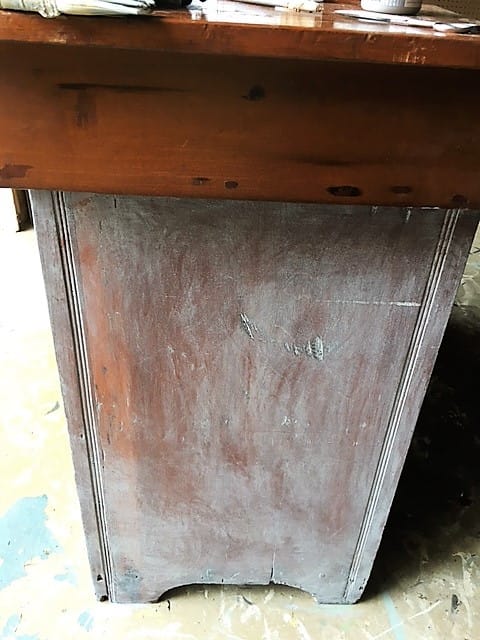 Taking my brush, I stippled the wash over the wiped on sections. I repeated the process with my brush a few times until I was happy with the depth of the wash. It dries pretty fast so you need to work quickly. When I was done, I stepped back and added a bit here and there as I saw fit. Honestly, I just had fun with it and played around! I then took 120 grit sandpaper and went over the entire piece. This allowed more of the original finish to pop through and gave it a super smooth finish.
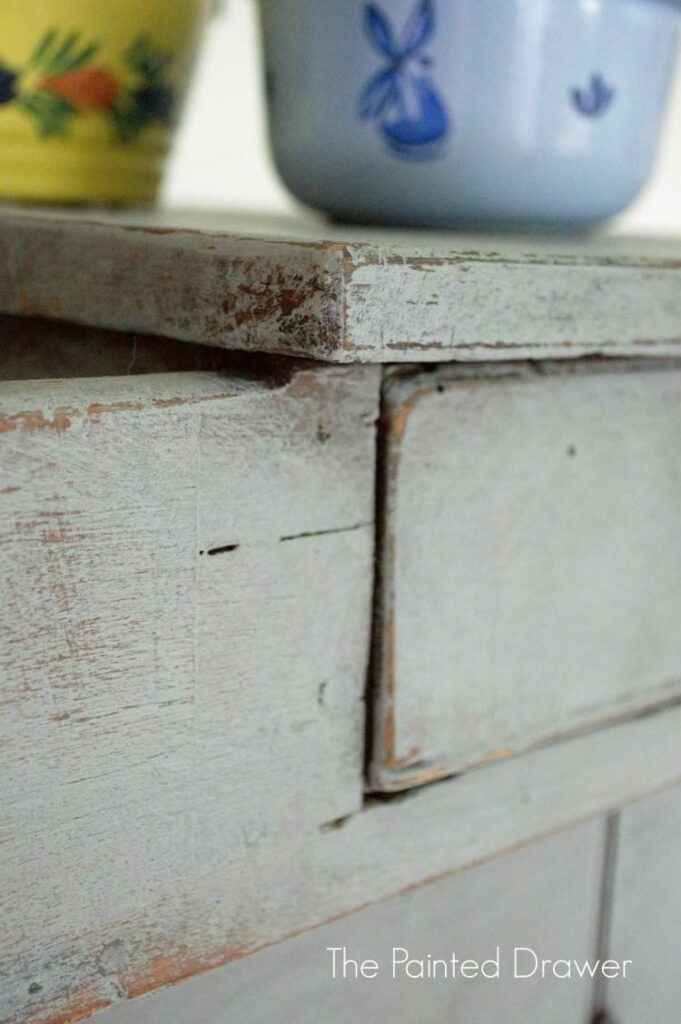
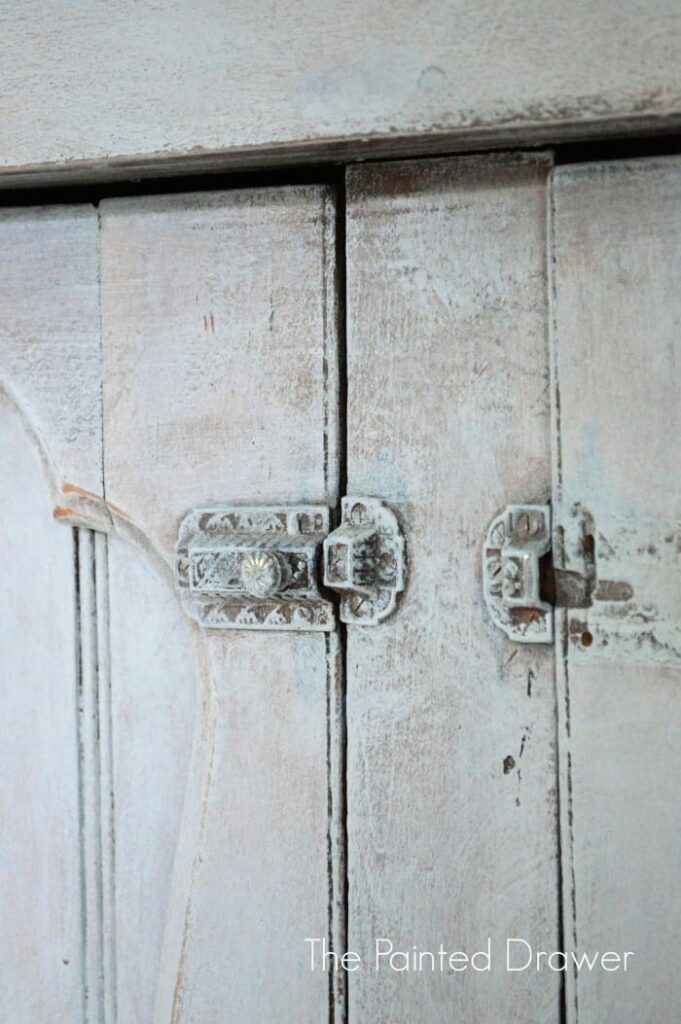
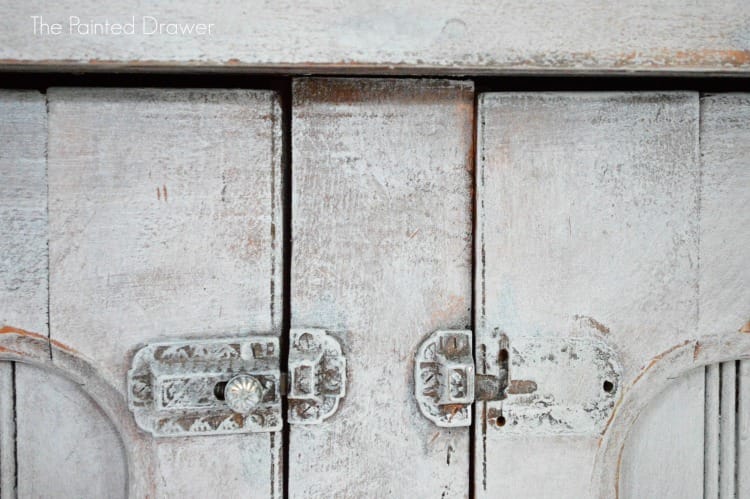
On a side note, one side of the dry sink is missing its clasp but it really doesn’t matter. The door stays shut without it and I just love the original hardware and didn’t want to change it. I also just cleaned out the inside and left it “as-is”. The dry sink is super old and is perfectly imperfect!
Before: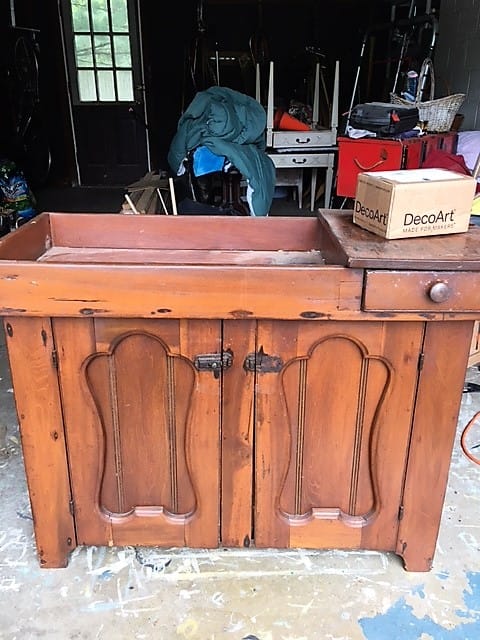
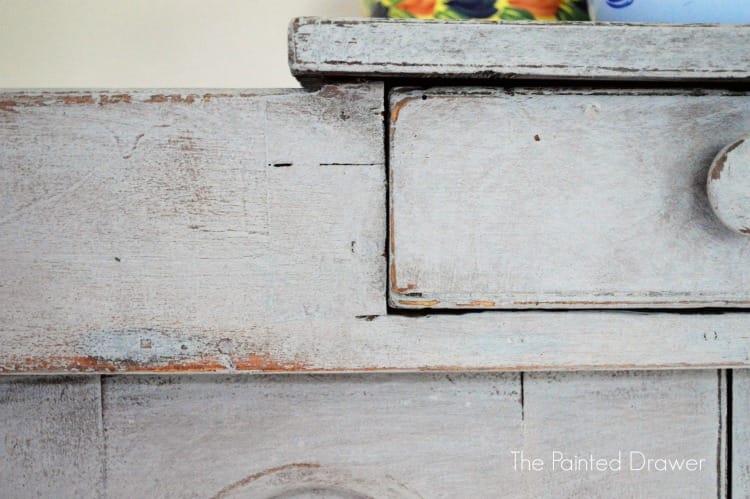
After!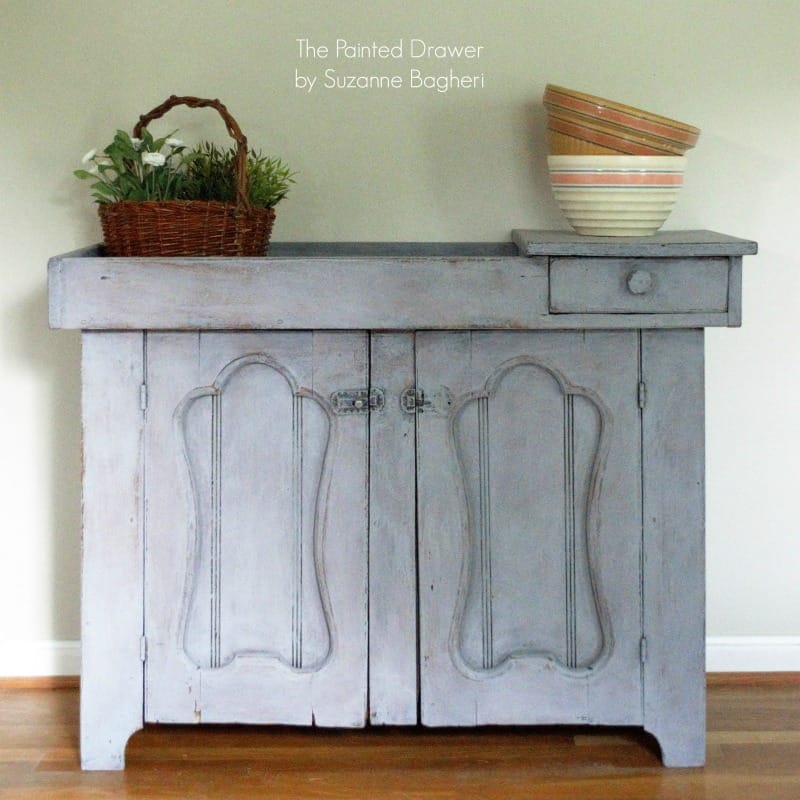
What a fun project! This is the second dry sink that I have worked on. The other Dry Sink is posted HERE – Farmhouse Dry Sink in Black, Before and After – and was finished in a sharp black finish for a totally different look. 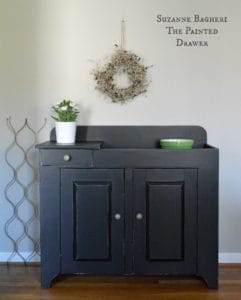
Amazing how what paint/finish you choose can really transform a piece!
Click HERE for a post I wrote ages ago about How to Apply a Wash of Annie Sloan Chalk Paint in Old White – enjoy!


So pretty!
Thank you, Pam!
I just wanted you to know I thoroughly enjoyed the Hometalk video that you did last week. Sometimes when painting a piece I tend to question if I am doing it correctly. It always turns out but I wonder
about my technique. I love using a short
handle brush and was happy to see you using one. The little table or nightstand just turned out beautiful and will last a life time due to it’s manufacturer.
Great pick, great color and great informative job.
Thank you so much, Deb! Those short handled brushes are great!
i love the effects you get, but may I ask…. do you always paint the hardware? Some of the old pieces have amazing metalwork in the hinges and pulls. The first thing i do is pull them off and clean them up.
I had mentioned in the post that one piece was missing. If I hadn’t painted the hardware, it would have been highly noticeable (not in a good way!) and yes, sometimes I lightly brush over the hardware and sometimes not, depending on the effect I’m going for. Thanks!
Did you put a protective coat of anything on it, like wax or poly? Or does this type of paint, not require that?
Hi Amy, it doesn’t need a sealer. I assume if you are going to use it on a tabletop, you would apply a sealer but for this piece it just didn’t need it
Very rustic and very pretty Nice job Suzanne!
Thanks, Annie! It does look very “farmhouse” and rustic now! Love this product!
So pretty Suzanne! Just love the color. You know, if you had a 3D printer you could recreate the original lock! It might come out in a heavy plastic but once you painted it it would look EXACTLY like the original! Something to think about.
Hi Linda! Great idea but I have no idea where to access a 3D printer. I think it’s fine for now but I will ask my techie husband!
I love it! It has a really authentically old look about it! Nice job!
Thanks so much!
Furniture whisperer! Perfection again…
Thanks, Kim!
Interesting how the panels show up so much more when finished. The color is terrific. I really love this piece and it would be such a useful addition to a kitchen or dining room
Hi Suzanne,
That looks so lovely! What a great product! Just a question, what is a dry sink? Were they used with a bowl inserted where a normal sink would be plumbed? And were they used in any particular era, or area? I keep hearing about them, but they aren’t something we see in Australia.
Thanks so much.
Liz.
Hi Elisabeth, Honestly, I am not sure but they are very old and were used in homes before indoor plumbing. I assume they were used to wash items in and store underneath
Beautiful! Don’t know where you shop to find all your gorgeous pieces, can you pleeeeeeeaseeeeeee take me with you????
Hi Ivory! I wish I could – we would have a blast!
Oooooh! Love it!