
Painted Dresser Makeover: How-To!
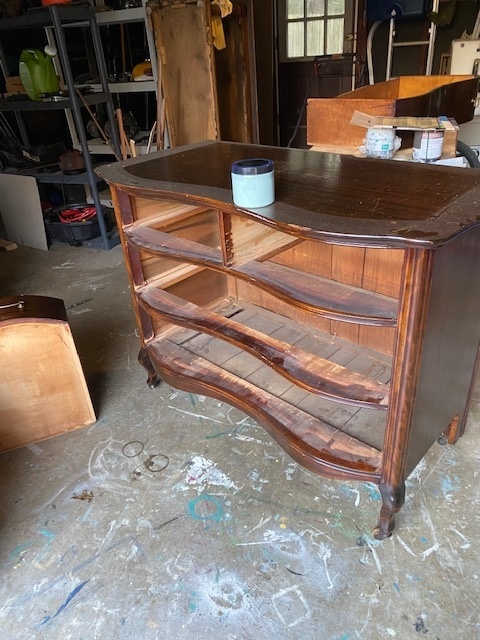
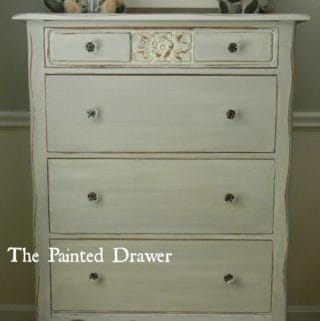
I just finished working on this super sweet little dresser and had fun bringing it back to life! My husband found the dresser from a Craigslist curb alert post and brought it home. The poor dresser was gauged in pieces and deeply scratched. Hence, bring out the paint
The Steps…
The makeover process began with wood filler. I had to add a ton of wood filler into the gauges and scratches because the finish was so damaged. This application was done in stages. Basically, you apply, let it dry, sand it back and repeat those steps until all of the dings and missing wood pieces get filled and are smooth and ready for the paint application.

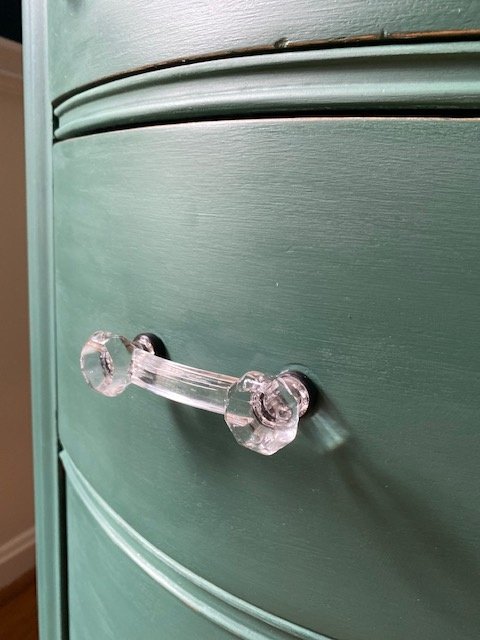
For the paint application, I first applied one coat of Dixie Belle chalk mineral paint in the color Palmetto. I really love this green! It’s a gorgeous, deep green with blue undertones. This dried overnight and then two more coats of the same color were applied. As a result, the paint finish is strong and the color deep. Tip – I find that working with a slightly dampened brush really helps with the paint application to create a super smooth finish.

After the paint dried, the drawer front edges were very lightly distressed using a very high grade sandpaper. The paint was then sealed using Dixie Belle Best Dang Wax. This is the easiest wax to apply and I made a quick video to show you exactly how simple this process is!
The new hardware is from D. Lawless Hardware. I have used these glass pulls in other pieces and they always are a showstopper!
The drawers are now lined and the wooden wheels are all cleaned up and ready to roll! Just listed this beauty on Etsy!



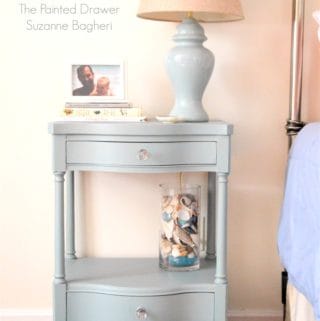
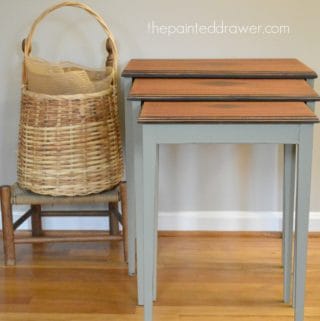
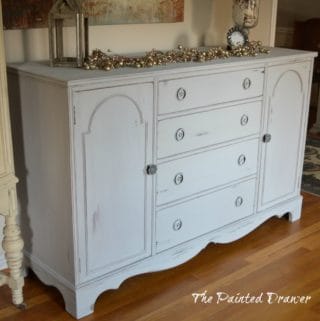
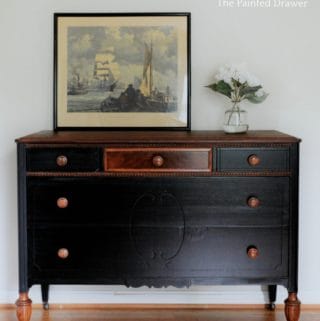
It’s sweet. I love the color. Such a magical transformation.
Thank you!