A quick update on our mini kitchen DIY renovation, and in particular the subway tile backsplash. This is a great example of a true snowball effect!
It all began when I decided to repaint my cabinets white. I began the job by having Benjamin Moore Cloud White color matched at Home Depot. The paint was a little too thick for my taste and didn’t dry to a very good, flat finish. I took the cabinets and lightly sanded them down and started again. This time I went to my local Benjamin Moore store and chose their Advance Paint in Simply White in a satin finish. It was the perfect crisp and bright white that I had been looking for. The paint settles nicely and looks professional (without brush/roller marks).
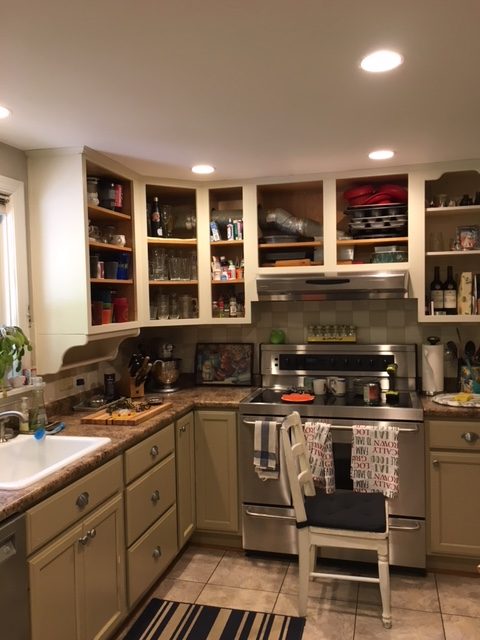
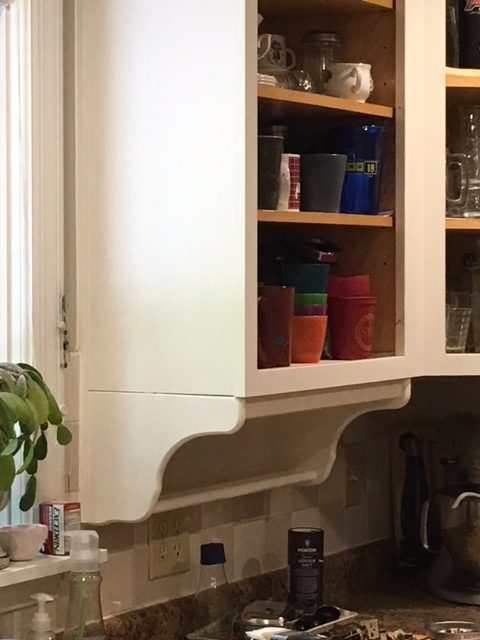
While I was painting, I decided to remove a cabinet in order to install floating shelves and I removed the undermounted bottom shelves. This messed up the tile backsplash because it had been tiled around the cabinet/undermounted shelves that I removed.

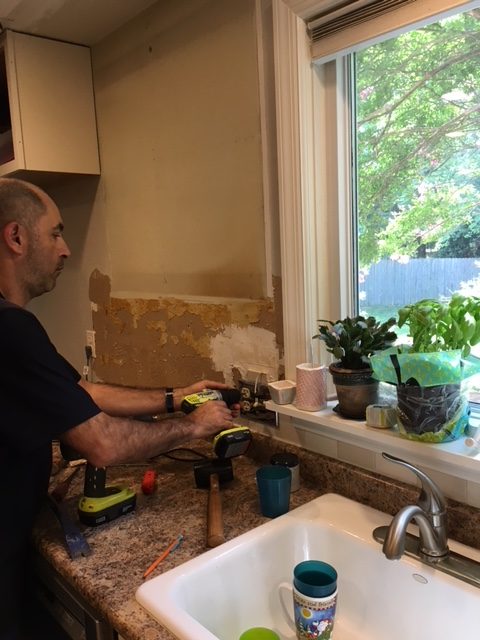
We tore out all of the remaining backsplash. We purchased subway tile from Lowes and started tiling. It looks fun on all the HGTV shows but honestly, it’s a real pain! All of the cutting involved! We originally thought we could do it with a small tile cutter but ended up borrowing our neighbor’s wet saw. I wish we had done this on day one because it would have made the process a lot easier.
On the wall where we had removed the cabinet, we tiled all the way up to the ceiling and continued around the window (note the ceiling where the old cabinet had been).
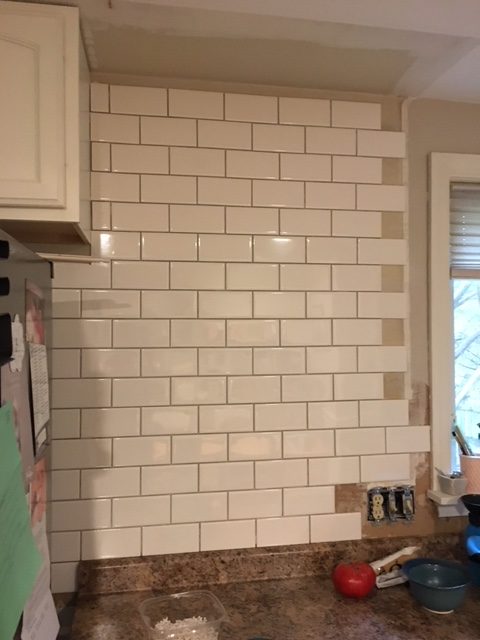
A few weeks ago, we finished the subway tile install, grouted it all in the color Natural Gray (I grouted and my arms were aching afterward!), caulked the corners and where the tile meets the ceiling, painted the ceiling in Ceiling White (because the ceiling was a different color under the old kitchen cabinet that we removed). Now my husband is replacing the old electrical sockets with new bright white ones (because the old ones now look really dingy against the new white tile). I ordered and received new wallswitch plates online because a few configurations were not to be found in the hardware store. Oh, we also have to add the trim around the cabinet that now doesn’t have one installed next to it and it honestly…never ends!
It all started with my idea of removing the kitchen cabinet for shelving lol!
Here are a bunch of “before and after” pics. The kitchen is still a work in progress and I’ll share again after its all finished but these pics show where we are today.
Here is the corner before. You can see the cabinets were an antique white and the tile a cream and beige checkered formation.
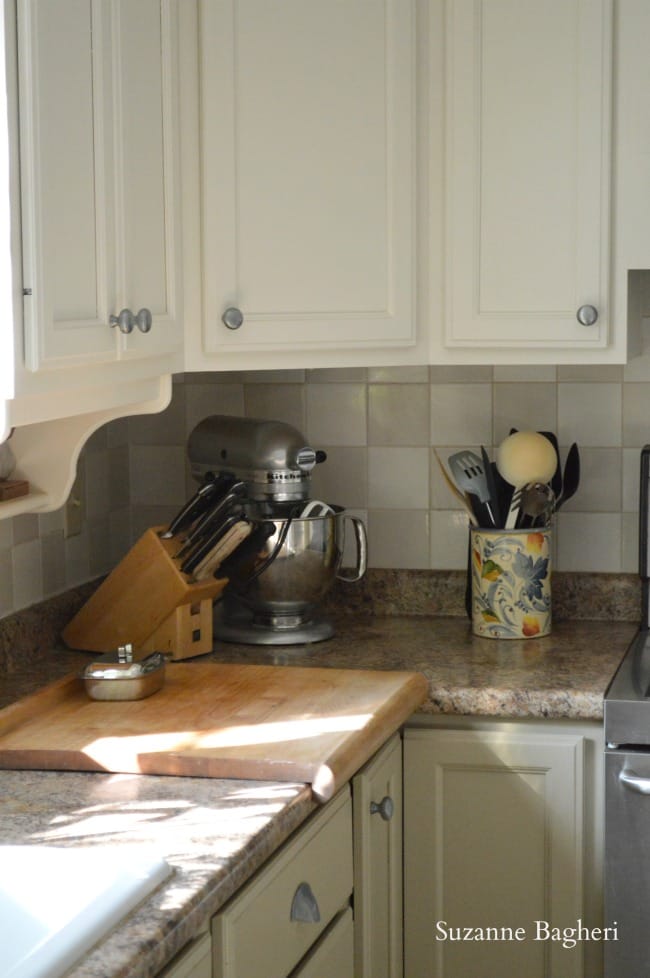
Here you can see the difference in the cabinets after being painted in Benjamin Moore Advance Paint in Simply White. The new tile also brightens up the space.

You can see what I mean about the old electrical outlets looking dingy. They are going to be changed out this weekend (fingers crossed). We (when I say “we” I really mean “he” in this case) have to turn the power out to do it and so are waiting to do it on a sunny day.
Here is the cabinet that I took down. It was a very pretty cabinet with the glass doors but it was the only space in the kitchen to allow the room for the floating shelves.
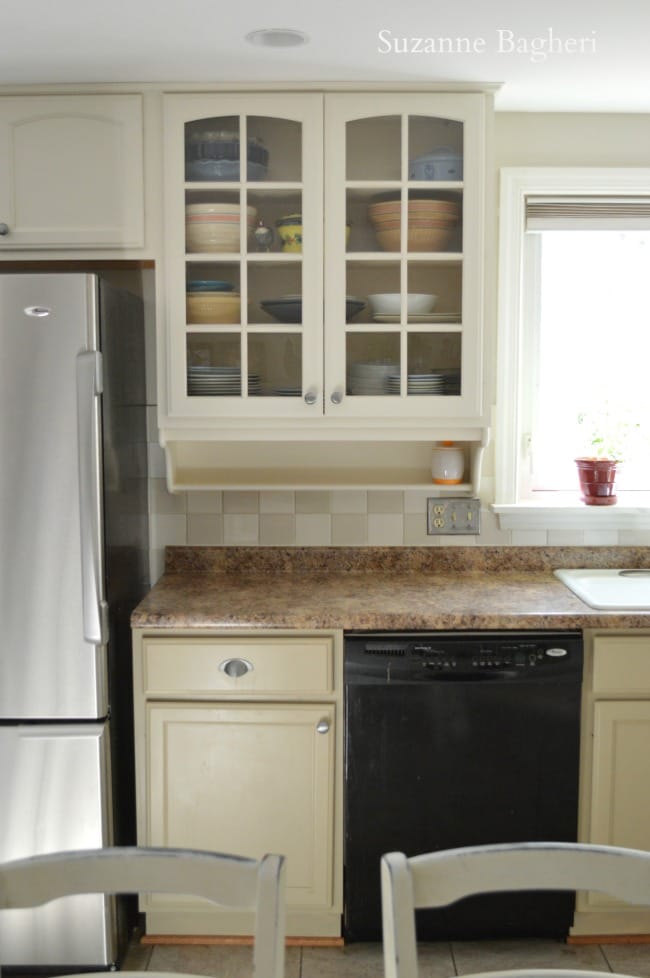
The tile now extends up and over the window. The remaining cabinet on the left (above the fridge) needs trim added along the side and top. I also painted the window sill and trim in Simply White to freshen it up.
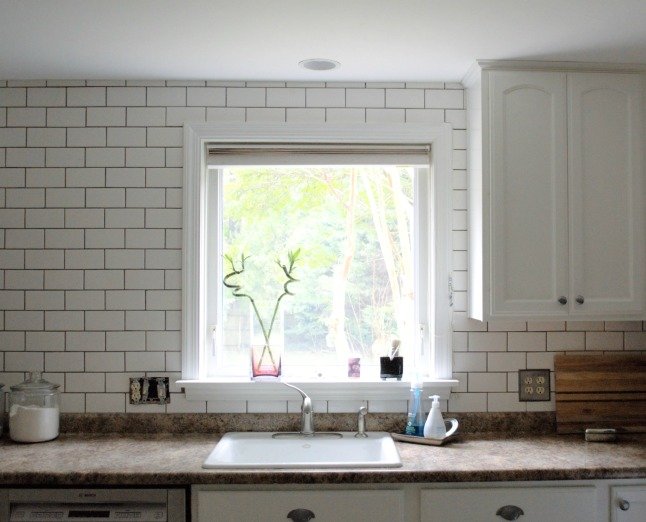
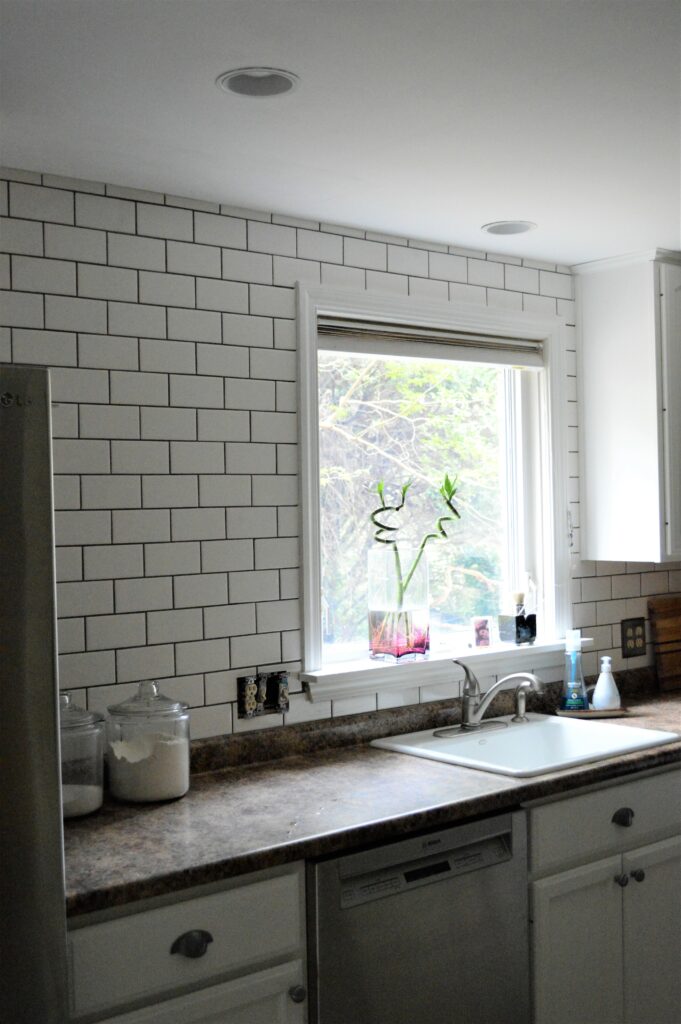
Our new dishwasher is from Bosch and I love it. It is super quiet and the dishes come out sparkling clean.
Below is the view from the kitchen into the dining room. Before: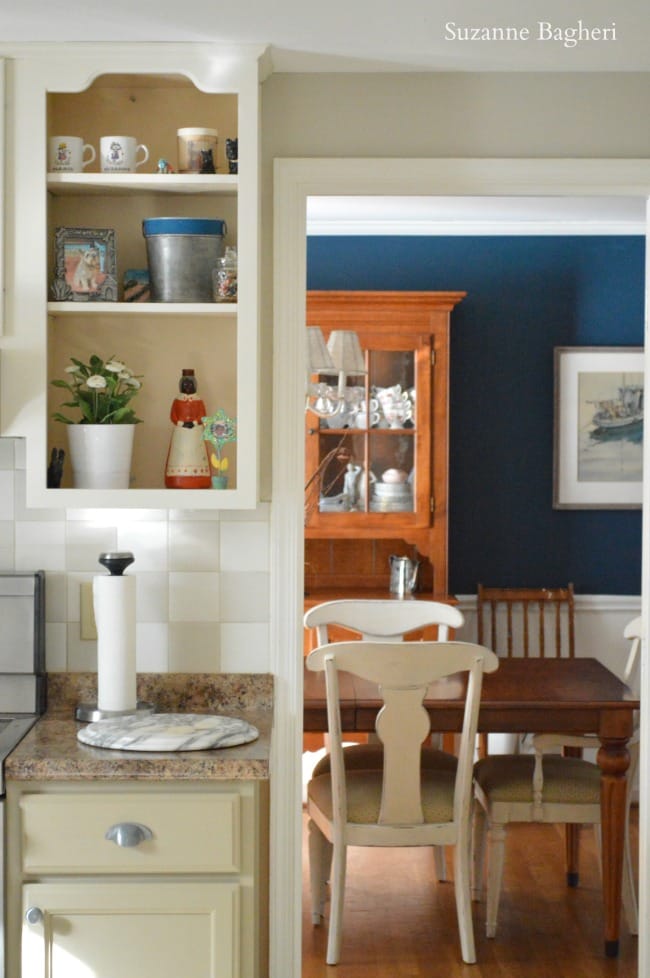
And after!
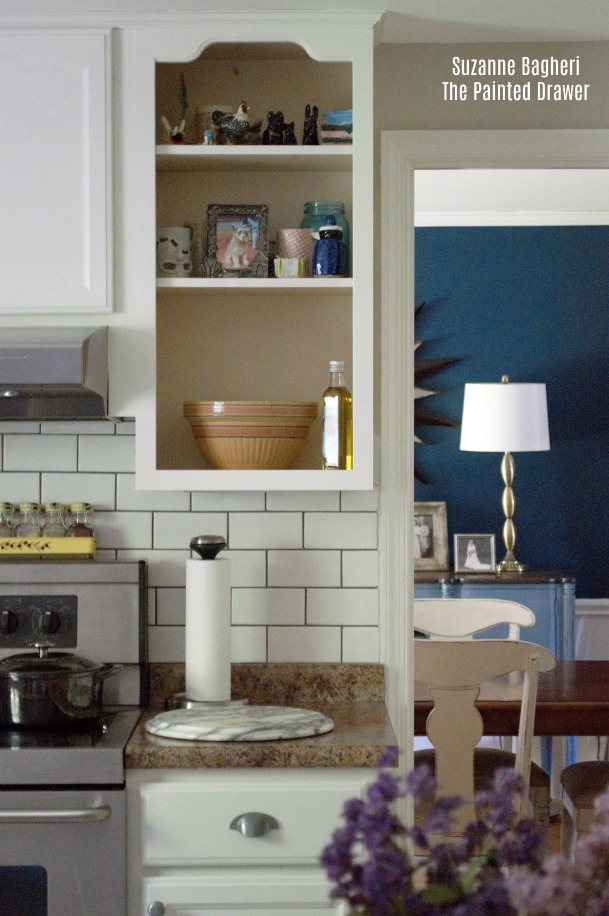
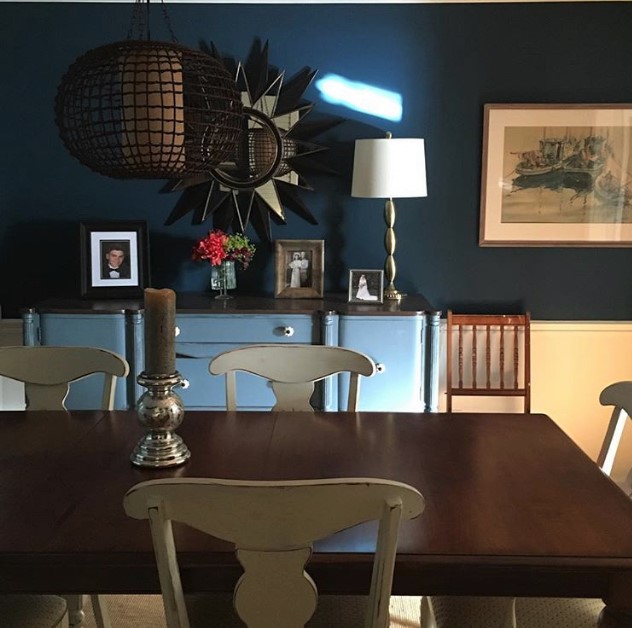
And a view of the dining room from the kitchen on a sunny morning. I’m still enjoying my Rainstorm dining room walls!
Now I need to find the three solid wood floating shelves and get those up. Yes, those were the reason I started this entire project! I also really want quartz countertops (and, in all honesty, a new floor)…


Suzanne, The changes you have made so far look great! So much cleaner and brighter. Unfortunately, my kitchen will be a complete gut job since it has not been updated since our house was built in the 70’s. I have a couple more years (at least) of saving up for it! Can’t wait to see the pictures of yours complete!
Hi Julie, Thanks so much! It is surprising how time consuming the little fixes can be! I hope to save up for new countertops which will really change it to exactly what I want Good luck with your kitchen!
Very nice update! It really looks fresh and contemporary. The style goes with anything.
Hi Nette, Thank you so much!
It just NEVER STOPS! I did several projects when I had my home and one thing always led to another! What seems simple usually isn’t. I just bought a curtain to put over the office window…winter is coming. Oh my, got to find hardware, then move the desk, but move the stuff around the desk, first! Makes me tired looking at it.
HI Jauquetta, Yes! And curtains are always such a royal pain! They are a small job that always seem to take forever!
The kitchen looks fantastic. I have been planning on doing my cabinets next year. I will be taking your advice to use Benjamin Moore paint.
Hi Debra, Yes, it is really worth paying a little more (compared to Home Depot). The paint settles nicely and they only needed one coat to cover.